Dinner · Part 1 of 3: Ingredients
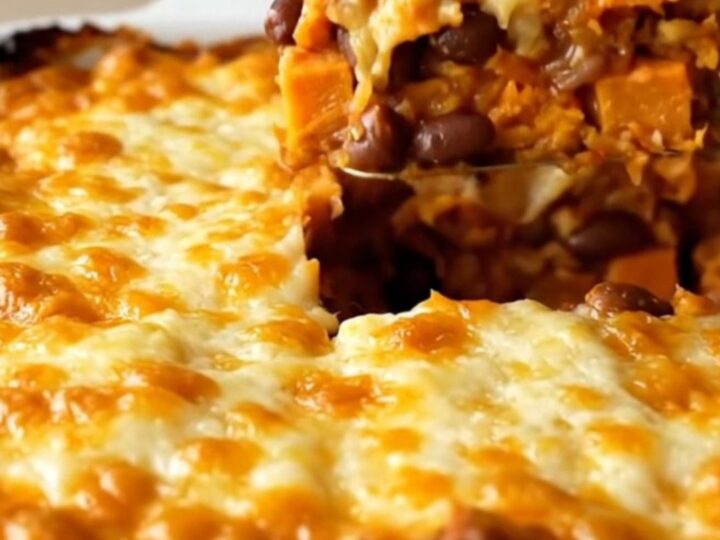
One-Pan Black Bean and Sweet Potato Enchilada Bake
- Prep
- Cook
- Total
- Serves
- 4
Transform humble pantry staples into a comforting meal with this easy one-pan enchilada bake. By combining earthy sweet potatoes, black beans, and a zesty red sauce, this dish creates a satisfying balance of textures and flavors. It is the perfect solution for those evenings when a simple, reliable, and delicious dinner is required without the fuss of complex preparation or multiple pans to clean afterward.
This recipe simplifies the traditional enchilada process by eliminating the need to roll individual tortillas. Instead, the ingredients are layered in a single baking dish, allowing the flavors to meld beautifully as they bake.
The sweet potatoes soften into a tender consistency while soaking up the savory enchilada sauce, and the corn tortillas provide a subtle, authentic corn base that anchors the dish. With a generous topping of melted Monterey Jack, this meal offers a comforting, cohesive bite every time. It is designed for efficiency and ease, ensuring a warm, hearty dinner is always within reach.
Ingredients
Filling
- 2 cups sweet potato cubes, peeled and cut into 1/2-inch pieces
- 1 can (15 oz) black beans, rinsed and drained
Sauce
- 2 cups red enchilada sauce
Topping
- 8 corn tortillas, torn into bite-sized pieces
- 1 cup shredded Monterey Jack cheese
Why this recipe works
The one-pan assembly method works because it allows the sweet potatoes to braise in the liquid of the enchilada sauce. As the dish bakes, the starch from the potatoes and the corn tortillas thickens the sauce, creating a rich, cohesive texture that binds the ingredients together. This approach ensures that every forkful is perfectly seasoned and avoids the dryness often associated with baked tortilla dishes.
Layering ingredients also promotes even heat distribution. By placing the denser sweet potatoes at the bottom and the delicate tortilla pieces just below the cheese, the ingredients cook at the correct rate.
The cheese acts as a protective barrier, preventing the top layer of tortillas from becoming too crisp while simultaneously creating a golden, bubbling crust that seals in moisture and adds a savory richness to the final result.
Notes and substitutions
When selecting sweet potatoes, choose firm specimens with unblemished skins. If the potatoes are particularly large, consider cutting them slightly smaller to ensure they cook through within the allotted baking time.
For the black beans, rinsing them thoroughly under cold running water is essential to remove excess starch and salt from the canning liquid, which helps maintain the integrity of the sauce's flavor profile.
The choice of baking vessel is important for this recipe. A ceramic dish is recommended as it retains heat well and provides even cooking across the bottom and sides.
If using a glass dish, the baking time may need to be adjusted slightly as glass heats more rapidly. Monterey Jack is preferred for its superior melting qualities, but feel free to experiment with other semi-hard cheeses if a more robust flavor is desired.
- Monterey Jack cheese: Mild cheddar or a Mexican-style cheese blend work equally well for melting.
- Corn tortillas: Flour tortillas can be used, though corn provides a more traditional flavor profile.
Equipment
- 9x13-inch ceramic baking dish
- Chef's knife
- Cutting board
- Measuring cups
- Spatula
Up next · Part 2 of 3
3 steps · 40 min of cooking · what to look for at each stage
Step-by-step instructions (Part 2)