Dinner · Part 1 of 3: Ingredients
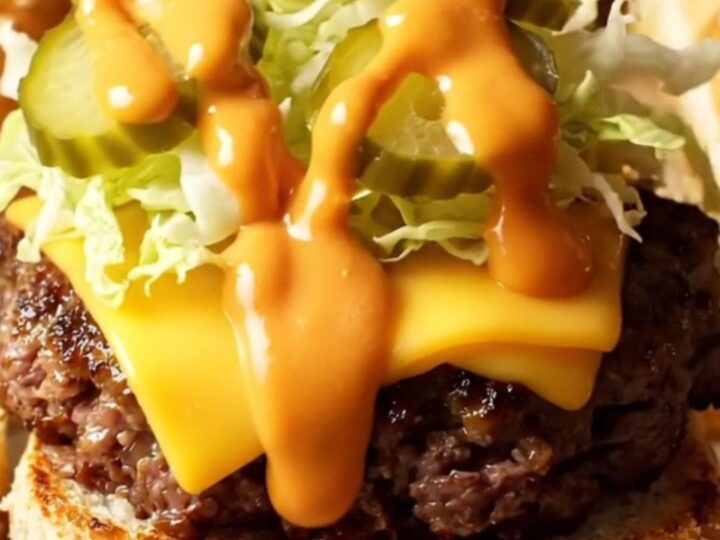
One-Pan Big Mac Style Smash Sliders
- Prep
- Cook
- Total
- Serves
- 12
Elevate your next gathering with these one-pan Big Mac style smash sliders. This recipe simplifies the classic fast-food experience into an efficient, home-cooked meal that delivers bold flavors without the hassle of individual patty formation.
Perfect for feeding a hungry crowd, this technique ensures every bite is packed with the signature tang and savory satisfaction that everyone loves. Prepare to master the art of the perfect sheet-pan slider with minimal effort and maximum delicious results for every occasion.
These smash sliders combine the convenience of a sheet-pan meal with the nostalgic appeal of a classic fast-food burger. By pressing the ground beef into a single slab, the cooking process becomes uniform and manageable, allowing for consistent results every time.
The secret sauce adds that essential tangy kick, while the final bake with sesame butter creates a golden, toasted finish that brings all the components together. This recipe is designed for those who appreciate efficiency in the kitchen without sacrificing the iconic flavors of a well-loved burger.
Ingredients
Secret Sauce
- 1/2 cup mayonnaise
- 2 tbsp sweet relish
- 1 tbsp yellow mustard
- 1 tsp paprika
- 1 tsp vinegar
Sliders
- 1 lb ground beef
- 12 sesame rolls
- 8 slices American cheese
- 1 cup shredded lettuce
- 1/2 cup pickles
- 2 tbsp sesame butter
Why this recipe works
The sheet-pan method works by creating a large, flat beef patty that cooks evenly and quickly at high heat. This technique removes the need to flip multiple small patties, which saves time and keeps the kitchen tidy. The high oven temperature develops a delicious crust on the beef, while the subsequent assembly allows the cheese to melt perfectly over the meat, creating a cohesive and flavorful burger experience.
The secret sauce acts as the bridge between the savory beef and the fresh toppings. Its blend of creamy mayonnaise, tangy vinegar, and sweet relish cuts through the richness of the meat and cheese.
By applying the sauce during the final assembly and using sesame butter on the buns, the sliders achieve a professional, toasted quality that mimics the experience of a premium fast-food item while remaining completely homemade.
Notes and substitutions
When choosing ground beef, aim for an 80/20 lean-to-fat ratio to ensure the sliders remain juicy and flavorful during the high-heat baking process. If the beef is too lean, the slab may become dry, while higher fat content provides the necessary moisture that defines a good smash burger. Always keep the beef refrigerated until the moment it is ready to be pressed into the sheet pan to maintain optimal texture.
The choice of equipment is essential for success. A standard rimmed sheet pan is ideal, as it contains the juices released during the cooking process. Ensure the pan is large enough to spread the beef into an even layer, as this promotes uniform cooking across the entire slab.
If you prefer a crunchier result, you can briefly increase the oven temperature during the final minutes of the second bake, but keep a close eye to prevent burning the buns.
- yellow mustard: Dijon mustard for a sharper, more complex flavor profile in the sauce.
- sesame rolls: Hawaiian sweet rolls for a nice contrast between the savory meat and sweet bread.
Equipment
- Mixing bowl
- Whisk
- Sheet pan
- Serrated bread knife
- Pastry brush
Up next · Part 2 of 3
3 steps · 15 min of cooking · what to look for at each stage
Step-by-step instructions (Part 2)