Desserts · Part 1 of 3: Ingredients
One-Bowl Whole-Lemon Blender Cake with Walnuts
- Prep
- Cook
- Total
- Serves
- 10
This one-bowl whole-lemon blender cake is the brightest, most incredibly moist citrus cake you'll make. The entire lemon — rind, pith, and all — is blended with eggs, oil, milk, and sugar into a silky puree, then folded with flour and toasted walnuts.
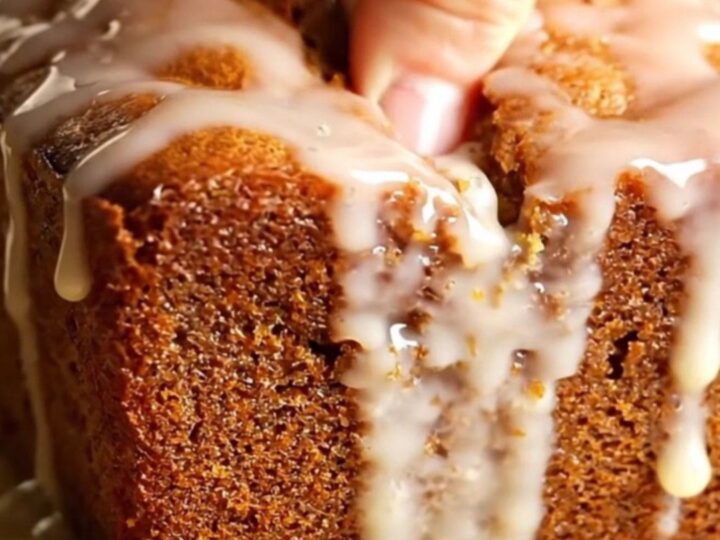
The result is a tender, springy loaf with a glossy lemon glaze that soaks into the warm crust. It's a dessert that tastes like sunshine, and it comes together in minutes with just a blender and a bowl.
This cake is a celebration of the whole lemon, using every part of the fruit for maximum flavor and moisture. Blending the lemon with the wet ingredients breaks down the rind and pith, releasing essential oils and natural pectin that create an incredibly tender crumb.
The oil and milk add richness, while the toasted walnuts provide a nutty contrast. The glaze, poured over the hot cake, seeps into the top and forms a shiny, crackly finish. It's a simple, rustic dessert that feels both familiar and special.
Ingredients
- 1 whole lemon, washed and cut into wedges
- 3 large eggs
- 1 cup neutral oil (such as canola or vegetable)
- 1 cup milk
- 1 cup granulated sugar
- 2 1/2 cups all-purpose flour
- 2 tsp baking powder
- 1 cup toasted walnuts, chopped
Glaze
- 1 cup confectioners' sugar
- 2-3 tbsp fresh lemon juice
Why this recipe works
The method is genius because blending the whole lemon eliminates the need to zest and juice separately, and it infuses the entire cake with intense citrus flavor.
The pectin in the lemon rind helps stabilize the batter, while the natural oils contribute to a moist, fragrant crumb. This technique also ensures that no part of the fruit is wasted, and it creates a texture that is almost pudding-like in its tenderness.
Folding the dry ingredients into the blended puree, rather than mixing everything in the blender, prevents overdevelopment of gluten, which would make the cake tough. The oil and milk keep the crumb soft and moist, and the baking powder provides just enough lift.
Toasting the walnuts deepens their flavor and keeps them crisp in the finished cake. The result is a loaf that is both sturdy enough to slice and delicate enough to melt on the tongue.
Notes and substitutions
Use a large, juicy lemon for the best flavor. Wash it thoroughly to remove any wax or residue. If the lemon has seeds, remove them before blending, as they can add bitterness. The oil should be neutral, such as canola or vegetable, so it doesn't overpower the lemon. Whole milk gives the richest crumb, but any milk will work.
Toasting the walnuts is essential; spread them on a baking sheet and bake at 350°F for 5-7 minutes until fragrant. The glaze is simple: confectioners' sugar and fresh lemon juice. Adjust the consistency with more juice or sugar as needed. This cake is best enjoyed the day it's made, but it keeps well for several days.
- neutral oil: Melted coconut oil or a mild olive oil can be used, though the flavor will shift slightly.
- milk: Any milk works, including oat, almond, or soy; for a richer cake, use buttermilk.
- walnuts: Pecans or blanched almonds can replace the walnuts; toast them first for the best flavor.
- all-purpose flour: A 1:1 gluten-free baking blend can be substituted, but the texture will be slightly more tender.
Equipment
- Blender
- Large mixing bowl
- Rubber spatula
- 9x5-inch loaf pan
- Parchment paper
- Wire rack
- Small bowl for glaze
- Serrated knife
Up next · Part 2 of 3
5 steps · 45 min of cooking · what to look for at each stage
Step-by-step instructions (Part 2)