Desserts · Part 3 of 3: Tips & recipe card
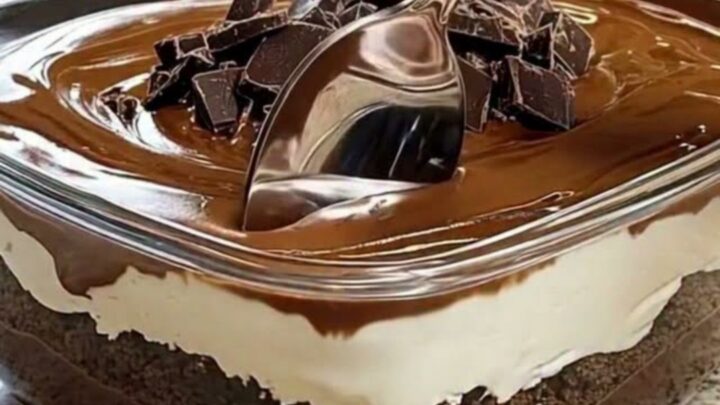
Old-Fashioned Chocolate Layered Dessert Tips, FAQ & printable recipe
- Prep
- Cook
- Total
- Serves
- 9
Tips for success
To achieve perfectly clean slices, run a thin-bladed knife under warm water, wipe it completely dry, and then make your cut. Repeat this process between every single slice. This technique prevents the cream from dragging through the pudding and keeps the layers looking sharp and professional for every serving you present to your guests.
For a more intense chocolate flavor, consider using a high-cocoa content pudding or adding a teaspoon of espresso powder to the pudding mix before layering. This enhances the depth of the cocoa without making the dessert overly sweet.
Always ensure the chocolate chunks used for the final garnish are chopped uniformly so they provide a consistent texture and visual impact across the top surface.
Variations
- Mocha Layered Dessert: Stir one tablespoon of instant coffee powder into the chocolate pudding before spreading it over the crust to create a sophisticated mocha flavor profile.
- Nutty Chocolate Dessert: Add a layer of finely chopped toasted hazelnuts between the pudding and the cream for an extra crunch and a nutty finish that pairs beautifully with dark chocolate.
Storage and make-ahead
- Fridge
- Store in the refrigerator for up to 3 days. Cover tightly with plastic wrap to prevent the cream from absorbing other flavors.
Keep the dessert covered with plastic wrap, ensuring the wrap does not touch the surface of the cream, to maintain freshness.
Store it in the coldest part of the refrigerator, away from strong-smelling foods like onions or garlic, as the cream can absorb odors easily. The dessert is best consumed within three days for optimal texture and flavor quality, as the crust may soften over time.
This dessert is an ideal candidate for making ahead, as it benefits from at least four hours of chilling time to firm up.
You can assemble the crust and the pudding layer up to 24 hours in advance, keeping them covered in the refrigerator, and then add the freshly whipped cream and chocolate garnish just before serving for the best results.
Serving ideas
Serve this dessert chilled directly from the refrigerator for the best texture. Use a small offset spatula or a flat server to lift the squares out of the glass dish, as this helps maintain the integrity of the layers.
Placing each square on a small dessert plate allows the beautiful, distinct layers to be clearly visible to everyone at the table.
Pair this rich chocolate dessert with a simple garnish if desired, such as a few fresh berries, to add a touch of color and acidity. However, the dessert is complete on its own and does not require additional sauces or toppings. Serve it with a cold glass of milk or a hot cup of coffee to balance the deep, decadent cocoa flavors.
Frequently asked questions
Can this dessert be made with a different type of cookie?
Why is it important to chill the crust before adding the pudding?
How can the whipped cream be kept from deflating?
Old-Fashioned Chocolate Layered Dessert
Ingredients
- 1 1/2 cups chocolate cookie crumbs
- 2 cups chocolate pudding, prepared
- 1 cup heavy whipping cream, whipped
- 1/2 cup dark chocolate chunks
Instructions
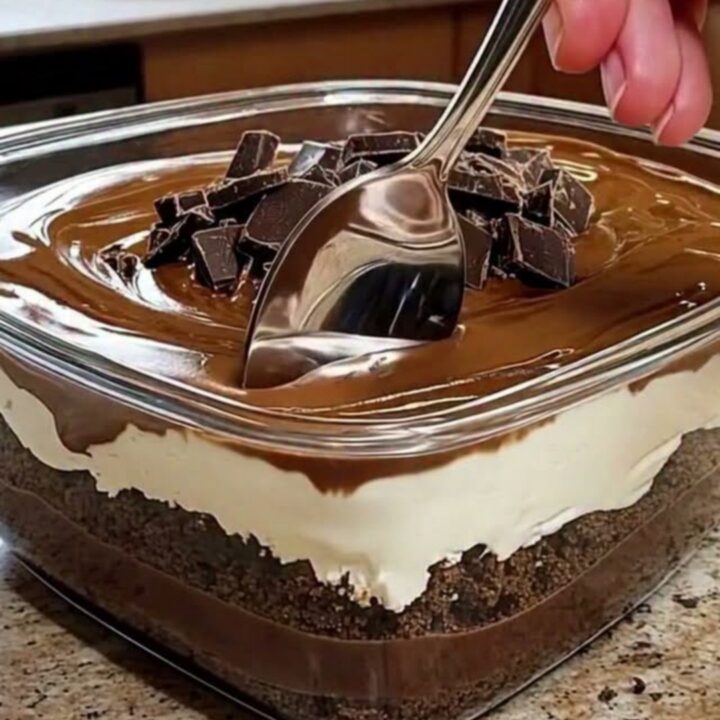
- Press the chocolate cookie crumbs firmly into the bottom of an 8x8 square glass dish to form an even layer. Chill in the refrigerator for 15 minutes to set.
- Spread the prepared chocolate pudding over the chilled cookie crust using a spatula, ensuring the surface is smooth and reaches all corners of the dish. Carefully dollop the whipped heavy cream over the chocolate layer, then gently spread it to create a smooth, even white top layer.
- Sprinkle the dark chocolate chunks evenly over the top of the cream layer. Place the assembled dessert back into the refrigerator to chill for at least two hours before serving. This allows the layers to firm up properly for clean slicing.
Estimated nutrition per serving
- Calories
- 350
- Protein
- 3 g
- Carbohydrates
- 40 g
- Fat
- 20 g
- Fiber
- 1 g
- Sugar
- 25 g
- Sodium
- 180 mg
Next recipe
Decadent Chocolate Fudge Swiss Roll with Creamy Filling
See the recipe → →This recipe is based on a short cooking video and is published under the pen name Clara Weller. It was checked before publication, but errors can slip through. Nutrition, when shown, is an estimate. Read more in our editorial policy and on our food safety page.
More recipes to try
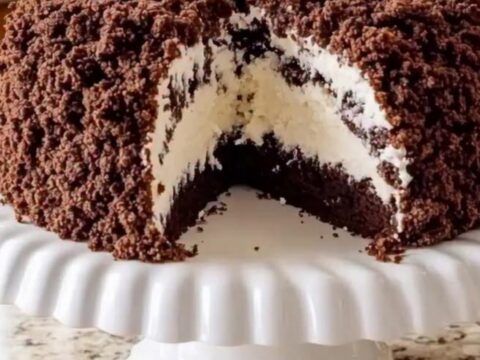
Decadent Chocolate Crumble Dome Cake with Coconut Cream
Total time: 50 min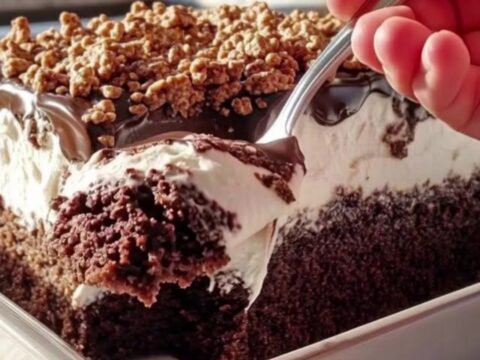
Lazy Cat Chocolate Cream Cake with Crunchy Toffee
Total time: 20 min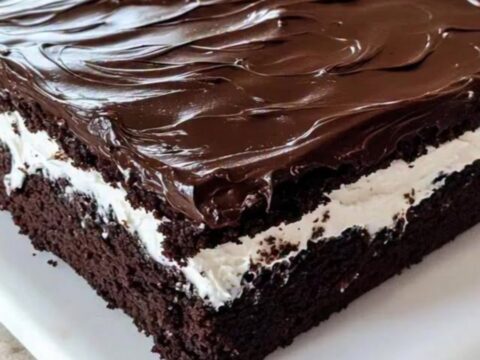
Decadent Ding Dong Sheet Cake with Cream Filling
Total time: 2 h 5 min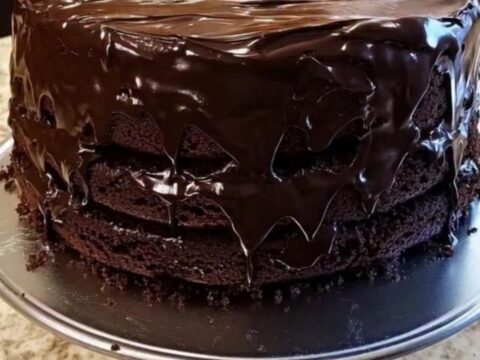
Ultra-Moist Three-Layer Matilda Chocolate Fudge Cake
Total time: 2 h 15 min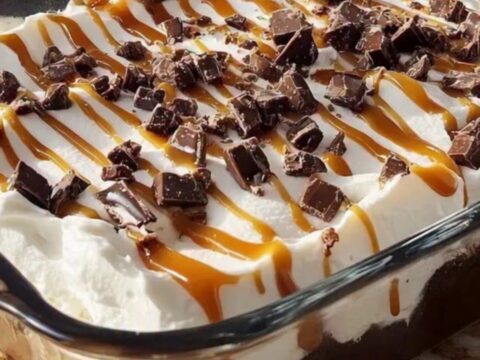
Better Than Sex Cake with Caramel and Toffee
Total time: 2 h 5 min