Desserts · Part 1 of 3: Ingredients
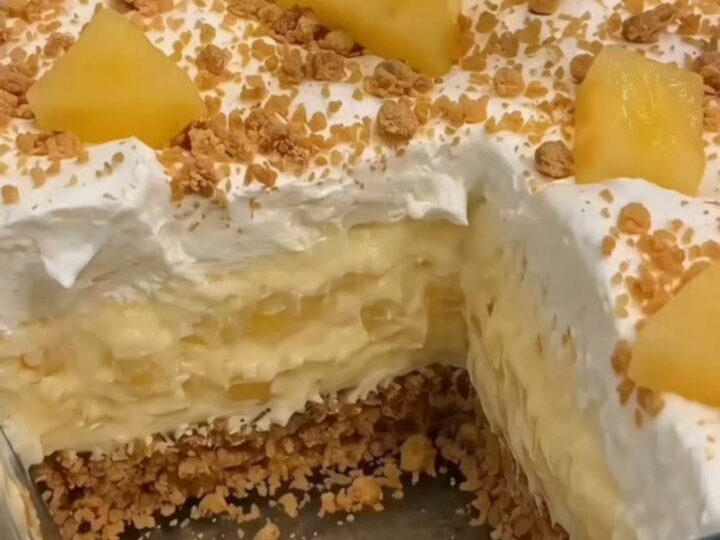
No-Bake Pineapple Cream Dessert
- Prep
- Cook
- Total
- Serves
- 8
Indulge in the perfect balance of buttery crunch and airy sweetness with this no-bake pineapple cream dessert. It is an ideal solution for those moments when a refreshing, crowd-pleasing treat is required without the need to turn on the oven.
With just a few simple ingredients and minimal effort, this dessert delivers a sophisticated texture and vibrant flavor profile that satisfies every craving for something cool, creamy, and light.
This dessert relies on the classic combination of buttery graham crackers and a velvety, pineapple-infused cream filling. By using a no-bake method, the integrity of the whipped cream is preserved, ensuring a light and ethereal mouthfeel.
It is a versatile recipe that allows for quick preparation, making it an excellent choice for last-minute gatherings or a simple weekend indulgence. Follow these straightforward steps to achieve a perfectly layered treat that looks as impressive as it tastes.
Ingredients
Crust
- 1 1/2 cups graham cracker crumbs
- 6 tbsp unsalted butter, melted
Filling
- 1 cup crushed pineapple, drained
- 1 cup pineapple pudding
- 2 cups whipped cream
Topping
- 1/2 cup pineapple chunks
Why this recipe works
The method works by creating a stable base through the combination of butter and fine crumbs, which firm up quickly when thoroughly chilled.
The pudding base provides ample body and structure to hold the airy whipped cream, while the thoroughly drained pineapple ensures excess moisture does not seep downward into the crust. This precise balance is essential for achieving clean, distinct slices after the required resting time.
The chilling process is critical for the integration of flavors and textures across every layer. As the dish rests in the refrigerator, the butter solidifies firmly to cement the crunchy crust beneath the soft cream.
Concurrently, the cool temperature enhances the bright acidity of the pineapple, resulting in a cohesive finish that stays smooth, stable, and deeply satisfying without turning heavy or soggy.
Notes and substitutions
For the best results, use chilled whipped cream to maintain structural stability while folding. Draining the crushed pineapple thoroughly in a fine-mesh sieve is a mandatory step, as surplus liquid can loosen the pudding matrix and degrade the texture of the filling. Feel free to adjust the sweetness slightly depending on whether the fruit is packed in 100 percent fruit juice or light syrup.
When it comes to equipment, an 8-inch square glass dish is ideal for serving, as it allows the contrasting golden and cream layers to remain visible from the sides. Ensure the crust is packed with uniform pressure across the entire base to avoid uneven thickness. The dessert can safely remain refrigerated for up to two days while keeping its crisp crust intact.
- graham cracker crumbs: crushed vanilla wafers
- pineapple pudding: vanilla pudding mixed with two tablespoons of pineapple juice
Equipment
- glass baking dish
- mixing bowl
- spatula
- measuring cups