Desserts · Part 2 of 3: Instructions
No-Bake Blueberry Cheesecake Pie Step-by-step instructions
- Prep
- Cook
- Total
- Serves
- 8
Before you start
Before beginning, ensure that all ingredients are gathered and ready for assembly. Clear sufficient space in the refrigerator so the pie dish can sit level while it sets, preventing the filling from shifting or spilling during the long chilling period.
Having a clean workspace and the necessary tools, such as a spatula and a pie dish, will make the process efficient and straightforward.
Ingredients at a glance (3)
- 1 1/2 cups graham cracker crumbs
- 1 recipe cheesecake filling, prepared
- 2 cups blueberry pie filling
Instructions
Crust assembly
- Prepare the crustPress the graham cracker crumbs firmly into the bottom and up the sides of a 9-inch pie dish to create an even layer. Place the dish in the refrigerator while preparing the filling.Look for The crust should be firm and compact.Tip Use the bottom of a measuring cup to press the crumbs into the dish for a uniform base.
The crust should be evenly pressed into the pie dish, covering the bottom and sides completely. It should look uniform and feel compact when touched. Ensure there are no loose crumbs remaining in the dish, as these should all be incorporated into the crust to maintain the correct thickness and structure of the base.
Filling application
- Add the cheesecake fillingSpread the prepared cheesecake filling evenly over the chilled graham cracker crust using a spatula, ensuring the surface is smooth and reaches the edges of the dish.Look for The mixture should be thick, smooth, and airy.Tip Work quickly to ensure the filling stays at the proper consistency for spreading.
The filling is ready when it is spread into a smooth, even layer over the crust. It should hold its shape when spread into the pie dish. Check that there are no visible gaps or uneven spots throughout the mixture, ensuring a consistently smooth and creamy texture in every single bite of the pie.
Final chilling
- Chill and garnishSpread the blueberry pie filling over the top of the cheesecake layer, smoothing it out with a spatula. Refrigerate the pie for at least 4 hours, or until the filling is set firm. Before serving, ensure the pie is chilled to allow for clean, beautiful slices.Look for The pie is set when the filling holds its shape when sliced.Tip Wipe the knife blade with a warm, damp cloth between cuts for neat, clean slices.
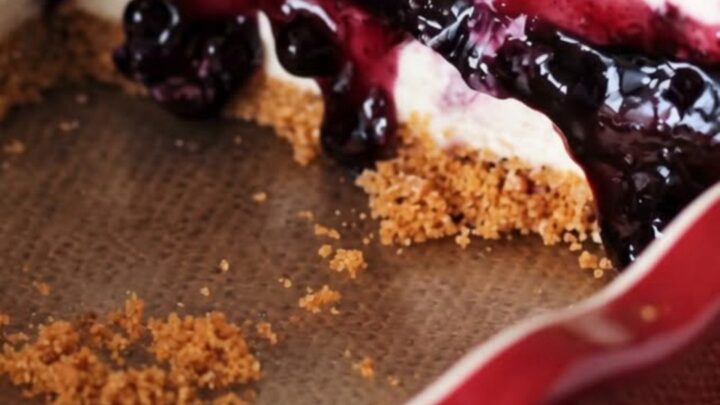
The pie is ready when the blueberry topping is set and the cheesecake layer underneath is firm. The colors should be distinct and vibrant, with the white filling contrasting against the deep blue of the berries.
Before serving, verify that the pie has been in the refrigerator for the full recommended time to ensure perfectly clean slices.
Common mistakes
A common mistake is failing to chill the pie for the full recommended time, which results in a runny filling that will not set properly. Another error is not spreading the filling evenly, leading to an uneven texture that is difficult to slice.
Finally, rushing the assembly prevents the layers from bonding, making it messy to serve and causing the components to separate when sliced.
How to tell it’s done
The cheesecake is done when the filling has set into a firm, sliceable texture. Gently press the center of the pie with a clean finger; it should be firm and spring back slightly without sticking.
If the center feels soft or moves excessively, allow it to remain in the refrigerator for an additional hour. Proper chilling is the most critical factor in achieving the right consistency.
Up next · Part 3 of 3
2 variations · storage & make-ahead · 3 answers · printable card
Tips, FAQ & printable recipe (Part 3)← Back to the ingredients (Part 1)