Desserts · Part 1 of 3: Ingredients
Molten Chocolate Lava Mug Cake
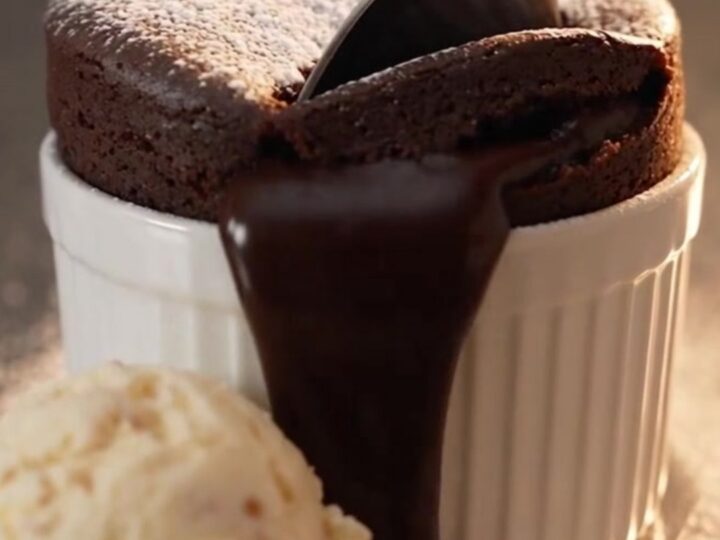
- Prep
- Cook
- Total
- Serves
- 1
Craving something sweet but short on time? This molten chocolate lava mug cake is the ultimate solution. In just sixty seconds, you can transform pantry staples into a decadent, restaurant-quality dessert right in your own kitchen.
It is the perfect way to satisfy a sweet tooth without the need for an oven or a mess of mixing bowls. Dive into this warm, fudgy delight and enjoy the luxurious liquid chocolate center that makes every bite feel like a special occasion.
This recipe is designed for those moments when you need a quick dessert fix. By using a single ceramic mug, you minimize prep time and cleanup, making it an ideal choice for busy evenings or late-night snacks. The combination of Dutch-processed cocoa and a hidden chocolate core creates a sophisticated flavor profile that rivals traditional oven-baked lava cakes.
With basic ingredients found in most cupboards, you can create a masterpiece of texture and taste in a fraction of the time required for conventional baking. Follow these simple steps to achieve a perfectly puffed cake with a molten, gooey center every single time.
Ingredients
batter
- 4 tbsp all-purpose flour
- 3 tbsp granulated sugar
- 2 tbsp Dutch-processed cocoa powder
- 1/4 tsp baking powder
- 3 tbsp whole milk
- 2 tbsp melted butter
- 1/4 tsp vanilla extract
center
- 2 dark chocolate squares
Why this recipe works
The method relies on the rapid heating capabilities of a microwave to create a light, soufflé-like structure while keeping the center undercooked and molten. The small volume of the mug allows for even heat distribution, ensuring the outer edges set firmly while the center remains a liquid pool of chocolate. This technique is highly efficient for single-serving portions.
By burying the chocolate squares in the center, you create a dedicated pocket of intensity. As the microwave heats the surrounding batter, the chocolate center melts into a rich, velvety lava. This process effectively creates a dual-texture dessert that balances the airy crumb of the cake with the dense, flowing liquid of the molten core.
Notes and substitutions
For the best results, use Dutch-processed cocoa powder, as it provides a deeper, darker chocolate flavor and a smoother texture compared to natural cocoa.
Ensure your baking powder is fresh to guarantee the cake rises properly during the short cooking time. If you prefer a more intense chocolate experience, use extra-dark chocolate squares with a higher percentage of cocoa solids.
The mug you choose is important. A wide, microwave-safe ceramic mug provides the necessary surface area for the cake to rise evenly. Avoid mugs that are too tall and narrow, as they can cause uneven cooking.
If you want to experiment with flavors, a drop of almond or espresso extract can elevate the chocolate notes, but stick to the original measurements for the best structural integrity.
- whole milk: any plant-based milk like almond or soy milk
- dark chocolate squares: a high-quality chocolate truffle
Equipment
- wide ceramic mug
- fork
- microwave
Up next · Part 2 of 3
3 steps · 1 min of cooking · what to look for at each stage
Step-by-step instructions (Part 2)