Dinner · Part 1 of 3: Ingredients
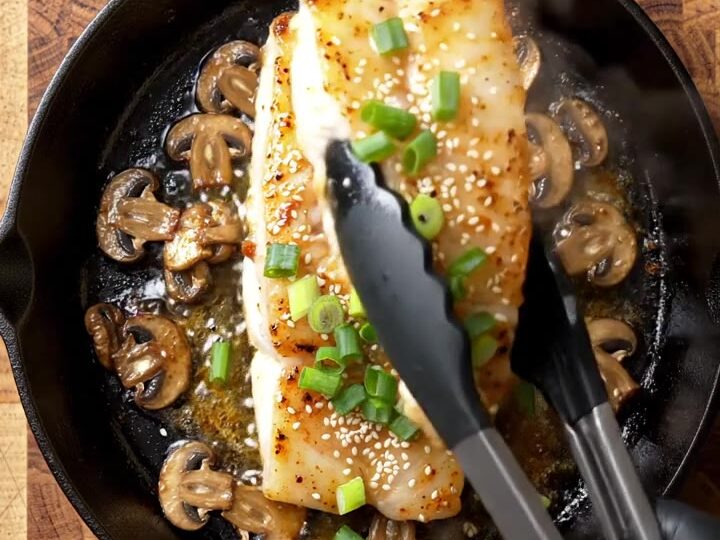
Miso Butter Halibut with Shiitake and Bok Choy
- Prep
- Cook
- Total
- Serves
- 4
This miso butter halibut is a restaurant-quality dinner that comes together in one skillet. Golden-seared fish, earthy shiitake mushrooms, and charred baby bok choy are finished with a bubbling miso butter that turns into a glossy, savory sauce.
The combination of sweet white miso and rich butter creates an umami-packed coating that clings to every flaky bite. With just a handful of ingredients and about 30 minutes, this recipe delivers a deeply satisfying meal that feels special enough for a celebration yet simple enough for a weeknight.
Miso butter is a magic shortcut that transforms simple fish into a memorable dish. The sweet white miso brings a gentle fermented savoriness that pairs beautifully with the rich, buttery halibut. Scoring the fillets allows the butter to seep into the flesh, keeping it moist and flavorful.
The shiitake mushrooms add an earthy depth, while the baby bok choy provides a fresh, slightly bitter contrast. Everything cooks in one cast iron skillet, making cleanup easy. Serve this with steamed rice or crusty bread to soak up every last drop of the miso butter sauce.
Ingredients
- 4 Pacific halibut fillets (6 oz each)
- 8 oz shiitake mushrooms
- 4 baby bok choy, halved lengthwise
- 1 tbsp fresh golden ginger, grated
Miso Butter
- 1/2 cup unsalted butter, softened
- 3 tbsp sweet white miso
- 3 scallions, sliced
- 1 tbsp toasted sesame seeds
- 2 tbsp neutral oil (such as canola or grapeseed)
Why this recipe works
Scoring the halibut fillets creates more surface area for the miso butter to penetrate, ensuring every bite is infused with flavor. It also helps the fish cook more evenly and develop a beautiful golden crust. The shallow cuts are quick to make but make a noticeable difference in the final texture and taste.
Basting the fish with bubbling miso butter is a classic technique that keeps the halibut moist and adds a rich, glossy finish. The butter emulsifies with the juices in the pan, creating a silky sauce that coats the fish and vegetables. This method ensures the fish stays tender and flaky while the exterior becomes deeply flavorful.
Notes and substitutions
Pacific halibut is ideal for this recipe because of its thick, firm fillets that hold up well to searing. If halibut is unavailable, other firm white fish like cod or sea bass work beautifully.
Look for fillets that are about 1 inch thick so they cook evenly. Sweet white miso is milder and less salty than darker varieties; if using yellow or red miso, reduce the amount to avoid overpowering the dish.
A cast iron skillet is perfect for achieving a golden crust on the fish and mushrooms. It retains heat well and gives a nice sear. If you don't have cast iron, a heavy stainless steel skillet will also work.
Use a neutral oil with a high smoke point, like canola or grapeseed, to sear the fish without burning. Fresh ginger is essential here; pre-ground ginger won't provide the same bright, aromatic flavor.
- halibut: cod, sea bass, or other firm white fish
- shiitake mushrooms: cremini or oyster mushrooms
- baby bok choy: broccolini or asparagus
- white miso: yellow miso (reduce to 2 tbsp if using darker miso)
Equipment
- Box grater
- Large cast iron skillet
- Fish spatula
- Chef's knife
- Cutting board
Up next · Part 2 of 3
7 steps · 20 min of cooking · what to look for at each stage
Step-by-step instructions (Part 2)