Desserts · Part 1 of 3: Ingredients
Mexican Spiced Hot Chocolate Lava Cakes for a Decadent Dessert
- Prep
- Cook
- Total
- Serves
- 4
Discover the secret to the ultimate molten lava cake with a bold Mexican-inspired twist. This recipe combines the deep, complex notes of stone-ground chocolate with the aromatic warmth of cinnamon and the subtle, spicy kick of cayenne pepper.
It is a sophisticated dessert that feels like a professional creation yet comes together with ease in any home kitchen. Whether hosting a dinner party or simply treating yourself, this recipe delivers a luxurious, restaurant-quality experience that is sure to leave a lasting impression on every guest.
These Mexican spiced hot chocolate lava cakes are designed for those who appreciate the interplay of rich dark chocolate and warm, inviting spices.
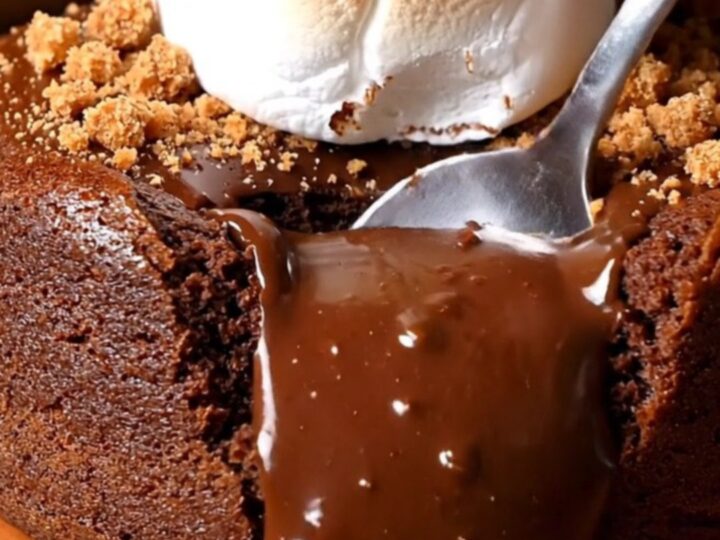
By utilizing both traditional stone-ground chocolate and high-quality dark chocolate, the base achieves a glossy, velvety texture that contrasts beautifully with the crispy churro crumble topping.
The addition of cayenne pepper provides a gentle heat that cuts through the richness of the chocolate, elevating the flavor profile far beyond a standard dessert.
Each portion is baked to individual perfection, ensuring that every serving features a perfectly set exterior and a warm, flowing center that delights the senses from the very first bite.
Ingredients
Cake Batter
- 4 oz Mexican stone-ground chocolate, grated
- 4 oz dark chocolate
- 4 oz butter
- 1 tsp cinnamon
- 1 tsp vanilla extract
- 1 pinch cayenne pepper
- 2 large eggs
- 1/4 cup granulated sugar
Topping
- 4 large marshmallows, charred
- 1/3 cup churro crumble
Why this recipe works
The method of melting the chocolate and butter together creates a stable, emulsified base that ensures a smooth, consistent texture throughout the cake. By whisking the eggs and sugar separately until pale, air is incorporated into the batter, which helps the cakes rise slightly while keeping the interior dense and molten.
Baking at a high temperature of 425°F is crucial for the success of this recipe. This blast of heat quickly sets the outer edges of the cake, creating a structured shell that traps the molten center, while the short duration prevents the middle from cooking through, preserving the signature lava effect.
Notes and substitutions
Mexican stone-ground chocolate is essential for the authentic gritty texture and specific flavor notes of cinnamon and almond that it imparts. If this variety is unavailable, high-quality dark chocolate can be used, but ensure you increase the amount of cinnamon to maintain the intended flavor profile.
The choice of ramekins is important for consistent baking times. Using four-ounce ceramic ramekins ensures that the ratio of cooked cake to molten center remains balanced. Always ensure the ramekins are thoroughly greased to allow for easy removal if you choose to invert the cakes onto plates before serving.
- Mexican stone-ground chocolate: Substitute with additional dark chocolate plus a half teaspoon of extra ground cinnamon.
- Churro crumble: Use crushed cinnamon graham crackers or snickerdoodle cookies as a crunchy topping alternative.
Equipment
- Mixing bowl
- Whisk
- Grater
- Ramekins
- Baking sheet
- Kitchen torch
Up next · Part 2 of 3
3 steps · 12 min of cooking · what to look for at each stage
Step-by-step instructions (Part 2)