Dinner · Part 2 of 3: Instructions
Melt-In-Your-Mouth Parmesan Herb Crusted Chicken Step-by-step instructions
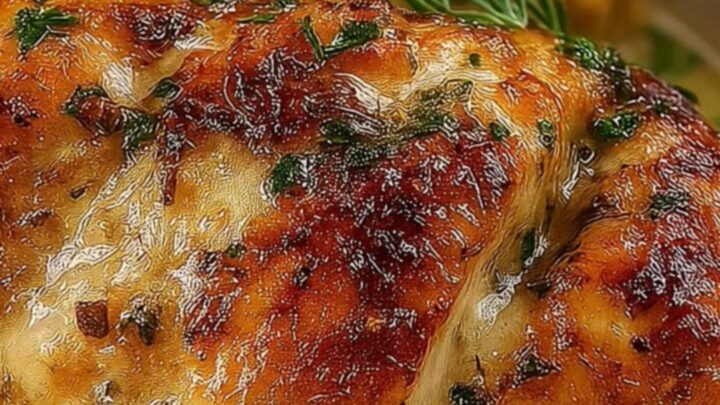
- Prep
- Cook
- Total
- Serves
- 4
Before you start
Before you begin, ensure that your oven is fully preheated to 400°F (200°C). Take your chicken breasts out of the refrigerator about 20 minutes before cooking to help them come closer to room temperature, which promotes more even cooking throughout the thickness of the meat.
Prepare your baking dish by lightly greasing it if necessary. Have all your ingredients measured and ready to go, and ensure you have a clean workspace for handling raw poultry safely.
Ingredients at a glance (3)
- 4 pieces boneless, skinless chicken breasts
- 1/2 cup grated parmesan cheese
- 1 tbsp dried Italian herbs
Instructions
Creating the crust
- Prepare the crust mixtureIn a small bowl, combine the grated parmesan cheese and dried Italian herbs. Stir the ingredients together until they are well combined, creating a dry mixture that will coat the chicken effectively during the baking process.Look for The mixture should be evenly blended.Tip Ensure the cheese is finely grated so it melts evenly into the crust.
The mixture should be fragrant and consistent in texture. Ensure the herbs are evenly distributed throughout the parmesan so that every bite of the finished chicken contains the same balance of flavors.
If the mixture appears too dry, ensure you are pressing it firmly onto the chicken so that the moisture from the meat helps the crust adhere during the baking process.
Baking the chicken
- Coat and bake the chickenPlace the chicken breasts into the baking dish. Spread the parmesan-herb mixture generously over the top of each piece, pressing gently so it adheres. Bake in a preheated oven at 400°F (200°C) until the chicken is cooked through to 165°F (74°C).Look for The crust should be deep golden brown.Safe temperature 165°F (74°C) internal temperature (poultry)Tip Do not overcrowd the baking dish to ensure even cooking.
The chicken should be arranged in the baking dish without overlapping. As it bakes, you will hear a faint, pleasant sizzling sound and notice the kitchen filling with a rich, savory aroma. The crust will transition from a pale, loose mixture to a solid, deep golden-brown layer that clings to the top of each breast piece.
Resting and final presentation
- Rest and serveRemove the baking dish from the oven and allow the chicken to rest for at least 5 minutes before serving. This step ensures that the juices redistribute throughout the meat, keeping each bite moist and tender when you slice into it.Look for The juices should be clear.Tip Use a sharp spatula to lift the chicken to keep the crust intact.
Once removed from the oven, the chicken should rest undisturbed. The juices will settle, and the crust will firm up slightly as it cools. The meat should feel tender and yield slightly to pressure. Before serving, ensure the internal temperature remains at the safe level and the meat looks moist and steaming as you transfer it to your serving plates.
Common mistakes
Avoid using chicken breasts that are too thick or uneven, as this leads to inconsistent cooking where the exterior burns before the interior is safe. Do not skip the resting phase, as cutting into the chicken immediately causes all the flavorful juices to escape onto the plate.
Another common error is using low-quality cheese, which prevents the parmesan from browning properly and results in a dry, lackluster topping rather than a rich, savory crust.
How to tell it’s done
The chicken is perfectly done when the internal temperature reaches 165°F (74°C) at the thickest part of the breast. When you insert a thermometer, it should slide in easily without resistance. The juices should run clear, and the parmesan crust should be firm, golden-brown, and fragrant.
Avoid overcooking the chicken, as even a few extra minutes in the oven can cause the meat to lose its signature juiciness and tenderness, which is the hallmark of this particular preparation method.
- Poultry: 165°F (74°C) in the thickest part
Up next · Part 3 of 3
2 variations · storage & make-ahead · 3 answers · printable card
Tips, FAQ & printable recipe (Part 3)← Back to the ingredients (Part 1)