Drinks · Part 1 of 3: Ingredients
Lychee Raspberry Rose Coconut Snow Smoothie Cooler
- Prep
- Cook
- Total
- Serves
- 2
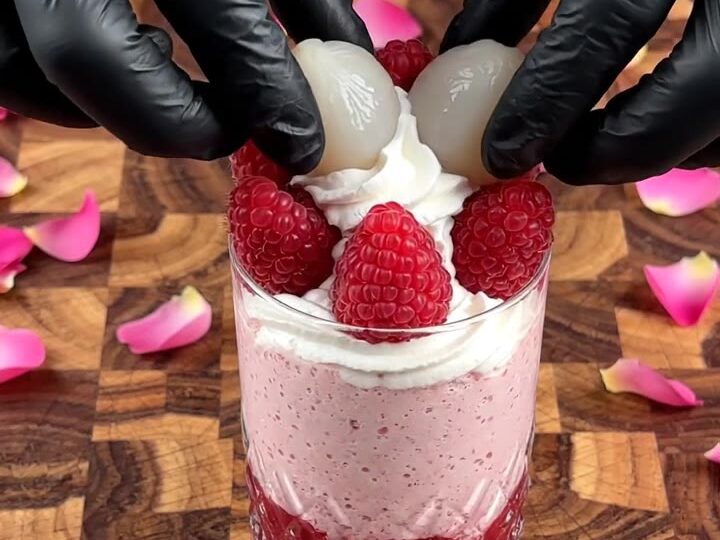
Picture a glass of cold, pale pink smoothie with a deep raspberry-red layer settling at the bottom and a generous swirl of whipped cream on top. Fresh lychees, raspberries and dragon fruit blend with ice and a touch of rose, then finish with fine coconut snow that smells faintly floral. It is a bright, refreshing drink you can put together in a single blender run.
This lychee raspberry rose cooler is a chilled drink built around fresh fruit and a snowy finish of grated coconut. The lychees bring a perfumed sweetness, the raspberries add tartness and color, and the dragon fruit gives a soft, pale body to the blend. Ice keeps the drink very cold and thick, while the rose flavoring adds a floral note that pairs naturally with lychee.
The method is short and simple: prepare the fruit, grate the coconut, blend everything on high, and pour into a clear glass. Because the ingredients are chilled and the blend is quick, the drink is ready in about fifteen minutes and is best served the moment it is finished.
Ingredients
- 1 cup fresh lychees, peeled and pitted
- 1/2 cup fresh raspberries
- 1 cup dragon fruit, cubed and halved
- 2 oz block of white coconut, for grating
- 1 cup ice cubes
- 1/2 tsp rose flavoring
- whipped cream, for topping, to taste
Why this recipe works
The order of preparation matters for texture and appearance. Peeling and cutting the fruit first means every piece goes into the blender ready to break down evenly, so the finished drink is smooth rather than grainy. Grating the coconut separately, as fine shavings, lets it disperse through the liquid and also gives you a dry, snowy garnish to sprinkle on top at the end.
Blending everything together with ice on high creates a thick, cold, uniformly pale pink drink. The ice chills and thickens the blend while the fruit provides body and flavor.
Pouring the smoothie into a clear glass reveals the denser raspberry-red layer that settles at the bottom, which is the visual signature of this cooler. Finishing with whipped cream adds softness and a contrast of temperature and texture that makes each sip feel rich and refreshing at once.
Notes and substitutions
Choose lychees that are firm but give slightly when pressed, and peel them carefully so no skin reaches the blender. Fresh raspberries should be bright and dry; rinse them only briefly and drain well so the drink is not diluted.
Dragon fruit is available in pink or white varieties. Pink dragon fruit gives a deeper color, while white dragon fruit makes the smoothie paler. Either works, as long as the flesh is ripe and sweet.
A glass blender pitcher is the most useful piece of equipment, since it handles ice and fruit without strain. A box grater is needed for the fine coconut shavings, and a large knife with a wooden cutting board makes cutting the dragon fruit safer and easier.
Use a clear glass so the layers are visible. For a less sweet drink, reduce the rose flavoring or add it gradually; rose flavoring is strong, so a few drops of rose water can replace it if you prefer a lighter floral taste.
- fresh lychees: canned lychees, drained well, for a softer and sweeter result
- dragon fruit: additional raspberries or diced mango for a different color
- rose flavoring: a few drops of rose water, added sparingly to taste
Equipment
- Glass blender pitcher
- Box grater
- Large knife
- Wooden cutting board
- Clear glass for serving
- Gloves