Drinks · Part 1 of 3: Ingredients
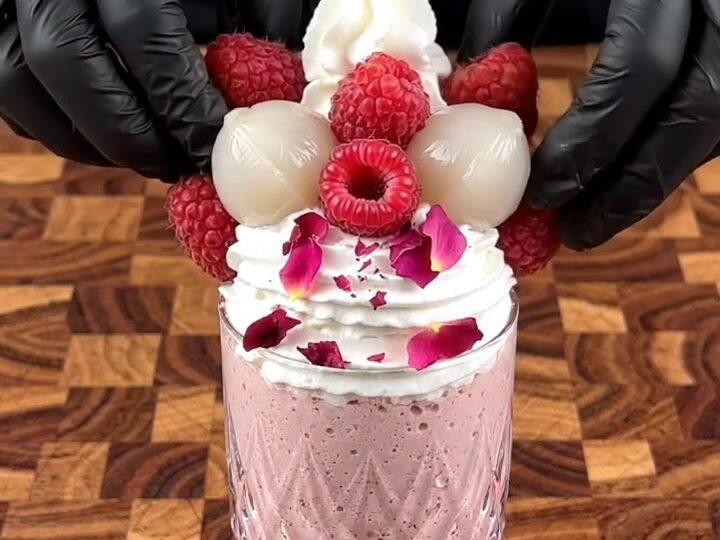
Lychee Raspberry Rose Coconut Snow Smoothie Cooler
- Prep
- Cook
- Total
- Serves
- 2
This lychee raspberry rose coconut snow smoothie cooler is a frosty, blush-pink drink that tastes like a tropical dessert in a glass. Sweet lychees, tart raspberries, and creamy coconut blend into a thick, snow-like texture, while delicate white chocolate curls add a touch of elegance.
Ready in just 10 minutes, it's a stunning treat for brunches, baby showers, or any afternoon that calls for something pretty and refreshing.
Imagine a smoothie that feels like soft snow on your tongue, with the floral sweetness of lychee, the bright tang of raspberries, and the rich creaminess of coconut. That's exactly what this cooler delivers.
The pink dragon fruit gives it a natural rosy hue, and the white chocolate curls on top add a delicate crunch. It's a no-cook, blender-only recipe that comes together in minutes, making it perfect for warm days or when you want a showstopping drink without fuss.
Ingredients
- 1/2 cup diced pink dragon fruit
- 1 cup fresh or canned lychees, drained
- 2 oz white coverture chocolate, grated into curls
- 1 cup fresh raspberries, plus more for garnish
- 1/2 cup coconut cream
- 1 cup crushed ice
For serving
- 1/2 cup whipped coconut cream, for serving
- 4 whole lychees, for serving
Why this recipe works
The combination of frozen fruit and crushed ice creates a thick, spoonable texture that mimics snow, while the coconut cream adds richness without making the drink heavy.
Blending everything at high speed incorporates air, giving the smoothie a light, fluffy consistency that feels indulgent yet refreshing. The natural sweetness of lychees and dragon fruit balances the tartness of raspberries, so you don't need extra sugar.
Grating white chocolate into curls is a simple technique that transforms the drink into a visual treat. The curls melt slightly on contact with the cold smoothie, adding little pockets of creamy sweetness. Using a glass blender pitcher lets you watch the swirl of pink and white as it blends, which is part of the fun. This recipe is as much about the experience as the taste.
Notes and substitutions
Lychees can be fresh or canned; if using canned, drain them well to avoid thinning the smoothie. Pink dragon fruit is available in many supermarkets, but if you can't find it, frozen pitaya puree works beautifully. For the white chocolate, choose a good-quality coverture bar—it grates into finer, more delicate curls that look stunning on top of the drink.
Coconut cream is the thick, rich layer that separates from coconut milk; use the canned kind, not cream of coconut, which is sweetened. If your coconut cream is very firm, let it sit at room temperature for a few minutes before scooping.
For a dairy-free version, ensure your white chocolate is labeled dairy-free, and use a coconut-based whipped topping instead of regular whipped cream.
- pink dragon fruit: Frozen pink pitaya puree or a handful of fresh strawberries for similar color and sweetness.
- white coverture chocolate: High-quality white chocolate bar, well-chilled for easier grating.
- coconut cream: Full-fat coconut milk (use the thick top layer) or heavy cream for a richer texture.
- fresh raspberries: Frozen raspberries (thaw slightly) work well; reduce ice slightly to keep the thickness.
Equipment
- Box grater
- Cutting board
- Chef's knife
- Glass blender pitcher
- Blender
- Crystal glasses