Drinks · Part 1 of 3: Ingredients
Lychee Raspberry Rose Coconut Snow Smoothie Cooler in Ten Minutes
- Prep
- Cook
- Total
- Serves
- 2
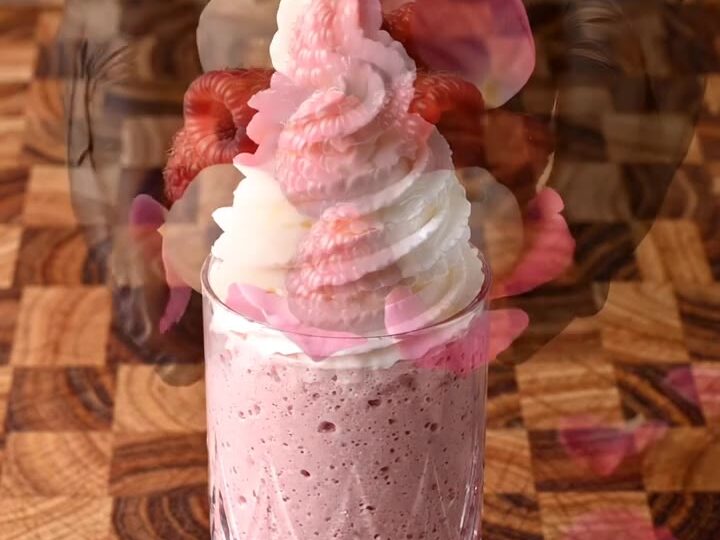
Imagine a tall glass that looks like a sunset: a deep raspberry red band at the bottom, a soft pink lychee smoothie in the middle, and a swirl of cream crowned with fine white coconut snow. This cooler comes together quickly from fresh fruit, a handful of ice and a few simple toppings, and every layer adds its own texture and flavour to each sip.
This lychee raspberry rose coconut snow smoothie cooler is built from pink dragon fruit, peeled lychees and fresh raspberries, blended with ice into a thick, pale pink drink. The fruit is simple and seasonal, and the presentation does most of the work.
A layer of raspberry syrup or purée sits at the bottom of each tall glass, the smoothie rises above it in a creamy band, and a piped swirl of whipped cream carries grated coconut snow on top. Plan on about fifteen minutes from the cutting board to the table, and serve the cooler immediately so the layers stay sharp and the topping stays light.
Ingredients
- 1 pink dragon fruit, peeled and cut into cubes and wedges
- 8 oz fresh lychees, peeled and pitted
- 1 cup fresh raspberries
- 1 cup ice cubes
Base and topping
- 2 tbsp raspberry syrup or raspberry purée, for the glass base
- 1/2 cup heavy cream, whipped to soft peaks, for piping
- 2 oz firm white coconut block, for grating into coconut snow
Why this recipe works
The fruit goes into the blender raw and cold, so the smoothie gets its body from the flesh of the lychees and dragon fruit rather than from any thickener. Ice does the rest, chilling the drink while giving it the thick, spoonable texture that holds a layer above the red base. Blending the fruit with ice in a single pass is what turns it into a smooth, pale pink mixture in seconds.
The layering works because the raspberry syrup or purée is denser and sweeter than the smoothie, so it stays at the bottom when the pink drink is poured gently over it.
Pouring slowly down the side of the glass keeps the two colours separate, which is the reason the base shows a deep red band beneath the creamy middle. The cream and coconut snow go on last, so their soft texture and fine white shavings stay visible on top.
Notes and substitutions
Choose lychees that are firm and fragrant, with a pale, glossy skin. Peel them just before blending, because the flesh darkens as it sits.
Canned lychees are a practical alternative when fresh fruit is out of season; drain them well so the smoothie does not turn watery. Pink dragon fruit gives the drink its colour, so look for flesh that is bright and evenly pink with small black seeds.
You need a chef's knife and a wooden board for the fruit, a box grater for the coconut snow, and a glass blender jar that can handle a generous amount of ice. Tall crystal glasses show the layers best.
A piping bag with a star tip gives the whipped cream its height; a spoon works if you do not have one, but the swirl will be less defined. Chill the glasses and the grated coconut before assembling for the cleanest result.
- heavy cream: chilled coconut cream, whipped, for a dairy-free version
- raspberry syrup or purée: thawed frozen raspberries blended with a spoon of sugar
- fresh lychees: canned lychees, drained well
Equipment
- Chef's knife
- Wooden cutting board
- Box grater
- Glass blender jar
- Tall crystal glasses
- Piping bag with a star tip
- Mixing bowl and hand whisk or stand mixer