Dinner · Part 1 of 3: Ingredients
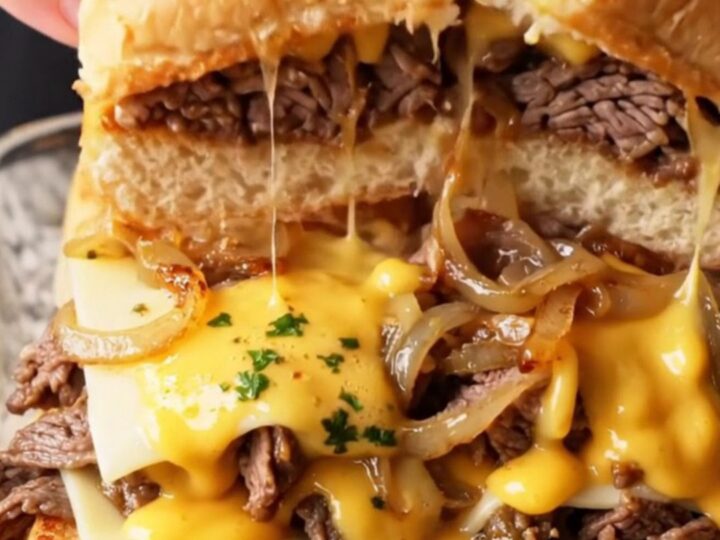
Loaded Philly Cheesesteak Sliders with Caramelized Onions and Cheese Whiz
- Prep
- Cook
- Total
- Serves
- 12
These loaded Philly cheesesteak sliders pack all the savory, cheesy goodness of a classic cheesesteak into soft, sweet Hawaiian rolls. Shaved ribeye is seared with Worcestershire, piled over provolone, and finished with a pour of warm Cheese Whiz.
Baked until golden and bubbling, they pull apart with long cheese strings that make them impossible to resist. Perfect for game day, parties, or an easy weeknight dinner that feels like a treat.
The combination of sweet, pillowy Hawaiian rolls and rich, savory cheesesteak filling is pure magic. Caramelized onions add deep sweetness, while the double cheese layer—provolone and Cheese Whiz—brings that unmistakable Philly flavor.
The rolls bake until the tops are golden and the edges are crispy, while the center stays soft and gooey. Each slider is a self-contained portion, making them ideal for feeding a crowd or for a fun family dinner. The contrast of textures and temperatures, from the warm, juicy steak to the toasted bun, makes every bite satisfying.
Ingredients
- 12 connected Hawaiian sweet dinner rolls
- 400 g thinly shaved ribeye steak
- 2 large onions, sliced
- 2 tbsp butter
- 1 tbsp Worcestershire sauce
- 150 g warm melted Cheese Whiz
- 6 slices provolone cheese
- 2 tbsp melted garlic herb butter
Why this recipe works
Using connected Hawaiian rolls keeps the sliders intact and makes assembly effortless. The sweet, airy rolls contrast beautifully with the savory beef and sharp cheese, creating a balanced flavor profile.
Slicing them as a whole slab allows the filling to be distributed evenly, so every slider gets the same generous amount of meat and cheese. Baking the assembled sliders melts the cheese into a cohesive, gooey layer that holds everything together.
Searing the shaved ribeye over high heat develops a deep, beefy crust while keeping the meat tender. The Worcestershire sauce adds umami and a subtle tang that mimics the classic cheesesteak seasoning. Caramelizing the onions slowly in butter draws out their natural sugars, turning them sweet and jammy. Topping with Cheese Whiz before baking ensures a creamy, melty sauce that seeps into every crevice.
Notes and substitutions
Shaved ribeye is available at many butcher counters or can be sliced from a partially frozen steak. If shaved steak is not available, ask the butcher to slice it very thin.
The Hawaiian rolls are sweet and soft; if preferred, brioche slider buns can be used, but they may not hold together as well. Cheese Whiz is the classic choice, but a homemade provolone sauce made with melted provolone and a splash of milk works beautifully.
Garlic herb butter can be store-bought or made by mixing melted butter with minced garlic and chopped parsley. Use a good-quality Worcestershire sauce for the best flavor. The baking dish should be just large enough to hold the rolls snugly, so the filling stays inside. For extra richness, brush the cut sides of the rolls with butter before assembling, though this is optional.
- Cheese Whiz: Provolone sauce (melt provolone with a splash of milk)
- Hawaiian sweet rolls: Brioche slider buns
- Ribeye steak: Thinly sliced sirloin or flank steak
- Garlic herb butter: Melted butter mixed with dried parsley and garlic powder
Equipment
- Large skillet
- Baking dish (9x13-inch)
- Pastry brush
- Chef's knife
- Cutting board
Up next · Part 2 of 3
5 steps · 25 min of cooking · what to look for at each stage
Step-by-step instructions (Part 2)