Dinner · Part 1 of 3: Ingredients
Loaded Chicken Fry Dürüm Wrap with Cheddar
- Prep
- Cook
- Total
- Serves
- 2
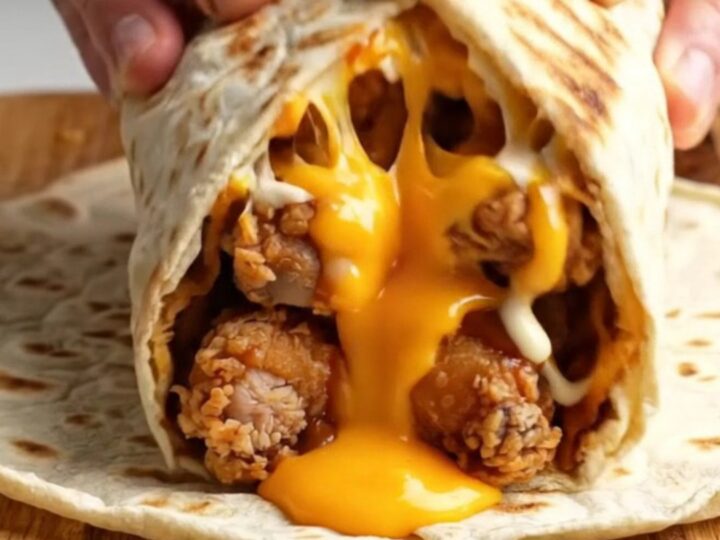
Imagine biting into a warm, toasted flatbread that cracks open to reveal a river of molten cheddar, crispy fries, crunchy chicken tenders, golden onion rings, and tangy pickles, all tied together with a trio of sauces.
This loaded chicken fry dürüm wrap is a feast for the senses—golden, mouthwatering, and bursting with flavor. It's the kind of meal that turns an ordinary dinner into a celebration, and it comes together in under 30 minutes.
This dürüm wrap takes the beloved Turkish street food and fills it with a fully loaded feast: crispy French fries, melty cheddar, crunchy fried chicken, onion rings, lettuce, and pickles, all drizzled with sweet chili, chipotle, and garlic mayo.
The wrap is rolled tight, toasted until golden, and sliced to reveal its glorious interior. It's a hearty, satisfying dinner that's perfect for game day or any night when cravings call for something indulgent.
Ingredients
- 200 g frozen French fries
- 2 slices cheddar cheese
- 150 g crispy fried chicken tenders
- 2 deep-fried onion rings
- 1 cup shredded iceberg lettuce
- 1/2 cup sliced dill pickles
Sauces
- 2 tbsp sweet chili sauce
- 2 tbsp creamy chipotle burger sauce
- 2 tbsp garlic mayonnaise
- 2 large Turkish lavaş flatbreads
Why this recipe works
The magic of this wrap lies in the contrast of textures. Hot, crispy fries and crunchy chicken tenders are tucked against the cool crunch of lettuce and pickles, while the cheddar melts into every nook and cranny.
The sauces—sweet, smoky, and creamy—bind everything together without making the filling soggy. Toasting the assembled wrap on both sides creates a golden, crisp exterior that seals in the juices and adds a satisfying crackle with every bite.
Using lavaş flatbread is key: it's thin, pliable, and sturdy enough to hold a generous filling without tearing. Warming it before rolling makes it even more flexible, ensuring a tight, compact wrap that stays intact when sliced.
The final toast on a hot skillet not only browns the bread but also re-crisps the fries and fully melts the cheese, creating a cohesive, irresistible package.
Notes and substitutions
Frozen French fries are a convenient base, but leftover homemade fries work beautifully too. If using fresh fries, make sure they are thoroughly cooked and crispy before adding to the wrap. The chicken tenders should be pre-cooked and crispy—use store-bought or homemade, but ensure they are hot when assembling so the cheese melts.
Lavaş flatbreads are available at Middle Eastern markets or online; if unavailable, large flour tortillas or yufka make good substitutes. The sauces can be adjusted to taste—use more or less of each, or swap the chipotle sauce for a smoky barbecue sauce. The key is to have a balance of sweet, spicy, and creamy.
- Lavaş flatbreads: Large flour tortillas or other flatbreads like pita or yufka can be used.
- Creamy chipotle burger sauce: Use a mix of mayonnaise and chipotle hot sauce, or any creamy spicy sauce.
- Garlic mayonnaise: Regular mayonnaise mixed with a minced garlic clove works well.
- Frozen French fries: Homemade baked fries or even leftover fries can be used; just ensure they are hot and crispy.
Equipment
- Baking sheet
- Aluminum foil
- Large bowl
- Cutting board
- Sharp knife
- Skillet or griddle
- Tongs
Up next · Part 2 of 3
7 steps · 15 min of cooking · what to look for at each stage
Step-by-step instructions (Part 2)