Dinner · Part 2 of 3: Instructions
Loaded Beef Nacho Bake for Easy Weeknight Dinners Step-by-step instructions
- Prep
- Cook
- Total
- Serves
- 6
Before you start
Before beginning the assembly, ensure all ingredients are measured and ready. Dice the fresh tomatoes into uniform pieces to ensure they distribute evenly over the final dish. Preheat your oven to the required temperature and ensure the baking dish is clean and dry.
Having the skillet ready for the beef browning step will streamline the process significantly, allowing you to move quickly from the stovetop to the oven assembly without unnecessary delays or kitchen clutter.
Ingredients at a glance (4)
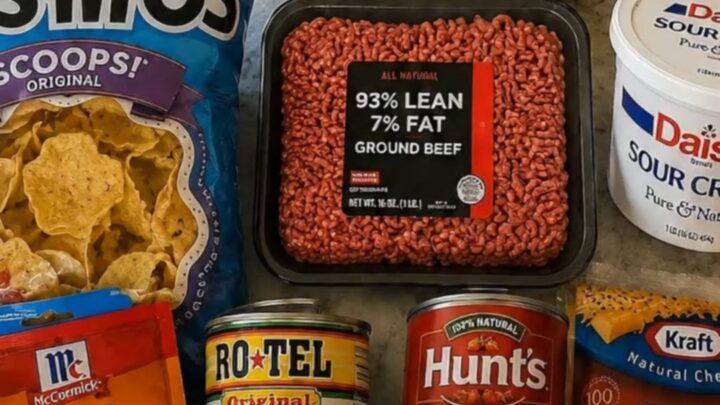
- 10 oz tortilla chips
- 1 lb ground beef
- 3 cups cheddar cheese, shredded
- 1 cup fresh tomatoes, diced
Instructions
Browning the beef
- Prepare the beef fillingHeat a large skillet over medium-high heat. Add the ground beef and cook, breaking it into crumbles with a spatula, until the meat is browned and reaches an internal temperature of 160°F (71°C). Drain any excess fat from the pan once the cooking process is complete.Look for The beef should be fully browned with no pink remaining.Safe temperature 160°F (71°C) internal temperature (ground meat)Tip Season the beef with salt and pepper to taste while browning for better flavor.
The ground beef should be thoroughly cooked and crumbled, with no visible pink remaining. The texture should be consistent throughout the pan, and the fat should be drained off to avoid a greasy end product. Once the beef reaches 160°F (71°C), it is ready for the assembly phase.
Layering the ingredients
- Assemble the nacho layersPreheat the oven to 375°F (190°C). Arrange the tortilla chips in an even layer at the bottom of the 9x13 inch glass baking dish. Spread the browned ground beef evenly over the chips, followed by a generous layer of the shredded cheddar cheese.Look for Ensure the cheese covers the beef layer completely for even melting.Tip Use a deep dish to allow for more layers if desired.
The chips should form a solid, even base in the baking dish. The beef must be distributed uniformly over the chips to ensure each portion has a balanced amount of meat. Finally, the cheese should be spread in an even, thick layer that covers the beef completely to facilitate a smooth melt.
Baking to perfection
- Bake and finishPlace the baking dish in the preheated oven and bake for 10 to 15 minutes, or until the cheese is bubbling and melted. Remove from the oven and scatter the fresh diced tomatoes over the top before serving warm.Look for The cheese should be completely melted and slightly golden around the edges.Tip Let the dish rest for a few minutes before serving to keep the layers intact.
The cheese should be completely melted and bubbling, indicating the internal heat has permeated all layers. The edges may show a light golden color.
After removing the dish from the oven, the fresh tomatoes should be added immediately to provide a cool, bright contrast to the warm, savory base.
Common mistakes
Avoid overcrowding the baking dish with too many layers, which can prevent the center from heating through properly. Another common mistake is failing to drain the fat from the ground beef; excess grease can pool at the bottom of the pan, leading to soggy chips and an oily mouthfeel.
Finally, ensure the tomatoes are not baked in the oven, as they will lose their fresh texture and release excess water, which compromises the crunch of the tortilla chips.
How to tell it’s done
The dish is considered done once the cheddar cheese is fully melted, bubbling across the surface, and shows slight golden-brown spots. The internal temperature of the ground beef must reach 160°F (71°C) during the initial browning phase to ensure it is safe to consume.
The tomatoes should be added immediately after the dish is removed from the oven to maintain their fresh, crisp texture and vibrant color against the warm, melted cheese layer.
- Ground meat: 160°F (71°C) in the thickest part
Up next · Part 3 of 3
2 variations · storage & make-ahead · 3 answers · printable card
Tips, FAQ & printable recipe (Part 3)← Back to the ingredients (Part 1)