Dinner · Part 2 of 3: Instructions
Loaded Beef Nacho Bake for Easy Weeknight Dinners Step-by-step instructions
- Prep
- Cook
- Total
- Serves
- 4
Before you start
Before beginning, ensure all ingredients are ready and within reach. Dice the tomatoes into small, uniform cubes and thinly slice the scallions to ensure they distribute evenly across the finished dish.
Preheat the oven to 375°F (190°C) so it is ready for the baking phase. Having the baking dish clean and dry will prevent the chips from sticking or becoming unnecessarily soggy during the assembly process.
Ingredients at a glance (5)
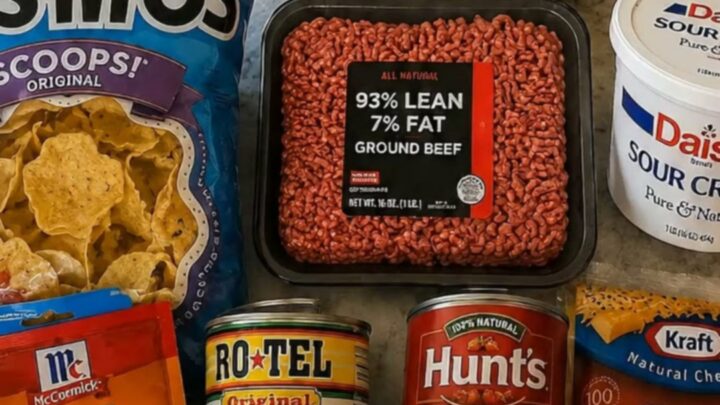
- 1 lb ground beef
- 10 oz tortilla chips (contains gluten)
- 2 cups cheddar cheese, shredded
- 2 medium tomatoes, diced
- 3 stalks scallions, thinly sliced
Instructions
Browning the beef
- Prepare the beef baseHeat a large skillet over medium-high heat. Add the ground beef and cook, breaking it apart with a spatula, until it is fully browned and no longer pink. Ensure the internal temperature reaches 160°F (71°C) to guarantee safety.Look for The beef should be browned and sizzling well.Safe temperature 160°F (71°C) internal temperature (ground meat)Tip Drain excess fat from the skillet before assembling to keep the chips from getting soggy.
The ground beef should be thoroughly browned with no pink remaining. It should be sizzling in the skillet and smell aromatic. Ensure all moisture from the beef has evaporated to prevent a watery nacho bake later on. It is essential to drain any significant amount of rendered fat from the skillet before proceeding to the assembly stage.
Layering the ingredients
- Layer the ingredientsPreheat the oven to 375°F (190°C). In a 9x13 inch baking dish, create an even base layer with the tortilla chips. Spoon the cooked ground beef evenly over the chips, then sprinkle the shredded cheddar cheese generously over the top.Look for The dish should look evenly covered with beef and cheese.Tip Layering chips and beef ensures every bite has enough texture and flavor.
The baking dish should be neatly layered with the chips at the bottom, followed by the beef and the cheese. The cheese should be spread to the edges of the dish to ensure every chip is covered.
The arrangement should look uniform, with the ingredients distributed evenly to guarantee that each serving contains a balanced portion of all the components.
Baking and finishing
- Bake and garnishPlace the baking dish in the preheated oven and bake for 10 to 12 minutes, or until the cheese is bubbling and golden. Remove from the oven, let it rest for 5 minutes, then scatter the diced tomatoes and sliced scallions over the top before serving.Look for The cheese should be completely melted and slightly golden on the edges.Tip Adding fresh vegetables after baking keeps them crisp and vibrant.
The cheese should be melted and bubbling, with a golden hue that indicates it is perfectly cooked. The kitchen should smell savory and cheesy. Once removed from the oven, the dish should be allowed to sit for a few minutes. This resting period allows the cheese to set slightly, making it easier to portion and ensuring the ingredients stay together.
Common mistakes
A common mistake is overcrowding the baking dish, which prevents the cheese from melting uniformly and creates uneven textures. Another error is failing to drain the ground beef after browning; excess grease can pool at the bottom of the dish, making the chips soggy and unappealing.
Finally, adding the fresh tomatoes and scallions before baking will cause them to release water and lose their vibrant texture, ruining the final presentation of the dish.
How to tell it’s done
The dish is done when the cheddar cheese is completely melted, bubbling across the entire surface, and showing slight golden-brown spots. The ground beef should have been fully cooked to an internal temperature of 160°F (71°C) before the assembly phase.
The chips should be warm and crisp, not soft. A quick check with a thermometer in the center of the beef layer confirms it has reached the appropriate temperature.
- Ground meat: 160°F (71°C) in the thickest part
Up next · Part 3 of 3
2 variations · storage & make-ahead · 3 answers · printable card
Tips, FAQ & printable recipe (Part 3)← Back to the ingredients (Part 1)