Appetizers · Part 1 of 3: Ingredients
Loaded Baked Potato Dip with Crispy Kettle-Chip Scoops
- Prep
- Cook
- Total
- Serves
- 8
This loaded baked potato dip brings everything you love about a fully loaded baked potato into one bubbling cast-iron skillet. Creamy, tangy, and packed with sharp cheddar, crispy bacon, and roasted garlic, it's the ultimate game-day appetizer.
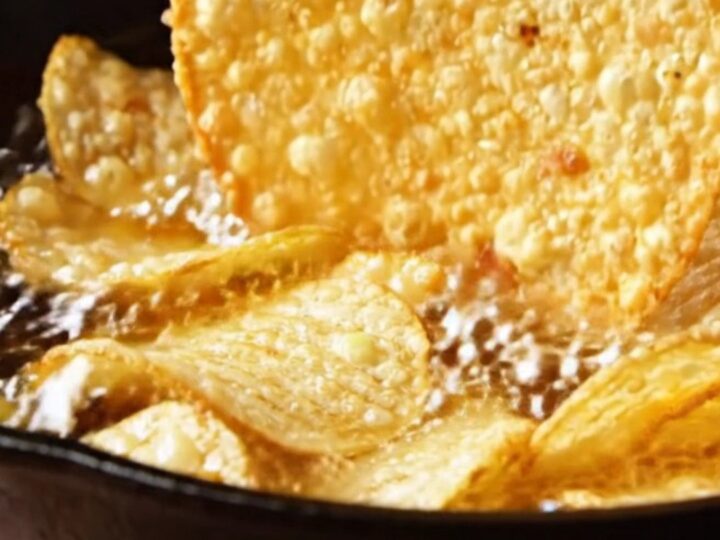
But the real showstopper? The homemade kettle chips—thin, blistered, and fried until golden—are made for scooping up that molten cheese pull. With just a handful of ingredients and a quick bake, this dip comes together fast and disappears even faster.
This dip starts with a base of whipped cream cheese and sour cream, folded together with diced crispy-skin baked potatoes, sharp cheddar, and crispy bacon. The whole thing bakes until bubbling and golden, creating a rich, savory dip with a slightly crisp top and a creamy, gooey center.
The homemade kettle chips are sliced thin on a mandoline, fried until curly and blistered, then salted while still warm. They're the perfect vehicle for scooping up every last bit of the cheesy potato goodness.
Ingredients
- 8 oz cream cheese, softened
- 2/3 cup sour cream
- 1 1/4 cups diced crispy-skin baked Russet potatoes
- 1 1/2 cups shredded sharp cheddar cheese
- 2/3 cup crispy cooked bacon, crumbled
- 1/2 cup sliced scallions
For the kettle chips
- 2 medium Russet potatoes, scrubbed
- 3 cups vegetable oil, for frying
- 1 tsp flaky sea salt
Why this recipe works
The method here is all about layering textures and flavors. Whipping the cream cheese and sour cream together first aerates the base, making it light and fluffy rather than dense.
Folding in the diced baked potatoes adds tender chunks that contrast with the crispy bacon and the crunchy kettle chips. Baking at a high temperature caramelizes the top layer of cheese, creating a golden crust while the interior stays molten and creamy.
The kettle chips are fried at 360°F, which is hot enough to crisp them quickly without burning. Slicing them to 1.5mm ensures they cook through evenly and curl up into those signature blistered shapes. The high heat also drives off moisture quickly, so the chips stay crunchy even after being scooped through the hot dip. This two-part approach—bake the dip, fry the chips—keeps every element at its peak.
Notes and substitutions
Use full-fat cream cheese and sour cream for the richest, most stable dip. Softened cream cheese blends more smoothly and prevents lumps. Sharp cheddar gives the most pronounced cheese flavor; feel free to experiment with smoked gouda or a mix of cheeses. The baked potatoes should have crispy skin—baking them ahead and letting them cool slightly before dicing makes them easier to handle.
For the kettle chips, a mandoline is essential for achieving the thin, even slices. If you don't have one, a very sharp knife and a steady hand can work, but thickness will vary.
Use a neutral oil with a high smoke point, like vegetable or canola. Salt the chips immediately after frying so the salt sticks. If you're short on time, store-bought kettle chips are a fine substitute, but homemade are worth the effort.
- sharp cheddar: smoked gouda or Monterey Jack for a different flavor
- sour cream: plain Greek yogurt (full-fat) for tang
- Russet potatoes: Yukon Gold potatoes for a buttery flavor
Equipment
- 10-inch cast-iron skillet
- Mandoline slicer
- Deep frying thermometer
- Large heavy pot or Dutch oven
Up next · Part 2 of 3
4 steps · 21 min of cooking · what to look for at each stage
Step-by-step instructions (Part 2)