Appetizers · Part 1 of 3: Ingredients
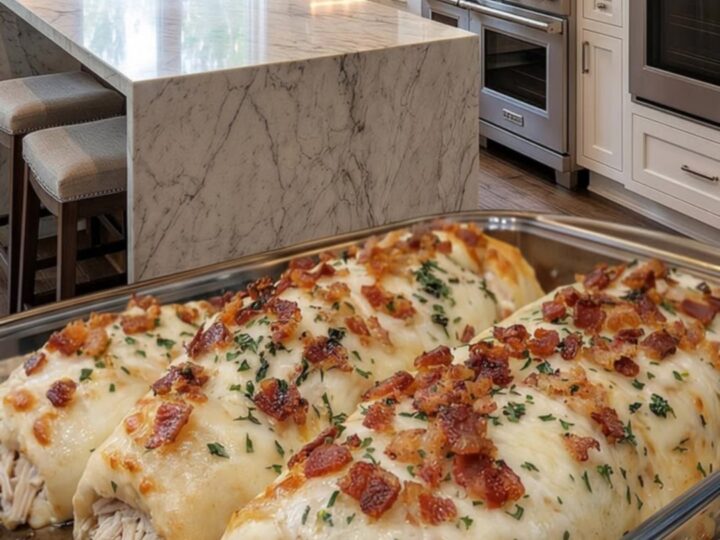
Loaded Bacon Chicken Alfredo Stuffed Breadstick Bombs
- Prep
- Cook
- Total
- Serves
- 8
Transform simple pantry staples into a gourmet appetizer that everyone will crave. These loaded chicken alfredo breadstick bombs offer a perfect balance of crispy dough, creamy sauce, and salty, smoky bacon in every single bite. They are designed to be the highlight of your next gathering, providing a satisfying, handheld experience that combines the best parts of a classic pasta dish with the convenience of a warm, cheesy snack.
These breadstick bombs are a crowd-pleasing delight that brings together the rich flavors of a classic creamy alfredo sauce with tender chicken and crispy bacon. Encased in a soft, golden-baked dough, they offer a gooey cheese pull that is sure to impress any guest.
Whether you are hosting a casual game night or looking for a special weekend treat, this recipe delivers consistent results with minimal effort. The combination of garlic-buttered crust and savory filling makes these rolls an unforgettable addition to any snack table or appetizer menu.
Ingredients
Dough
- 1 can refrigerated pizza dough
Filling
- 1 cup cooked chicken breast, shredded
- 1/2 cup alfredo sauce
- 1 cup mozzarella cheese, shredded
- 6 slices bacon, cooked and crumbled
Topping
- 2 tbsp unsalted butter, melted
- 1 tsp garlic powder
- 1 tbsp fresh parsley, chopped
Why this recipe works
The method of using pre-made dough ensures that you achieve a professional, bakery-style crust without the time-consuming process of proofing yeast dough from scratch. By sealing the filling tightly within the dough, the moisture from the alfredo sauce and chicken is trapped inside, creating a steam-baked effect that keeps the filling exceptionally creamy and prevents the dough from drying out while the exterior turns golden and crisp.
Additionally, the two-stage approach to topping the rolls allows for distinct flavor and textural layers. The initial brush of garlic butter infuses the dough with aromatic flavor during the baking process, while the final addition of fresh parsley and crisp bacon bits provides a bright, crunchy finish that contrasts beautifully with the soft, molten interior.
This balance of textures is what elevates a simple bread roll into a sophisticated, loaded snack that feels truly special.
Notes and substitutions
For the best results, use a high-quality jarred alfredo sauce or your favorite homemade version; the thicker the sauce, the easier it will be to keep the bombs sealed.
If you prefer a more intense garlic flavor, you can add a pinch of garlic salt to the melted butter or stir in a small amount of freshly minced garlic instead of the powder. Ensure your chicken is fully cooked and cooled before mixing to avoid making the dough too soft or difficult to handle.
When it comes to equipment, a glass or ceramic baking dish works best as it distributes heat evenly, ensuring the bottoms of the rolls cook through without burning.
If you find the dough is tearing while you work, simply patch it with a small piece of excess dough and pinch to seal; the oven heat will fuse the dough together seamlessly. You can easily adjust the quantity of bacon to suit your preference, but do not skip the final topping as it adds essential crunch.
- refrigerated pizza dough: store-bought biscuit dough or crescent roll dough
- shredded mozzarella: provolone or monterey jack cheese
Equipment
- baking dish
- mixing bowl
- pastry brush
- knife
- cutting board
Up next · Part 2 of 3
3 steps · 20 min of cooking · what to look for at each stage
Step-by-step instructions (Part 2)