Dinner · Part 1 of 3: Ingredients
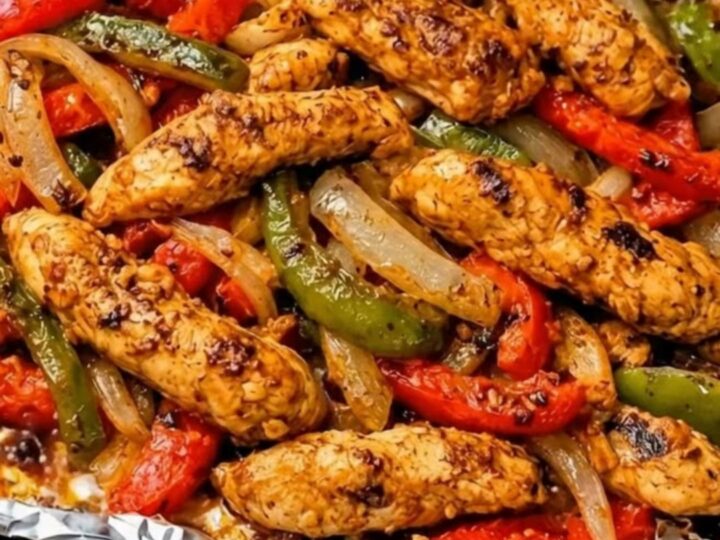
Juicy Sheet Pan Chicken Fajitas for a Quick Dinner
- Prep
- Cook
- Total
- Serves
- 4
Transform your weeknight dinner routine with these effortless sheet pan chicken fajitas. By roasting seasoned chicken strips alongside vibrant bell peppers and onions, you create a deeply flavorful meal that requires minimal active time.
The high heat of the oven locks in the juices while providing that signature charred finish everyone loves. This method replaces multiple pans with a single tray, meaning you spend less time cleaning and more time enjoying a delicious, restaurant-style meal right at home.
Sheet pan cooking is the ultimate solution for home cooks seeking efficiency without sacrificing quality. This recipe relies on the simplicity of high-heat roasting to develop complex flavors.
The combination of tender chicken and caramelized vegetables creates a satisfying meal that is as visually appealing as it is tasty. Whether you are cooking for a family or preparing a quick dinner for yourself, this approach guarantees a consistent result every time, making it a reliable staple for any busy schedule.
Ingredients
Main
- 1 1/2 lb chicken breast strips
Vegetables
- 3 large bell peppers, sliced into strips
- 1 large red onion, sliced into strips
Seasoning
- 1 large fresh lime, juiced
- 1 tbsp fajita seasoning
Why this recipe works
The sheet pan method utilizes high-intensity heat to replicate the effects of a professional fajita grill. By spreading the ingredients in a single layer, moisture evaporates efficiently, allowing the chicken and vegetables to achieve a beautiful char.
This process concentrates the natural sugars in the peppers and onions, creating a savory depth that is characteristic of classic fajita preparations. The aluminum foil lining serves a dual purpose by conducting heat effectively and simplifying the cleanup process significantly.
Beyond the flavor benefits, this technique offers unparalleled convenience. Because the protein and vegetables cook simultaneously, the timing is perfectly synchronized, eliminating the need to monitor different pans on the stovetop.
The gentle roasting process ensures the chicken remains juicy while the peppers reach the ideal level of tenderness. This hands-off approach allows for a more relaxed cooking experience, providing a consistent outcome that highlights the quality of the fresh ingredients used in the recipe.
Notes and substitutions
Choose high-quality chicken breasts for the best results, ensuring they are trimmed of any excess fat before slicing. The thickness of your vegetable strips plays a key role in the final texture; aim for consistency to ensure everything finishes cooking at the same time. If you prefer a more intense flavor, you can marinate the seasoned chicken for up to thirty minutes in the refrigerator before roasting, though this step is entirely optional for a quick weeknight meal.
The equipment required is minimal, consisting of a large rimmed baking sheet and high-quality aluminum foil to prevent sticking. Ensure your oven is fully preheated before placing the tray inside, as this initial burst of heat is essential for achieving the desired char. While the recipe calls for specific bell peppers, feel free to use a mix of colors to make the presentation more vibrant. Always use fresh lime juice at the end to provide a necessary acidic lift.
- chicken breast: boneless skinless chicken thighs for a juicier texture
- red onion: yellow or white onion for a milder flavor
Equipment
- Large rimmed baking sheet
- Aluminum foil
- Mixing bowl
- Chef's knife
- Cutting board
- Tongs
Up next · Part 2 of 3
3 steps · 20 min of cooking · what to look for at each stage
Step-by-step instructions (Part 2)