Appetizers · Part 2 of 3: Instructions
Jalapeño Popper Beef Sliders Step-by-step instructions
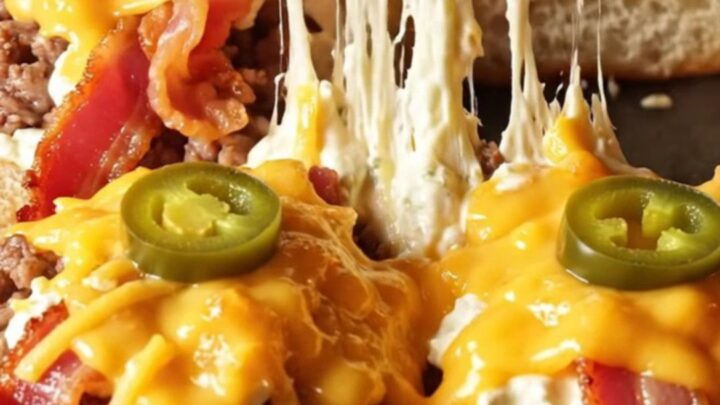
- Prep
- Cook
- Total
- Serves
- 12
Before you start
Start by gathering all ingredients and preheating your oven to 375°F (190°C). Prepare the bacon by cooking it until crisp and crumbling it finely. Dice the fresh jalapeños, ensuring you wash your hands thoroughly afterward to avoid any irritation.
Soften the cream cheese, and if using a block of cheddar, grate it fresh for the best melt quality. Arrange the rolls in your baking dish so they are ready for quick assembly once the beef is finished searing.
Ingredients at a glance (8)
- 1 lb ground chuck
- 6 oz cream cheese
- 1 cup shredded cheddar cheese
- 4 strips crumbled bacon
- 3 fresh jalapeños, diced
- 12 Hawaiian rolls
- 2 tbsp butter, melted
- jalapeño rings for serving
Instructions
Searing the beef
- Sear the beefHeat a large skillet over medium-high heat. Add the ground chuck and cook until fully browned and no longer pink. Drain excess fat if necessary and ensure the internal temperature reaches 160°F (71°C) to ensure safety.Look for The beef should be deeply browned and crumbled into small pieces.Safe temperature 160°F (71°C) internal temperature (ground meat)Tip Do not crowd the pan to ensure the meat sears rather than steams.
The beef should be browned thoroughly and broken into small, uniform crumbles. There should be no pink remaining in the skillet.
If there is an excess of rendered fat, drain it carefully to ensure the sliders do not become greasy, leaving just enough to provide flavor to the base of the meat mixture before it is layered onto the rolls.
Mixing the filling
- Prepare the popper mixtureIn a mixing bowl, combine the softened cream cheese, shredded cheddar cheese, crumbled bacon, and diced jalapeños. Stir until the mixture is uniform and smooth.Look for The cheese should be well incorporated with the bacon and peppers.Tip Ensure the cream cheese is at room temperature for easier mixing.
The popper mixture should be a thick, cohesive paste where the cream cheese, shredded cheddar, crumbled bacon, and diced jalapeños are evenly distributed. It should be thick enough to hold its shape when spread onto the beef layer, ensuring that the ingredients do not slide out of the rolls during the final baking phase in the oven.
Assembling and baking
- Assemble and bake the slidersSlice the Hawaiian rolls in half horizontally. Arrange the bottom buns in a baking dish. Spread the browned beef over the rolls, followed by the cream cheese mixture. Place the top buns on, brush with melted butter, and top with jalapeño rings. Bake at 375°F (190°C) for 15 minutes.Look for The cheese should be bubbling and the tops of the rolls golden brown.Tip Cover with foil if the tops brown too quickly before the cheese melts.
The sliders should be arranged snugly in the baking dish to ensure they heat evenly. After 15 minutes, the tops should be a beautiful golden brown, and the aroma of toasted butter, melted cheese, and spicy jalapeños should be prominent. Check that the center slider is hot to the touch and that the cheese is soft and gooey throughout.
Common mistakes
A common mistake is using cream cheese that is too cold, which makes it difficult to spread evenly and can lead to uneven melting. Another error is failing to drain the ground beef properly, which can result in soggy buns; always pat the cooked beef on a paper towel if it seems overly greasy.
Finally, be careful not to overbake the sliders, as the Hawaiian rolls have a high sugar content and can turn from golden to burnt very quickly.
How to tell it’s done
The sliders are done when the bread is toasted to a light golden brown and the cheese filling in the center is hot, bubbling, and fully melted.
Because the beef is pre-cooked to a safe internal temperature of 160°F (71°C) before assembly, the oven time is primarily focused on melting the cheese and toasting the rolls. You should see the edges of the cheese mixture softening and potentially pooling slightly at the sides of the rolls.
- Ground meat: 160°F (71°C) in the thickest part
Up next · Part 3 of 3
2 variations · storage & make-ahead · 3 answers · printable card
Tips, FAQ & printable recipe (Part 3)← Back to the ingredients (Part 1)