Dinner · Part 1 of 3: Ingredients
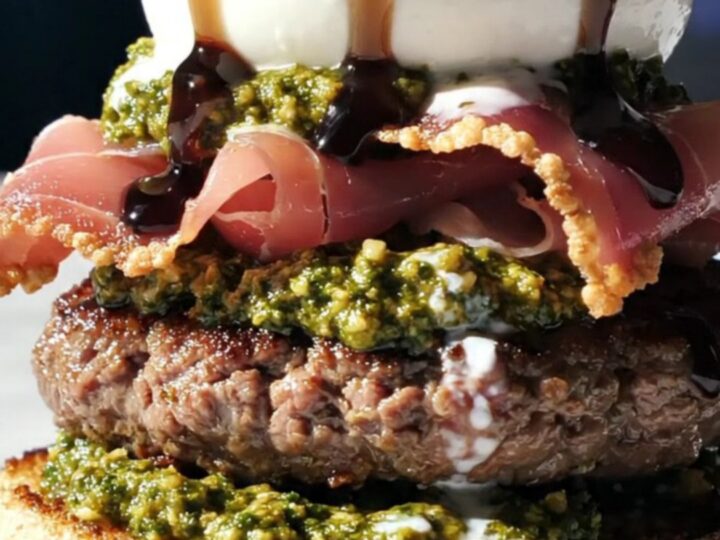
Italian Burrata Smash Burger with Crispy Prosciutto
- Prep
- Cook
- Total
- Serves
- 2
Elevate your burger game with the sophisticated flavors of Italy. This smash burger doesn't just rely on traditional toppings; it brings the luxurious, creamy texture of fresh burrata and the saltiness of crispy prosciutto to create a truly memorable meal.
Perfect for those who crave a gourmet twist on a classic favorite, this recipe proves that simple, high-quality ingredients can transform a standard burger into a sophisticated dining experience right in your home kitchen.
The smash burger has become a staple of modern comfort food, valued for its thin, crispy edges and juicy interior. By introducing the Italian concept of burrata—a pouch of fresh mozzarella filled with rich stracciatella cream—this version balances the intense savoriness of ground beef and crispy prosciutto with a cooling, decadent finish.
This recipe is designed to be straightforward yet impressive, focusing on the quality of the sear and the freshness of the toppings to create a balanced, textural delight that bridges the gap between casual street food and gourmet culinary art.
Ingredients
Toppings
- 3 slices Prosciutto di Parma
- 1/3 cup fresh basil pesto
- 1 ball fresh burrata
Patties
- 2 patties ground beef
- 1/2 tsp dried oregano
- 1/2 tsp garlic powder
Assembly
- 1 pair ciabatta-brioche buns
- 1 tbsp balsamic glaze
Why this recipe works
The smash technique is utilized to maximize the Maillard reaction, which creates the iconic dark, crusty surface of the burger. By pressing the meat onto a high-temperature surface, you ensure that the edges become thin and crispy while the interior remains juicy and full of flavor. The addition of dried oregano and garlic provides an aromatic base that complements the richness of the beef without overpowering the delicate burrata.
Burrata is chosen for its unique structure, consisting of a solid mozzarella shell containing a creamy, liquid center. When placed upon the hot, freshly cooked patties, the stracciatella cream begins to soften and flow, acting as a natural sauce that binds the burger components together.
This creates a luxurious mouthfeel that contrasts beautifully with the salty, crunchy texture of the fried prosciutto, resulting in a perfectly balanced bite every time.
Notes and substitutions
For the best results, use high-quality ground beef with at least 20 percent fat content. The fat is crucial for the smash technique, as it helps the meat fry in its own juices on the griddle, ensuring the crispy edges that define a great smash burger. If you are unable to find ciabatta-brioche buns, choose a high-quality bun that is sturdy enough to hold the weight of the burrata and the burger juices without becoming soggy.
The equipment used in this recipe is minimal but specific. A cast-iron skillet or a heavy-duty griddle is essential for achieving the required 450°F (232°C) temperature needed to sear the beef properly.
A sturdy, flat spatula is equally important for the smashing process. Ensure you have all ingredients prepped and within reach, as the cooking process is rapid and requires your full attention to achieve the best results for each component.
- Prosciutto di Parma: Crispy bacon or pancetta can be used if prosciutto is unavailable.
- Ciabatta-brioche buns: Standard brioche or potato buns work well as a substitute.
Equipment
- cast iron skillet
- griddle
- spatula
- knife
- cutting board
Up next · Part 2 of 3
3 steps · 5 min of cooking · what to look for at each stage
Step-by-step instructions (Part 2)