Desserts · Part 1 of 3: Ingredients
Honeycomb Chocolate Bark with Sesame and Candied Orange
- Prep
- Cook
- Total
- Serves
- 16
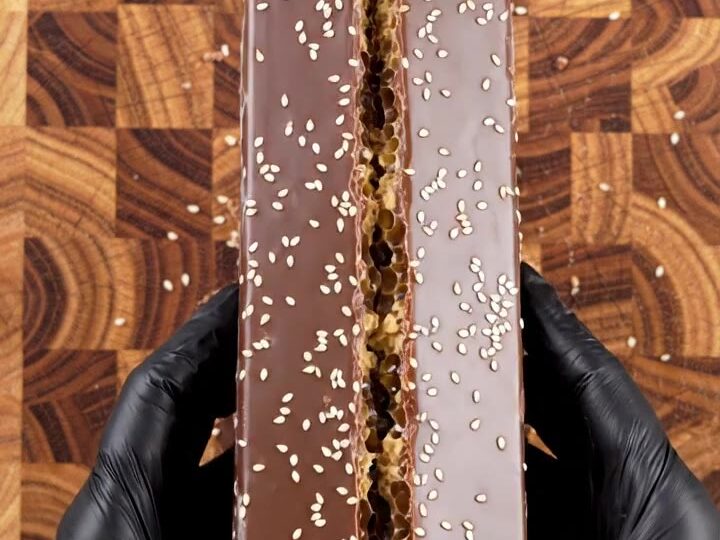
Snap a piece of honeycomb chocolate bark and you hear it before you taste it. Glossy dark chocolate gives way to golden toffee, toasted nuts and sweet candied orange, with sesame seeds and a little flaky salt in every bite. This no-bake bark is simple to build on one tray and cuts into neat bars once it has set.
This honeycomb chocolate bark is built in layers, the way a confectioner would assemble a slab. Grated milk chocolate gives a soft, sweet top note, a thick base of dark chocolate holds everything together, and pieces of honeycomb toffee add the bright crunch that makes the bark memorable.
Almonds, cashews, candied orange peel, sesame seeds and flaky salt complete the surface. The whole process takes about 25 minutes of hands-on work plus time to set, and the result is a tray of bars that look as good as they taste.
Set aside the grated shavings and the toffee before you begin, so you can work quickly once the chocolate is melted.
Ingredients
- 8 oz milk chocolate, in a solid bar, for grating
- 12 oz dark chocolate, chopped
- 4 oz honeycomb toffee, store-bought or made ahead, broken into pieces
- 1/2 cup almonds, roughly chopped
- 1/2 cup cashews, roughly chopped
- 1/3 cup candied orange peel, chopped
- flaky salt, for serving
- 2 tbsp sesame seeds
Why this recipe works
The method depends on timing. Dark chocolate has to be melted smooth and spread while it is still fluid, so the layer stays thick and even.
Once the nuts, toffee and seeds are pressed into that surface, the chocolate grips them as it cools. This is why the bark holds together when cut and why every bar keeps its toppings instead of shedding them.
Pressing the honeycomb toffee in by hand, rather than stirring it through the chocolate, keeps the golden pieces whole and crisp. Stirring would break them down and turn the chocolate dull and speckled. Gentle pressing also places the toffee so that every bar carries some of it on top, which is the look that defines this bark.
Notes and substitutions
Choose a solid bar of milk chocolate for the grated topping, not chips. A bar grates into fine curls and shavings that spread across the surface and melt slightly into the top layer, giving a soft contrast to the crisp toffee. Use good-quality dark chocolate for the base, since it sets with a glossy finish and a clean snap.
You need only a box grater, a baking tray lined with parchment, and a long chef's knife for cutting. A wooden board protects the work surface during grating. Warm the knife in hot water and dry it before each cut for smooth, neat edges.
Substitutions are simple: hazelnuts, pecans or pistachios can replace the almonds and cashews, and chopped dried apricots can stand in for the candied orange peel.
- almonds and cashews: any mix of toasted hazelnuts, pecans or pistachios, chopped to the same size
- candied orange peel: chopped dried apricots or chopped crystallized ginger, added in the same amount
- dark chocolate: semisweet chocolate of similar quality, which gives a slightly sweeter bark
Equipment
- box grater
- wooden board
- baking tray, about 9 by 13 inches
- parchment paper
- heatproof bowl
- microwave or double boiler
- offset spatula
- long chef's knife
Up next · Part 2 of 3
8 steps · 5 min of cooking · what to look for at each stage
Step-by-step instructions (Part 2)