Dinner · Part 1 of 3: Ingredients
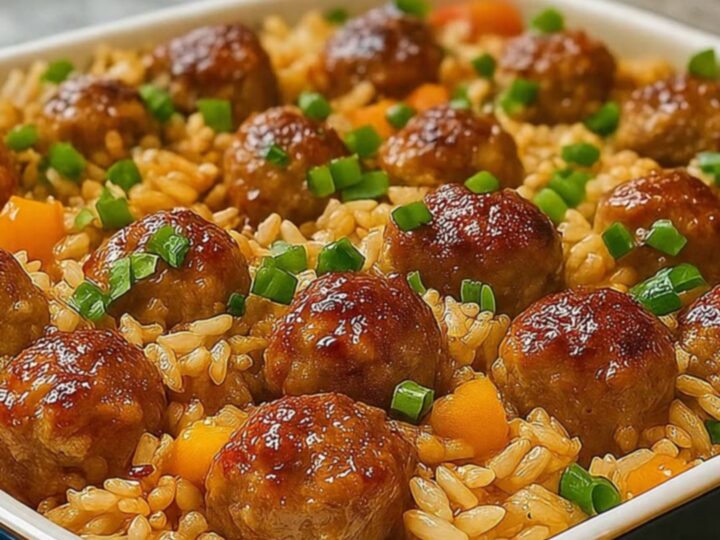
Honey Garlic Meatball Rice Bake for an Easy Cozy Dinner
- Prep
- Cook
- Total
- Serves
- 4
This honey garlic meatball rice bake is the ultimate solution for busy weeknights when a comforting, homemade dinner is required. It combines savory meatballs with a sweet and tangy glaze, all cooked perfectly in one pan alongside fluffy rice. This method ensures that the rice absorbs all the delicious juices from the meatballs, resulting in a cohesive and flavorful meal that practically cooks itself while you attend to other tasks around the house.
The beauty of a rice bake lies in its simplicity and the way it transforms basic pantry staples into a satisfying main course. By combining the rice, broth, and meatballs in a single casserole dish, you minimize cleanup while maximizing flavor.
The honey garlic sauce caramelizes slightly during the baking process, creating a glossy coating on the meatballs that pairs perfectly with the tender, savory rice underneath. Whether you are feeding a busy family or simply looking for an easy, warming dish, this recipe is designed to deliver consistent, delicious results every time you prepare it.
Ingredients
Meatballs and Rice
- 1 lb meatballs, cooked or raw
- 2 cups white rice, uncooked
- 3 cups chicken broth
Honey Garlic Sauce
- 1/2 cup honey
- 4 cloves garlic, minced
- 1/4 cup soy sauce
Garnish
- green onions, for serving
Why this recipe works
The one-pan baking method allows the rice to absorb the savory chicken broth and the juices released by the meatballs. This layering of flavors creates a depth of taste that cannot be achieved by cooking the components separately. As the dish bakes, the starch from the rice thickens the sauce, creating a rich, velvety consistency that coats every grain of rice and ensures the meatballs remain moist and tender throughout the process.
Using a casserole dish provides an even distribution of heat, which is essential for cooking the rice to a perfect texture without burning the bottom. The honey in the glaze works with the high heat of the oven to create a subtle caramelization, which adds a complex sweetness to the savory garlic and soy sauce base.
This technique is highly efficient for home cooks as it eliminates the need for multiple pots and pans, making the post-dinner cleanup significantly faster and easier.
Notes and substitutions
For the best results, use high-quality chicken broth or stock, as it serves as the primary cooking liquid for the rice. If you prefer a more intense flavor, you can substitute a portion of the broth with a splash of dry sherry or rice vinegar, though the base recipe works perfectly as intended.
Ensure that the garlic is minced finely enough to distribute evenly throughout the glaze, as large chunks may not infuse the sauce as effectively during the relatively short baking time.
When choosing your casserole dish, a ceramic or glass 9x13 inch pan is ideal because it retains heat well and prevents the edges of the rice from drying out too quickly. If you choose to use pre-cooked meatballs, reduce the baking time by about 10-15 minutes to prevent them from becoming tough.
Always verify the internal temperature of the meat to ensure it reaches the safe threshold of 160°F (71°C), regardless of whether you are using store-bought or homemade meatballs.
- chicken broth: vegetable broth or water with bouillon
- white rice: jasmine or basmati rice for better texture
Equipment
- 9x13 inch casserole dish
- mixing bowl
- whisk
- measuring cups
- chef's knife
- cutting board
Up next · Part 2 of 3
3 steps · 45 min of cooking · what to look for at each stage
Step-by-step instructions (Part 2)