Dinner · Part 1 of 3: Ingredients
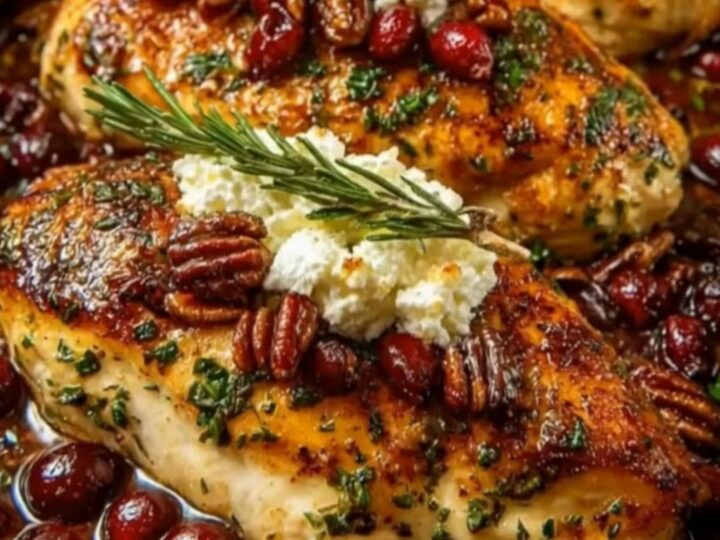
Honey Cranberry Chicken with Ricotta and Pecans
- Prep
- Cook
- Total
- Serves
- 4
This honey cranberry chicken is pure perfection, combining sweet, tart, and savory flavors in one gorgeous pan. Golden seared chicken breasts bake in a bubbling ruby-red cranberry glaze, topped with cool, creamy ricotta dollops and crunchy toasted pecans. It is an elegant dinner that comes together with minimal effort, making it ideal for busy weeknights or special weekend gatherings.
Preparing a memorable chicken dinner does not require hours of complicated techniques or hard-to-find ingredients. This recipe transforms simple chicken breasts into a culinary masterpiece by pairing them with a vibrant honey cranberry glaze. As the chicken bakes, it absorbs the sweet and tangy juices, remaining incredibly tender and juicy.
The addition of rich ricotta cheese and toasted pecans right at the end adds a beautiful contrast of textures and temperatures. Every bite offers a perfect balance of savory meat, sweet honey, tart cranberries, creamy cheese, and earthy rosemary.
Ingredients
- 4 boneless, skinless chicken breasts
- herb seasoning, to taste
Honey Cranberry Glaze
- 1 1/2 cups fresh or frozen cranberries
- 1/3 cup honey
Toppings
- 1/2 cup creamy ricotta cheese
- 1/4 cup toasted pecans, chopped
- fresh rosemary sprigs for serving
Why this recipe works
Searing the chicken breasts before baking is a critical step that locks in the natural juices and creates a beautiful golden crust. This initial pan-sear initiates the Maillard reaction, which develops deep, savory flavors on the surface of the meat.
When the chicken is subsequently baked in the cranberry glaze, this crust helps prevent the meat from becoming soggy while absorbing the sweet and tart flavors of the simmering sauce.
Simmering the cranberries with honey coaxes out their natural pectin, which naturally thickens the glaze into a glossy, rich sauce without needing cornstarch or flour.
As the cranberries burst in the hot skillet, they release their sharp acidity, which perfectly balances the intense sweetness of the honey. This thick glaze clings beautifully to the chicken breasts during the baking process, keeping the meat basted and moist throughout.
Notes and substitutions
For the best results, select boneless, skinless chicken breasts of uniform thickness so they cook evenly in the oven. If some breasts are significantly thicker than others, gently pound them to an even thickness before searing.
Fresh cranberries provide the best tartness and texture, but frozen cranberries will work equally well without needing to thaw them beforehand. Avoid using canned cranberry sauce, as it contains too much sugar and lacks the necessary structure.
Whole-milk ricotta cheese is highly recommended for the toppings, as its rich, creamy texture contrasts beautifully with the tartness of the cranberries. Part-skim ricotta can be used, but it may release more water and lack the same luxurious mouthfeel. For the pecans, toasted halves or large pieces provide the best crunch; toast them briefly in a dry skillet over medium heat for three to five minutes until fragrant before using.
- creamy ricotta cheese: crumbled goat cheese or mascarpone cheese
- toasted pecans: toasted chopped walnuts or sliced almonds
Equipment
- large skillet
- baking dish
- digital meat thermometer
- chef's knife
- wooden spoon
Up next · Part 2 of 3
5 steps · 25 min of cooking · what to look for at each stage
Step-by-step instructions (Part 2)