Dinner · Part 1 of 3: Ingredients
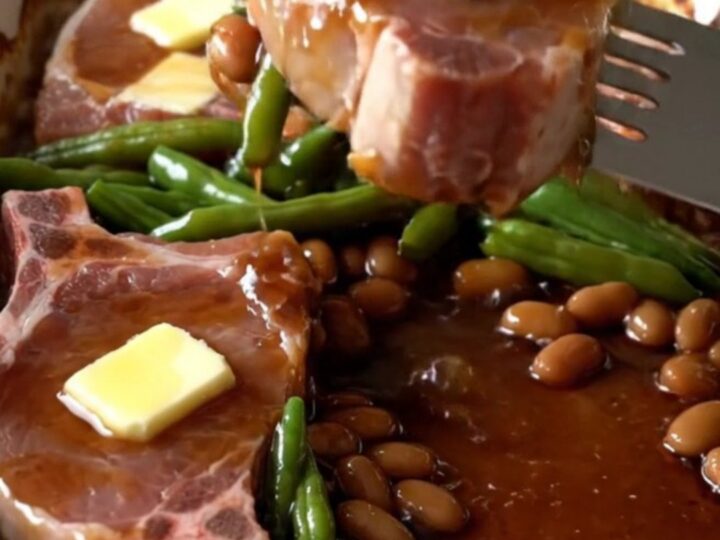
Honey Balsamic Pork Chops and Green Bean Bake
- Prep
- Cook
- Total
- Serves
- 5
Simplify your evening routine with a delicious, one-pan meal that brings together savory pork and vibrant green beans. This recipe relies on a harmonious balance of sweet honey and tangy balsamic vinegar, finished with rich butter, to create a sophisticated flavor profile with minimal effort.
Perfect for busy weeknights, this dish delivers a restaurant-quality experience right from your own oven, allowing for a stress-free dinner that everyone will enjoy without the need for multiple pots and pans.
This honey balsamic pork chop and green bean bake is designed for those who appreciate efficiency in the kitchen without compromising on taste. By combining the main protein and a fresh vegetable in a single baking dish, the cooking process is streamlined, and cleanup is kept to an absolute minimum.
The natural juices from the pork mingle with the honey balsamic glaze and melting butter, creating a delicious sauce that coats the green beans perfectly, ensuring every bite is flavorful and satisfying.
Ingredients
Main Ingredients
- 5 boneless pork chops
- 1 lb fresh green beans, trimmed
Sauce
- 1/2 cup honey balsamic sauce
Topping
- 3 tbsp butter, sliced
Why this recipe works
The one-pan method is highly effective because it allows the pork and vegetables to cook simultaneously in the same environment. As the pork chops release their juices during the roasting process, they combine with the honey balsamic glaze and the melting butter to form a flavorful emulsion.
This sauce then coats the green beans, infusing them with savory depth while they soften in the heat of the oven, resulting in a cohesive dish where every element complements the other perfectly.
Using a ceramic baking dish provides excellent heat retention, which helps in achieving a gentle, even bake. This is crucial for keeping the pork chops moist and tender while ensuring the green beans are cooked to a pleasant, crisp-tender texture.
The direct exposure to the oven's heat helps the balsamic sugars to slightly caramelize, creating a rich, dark glaze that clings to the surface of the meat and vegetables, enhancing the overall presentation and depth of flavor in the final dish.
Notes and substitutions
When selecting boneless pork chops, look for pieces with uniform thickness to ensure they finish cooking at the same time. If the chops vary significantly in size, the smaller ones may become dry before the larger ones are fully cooked. Fresh green beans are essential here; ensure they are washed and the woody ends are trimmed off properly before placing them in the baking dish to ensure the best texture and flavor in the final presentation.
The honey balsamic sauce used is a versatile component that can be adjusted based on preference for sweetness or acidity. If a thicker sauce is desired, the mixture can be reduced slightly in a small saucepan before pouring, though this is not strictly necessary for the bake. The butter slices are key to adding a velvety finish to the sauce; ensure they are cold when added so they melt slowly and incorporate beautifully into the juices during the baking process.
- boneless pork chops: boneless chicken breasts or thighs
- honey balsamic sauce: a mixture of honey, balsamic vinegar, and soy sauce
Equipment
- Large rectangular ceramic baking dish
- Small pitcher
- Spatula
- Measuring cups
- Measuring spoons
Up next · Part 2 of 3
3 steps · 30 min of cooking · what to look for at each stage
Step-by-step instructions (Part 2)