Dinner · Part 1 of 3: Ingredients
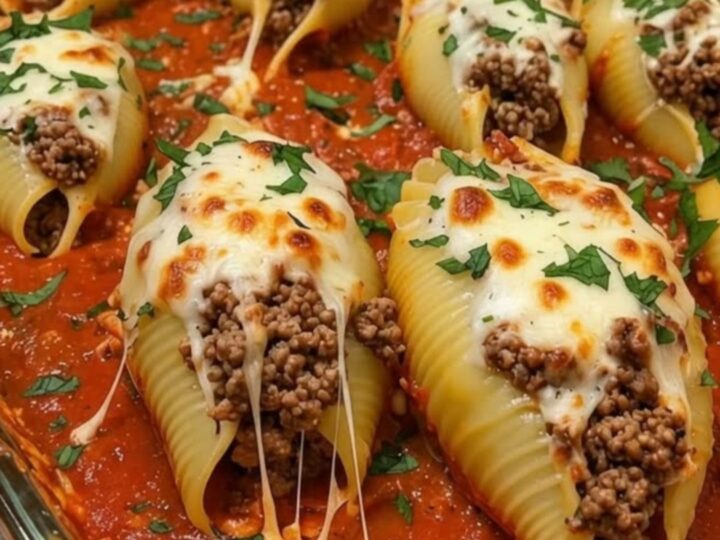
Hearty Beef and Cheese Stuffed Shells
- Prep
- Cook
- Total
- Serves
- 6
Discover the art of creating the ultimate comforting pasta dinner with these jumbo beef and cheese stuffed shells. This dish combines perfectly al dente pasta, savory seasoned ground beef, and a generous topping of melted mozzarella to create a masterpiece that everyone will enjoy.
Whether hosting a family gathering or needing a reliable weeknight meal, this recipe delivers consistent results that satisfy every craving for a rich and hearty Italian-inspired dinner that feels truly special.
Stuffed shells are a timeless favorite, offering a satisfying combination of textures and flavors. By utilizing jumbo pasta shells, you create individual pockets of goodness that hold a substantial amount of savory ground beef and rich marinara sauce.
The addition of melted mozzarella cheese provides that iconic stretchy pull that defines great comfort food. This recipe focuses on simple preparation methods to ensure the dish comes together efficiently without sacrificing quality. Following these steps will result in a perfectly baked meal that brings warmth and flavor to any table.
Ingredients
- 12 oz jumbo pasta shells
- 1 lb ground beef
- 24 oz marinara sauce
- 2 cups shredded mozzarella cheese
Why this recipe works
The method of partially cooking the pasta shells before stuffing ensures they maintain their shape while providing the perfect vessel for the meat mixture. By browning the ground beef thoroughly before assembly, the flavors develop deeply, and excess grease can be removed, preventing the sauce from becoming overly oily.
Spreading a layer of sauce on the bottom of the baking dish prevents sticking and keeps the shells moist during the baking process, resulting in a consistent texture throughout.
Baking at a moderate temperature allows the flavors to meld together as the cheese melts and browns. The use of a final resting period after removing the dish from the oven is crucial, as it allows the sauce to thicken slightly and the cheese to set, making it easier to serve without the shells falling apart.
This combination of technique and patience ensures that every serving is as visually appealing as it is delicious, with perfectly tender pasta and a rich, cohesive filling.
Notes and substitutions
For the best results, use a high-quality marinara sauce, as it serves as the primary flavor base for the entire dish. While ground beef is traditional, ensure it is lean enough to avoid excess grease but fatty enough to remain flavorful. If using a leaner variety, you may need to add a touch of olive oil to the skillet when browning. The type of mozzarella used also matters; fresh, low-moisture mozzarella typically yields the best melt and browning for baked pasta dishes.
When selecting equipment, a standard 9x13 inch baking dish is ideal for this quantity, as it allows the shells to be arranged in a single layer for even cooking. If you find the pasta shells are breaking during the filling process, try cooling them slightly under cold water after boiling to stop the cooking process and make them easier to handle. Always ensure the pasta is cooked just to al dente, as it will continue to absorb liquid from the sauce while baking in the oven.
- ground beef: ground turkey or a mix of ground pork and beef
- mozzarella cheese: a blend of mozzarella and provolone or monterey jack
Equipment
- large pot
- skillet
- baking dish
- spatula
- colander
Up next · Part 2 of 3
3 steps · 35 min of cooking · what to look for at each stage
Step-by-step instructions (Part 2)