Dinner · Part 1 of 3: Ingredients
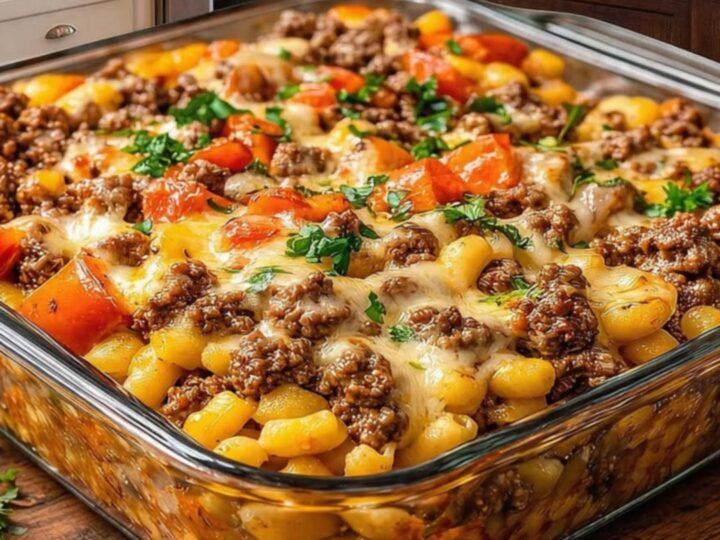
Hamburger Supreme Casserole: The Ultimate One-Pan Comfort Food
- Prep
- Cook
- Total
- Serves
- 6
Transform humble ingredients into a masterpiece of comfort with this simple Hamburger Supreme Casserole. This dish is the definition of home-cooked satisfaction, blending savory beef, sweet bell peppers, and a rich, creamy sauce that brings everyone back for seconds.
Perfect for busy weeknights, this recipe delivers consistent results that please even the pickiest eaters. It is a reliable, straightforward meal that relies on basic pantry staples to create something truly elevated and deeply comforting for any occasion.
The Hamburger Supreme Casserole is a classic American comfort food staple that combines the hearty appeal of seasoned ground beef with the creamy indulgence of a tomato-based sauce. By layering these elements with a generous topping of melted cheddar cheese, you achieve a dish that is as visually appealing as it is delicious.
The beauty of this recipe lies in its simplicity and the balance of flavors, where the sweetness of red peppers cuts through the richness of the beef and cream. It is designed to be a stress-free dinner option that fills the home with enticing, savory aromas and provides a warm, satisfying experience for the whole family.
Ingredients
Casserole Base
- 2 lb ground beef
- 2 cups diced red bell peppers
- 2 cups tomato sauce
- 1/2 cup sour cream
Topping
- 2 cups shredded cheddar cheese
Garnish
- fresh parsley, for serving
Why this recipe works
The method of browning the beef alongside the red peppers first ensures that the flavors are deeply concentrated before the sauce is introduced. This initial high-heat step creates a savory foundation that defines the overall quality of the dish. By draining the excess fat, you maintain the perfect balance of moisture without making the casserole overly greasy, which is crucial for the final texture.
Stirring the sour cream into the tomato sauce off the heat—or at a very low temperature—prevents the sauce from separating. This technique results in a smooth, velvet-like consistency that clings to the beef perfectly. The final bake under high heat ensures the cheese melts into a cohesive, bubbly layer, providing the signature cheese pull that makes this casserole a standout comfort dish.
Notes and substitutions
Select high-quality ground beef for the best flavor profile, ideally with an 80/20 lean-to-fat ratio to ensure the meat remains juicy during the baking process.
If you prefer a lighter alternative, ground turkey can be used, but note that it may require a touch more seasoning. The choice of cheese is also flexible; while cheddar offers that classic sharp flavor, a blend of Monterey Jack and cheddar provides an even better melt.
The choice of baking dish matters for consistent results. A clear glass 9x13 inch dish is ideal as it allows you to monitor the browning on the sides and bottom.
If you use a heavy ceramic dish, you may need to add a few extra minutes to the total baking time to ensure the center is heated through. Always have fresh parsley on hand, as its bright, herbal notes are essential for balancing the richness.
- Ground beef: Ground turkey or ground pork can be used as a direct replacement for a slightly different flavor profile.
- Cheddar cheese: Monterey Jack or a shredded mozzarella blend works well if a milder flavor or different melting texture is preferred.
Equipment
- Large skillet
- 9x13 inch baking dish
- Wooden spoon
- Chef's knife
- Cutting board
Up next · Part 2 of 3
3 steps · 30 min of cooking · what to look for at each stage
Step-by-step instructions (Part 2)