Dinner · Part 3 of 3: Tips & recipe card
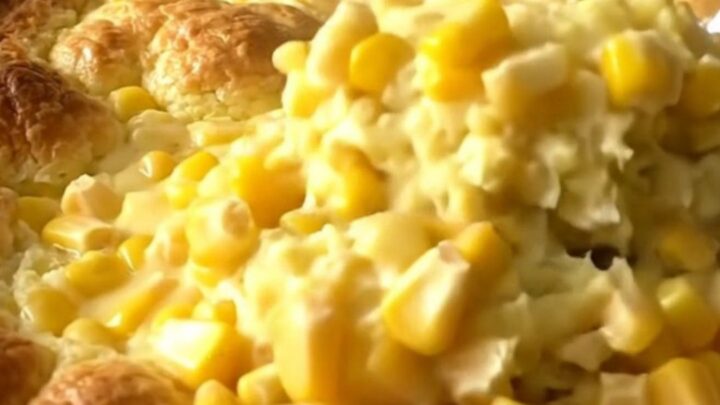
Grandma’s Classic Baked Corn Pudding Tips, FAQ & printable recipe
- Prep
- Cook
- Total
- Serves
- 8
Tips for success
For a more elevated presentation, you can lightly sprinkle the top with a bit of fresh parsley or chives after it comes out of the oven. This adds a pop of color and a fresh, herbaceous note that cuts through the richness of the corn and cream.
If you are serving this for a special occasion, consider using individual ramekins instead of one large dish, which reduces the baking time and creates an elegant, personal-sized serving for each guest.
If you find the top is browning too quickly before the center has set, loosely tent the dish with aluminum foil. This protects the golden crust from burning while allowing the heat to continue gently cooking the custard through the center.
This trick is particularly helpful if your oven has a strong top heating element. Always remove the foil for the last five minutes of baking if you want to ensure the top stays crisp and perfectly colored.
Variations
- Spicy Jalapeño Corn Pudding: Add two finely diced fresh jalapeños to the custard mixture for a subtle, spicy kick that perfectly complements the sweetness of the corn and the richness of the cream.
- Savory Herb Corn Pudding: Stir in two tablespoons of fresh chopped thyme or chives into the custard base before pouring it over the corn to introduce a fresh, aromatic, and savory layer of flavor.
Storage and make-ahead
- Fridge
- Keep in an airtight container for up to 3 days.
- Freezer
- Freezing is not recommended as it ruins the custard texture.
- Reheat
- Reheat individual portions in a microwave-safe dish on medium power until warmed through.
Store any leftover corn pudding in an airtight container to maintain its moisture and prevent it from absorbing other odors in the refrigerator. It is best enjoyed within three days of baking.
When cooling the leftovers, ensure they do not sit out at room temperature for more than two hours before being refrigerated. This practice is essential for maintaining food safety and ensures that the custard remains fresh and safe to eat for your next meal.
You can prepare the custard mixture and the corn base up to four hours in advance, keeping them separate until you are ready to bake. If you prefer, assemble the entire dish and store it covered in the refrigerator for up to two hours before baking. Simply add the butter slices just before putting the dish into the oven. This is a great way to manage your time when hosting, allowing you to focus on other parts of your meal.
Serving ideas
Serve the corn pudding warm, directly from the baking dish, using a large spoon to scoop out generous portions. Because it is a soft, custard-based dish, it pairs beautifully with roasted meats or a crisp green salad that provides a textural contrast.
The creamy, slightly sweet nature of the corn makes it a versatile side that complements both savory and slightly spicy main courses, balancing the palate and adding a layer of comfort to the overall dining experience.
For an even more indulgent serving suggestion, offer a small side of warm maple syrup or a dollop of unsalted butter to be added at the table. This allows guests to customize the sweetness according to their preferences. The pudding holds its heat well, so it can be served as part of a buffet or placed in the center of the table for family-style dining. No matter how you choose to serve it, this dish is sure to be a crowd-pleaser.
Frequently asked questions
Can this be made ahead for a holiday dinner?
How can the texture of the custard be adjusted?
Why is it important to let the pudding rest?
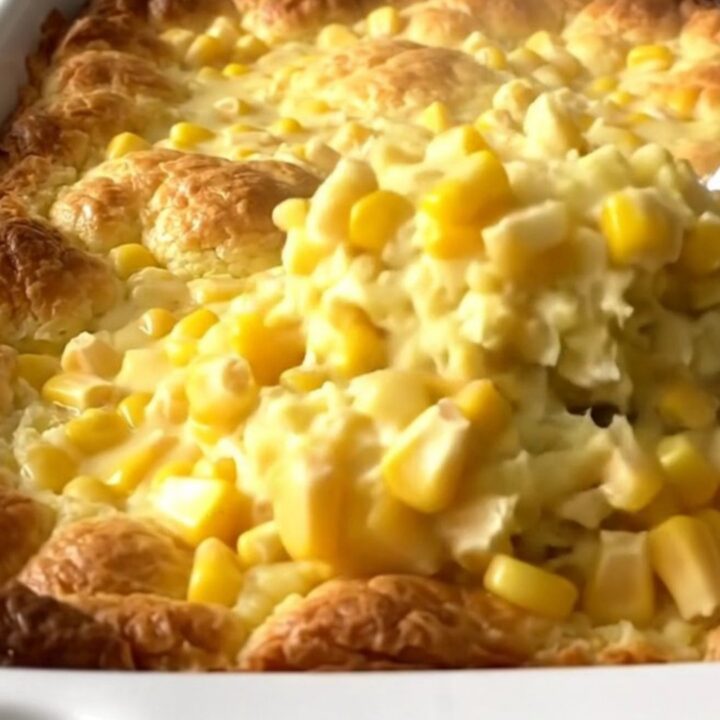
Grandma's Classic Baked Corn Pudding
Ingredients
- 2 cups sweet corn kernels, fresh or frozen
- 2 cups creamed corn
- 4 large eggs
- 1 cup whole milk
- 4 tbsp unsalted butter, sliced
Instructions
- Preheat the oven to 350°F (175°C). Evenly spread the sweet corn kernels across the bottom of a large ceramic baking dish. Ensure they cover the surface in a single, uniform layer for even cooking throughout the dish.
- In a separate mixing bowl, whisk together the creamed corn, eggs, and milk until the mixture is completely smooth and homogeneous. Carefully pour this custard mixture over the corn kernels in the baking dish, ensuring the kernels are just submerged.
- Distribute the butter slices evenly across the top of the custard. Place the dish in the preheated oven and bake until the custard is set and the top is golden brown, reaching an internal temperature of 160°F (71°C). Allow the pudding to rest for ten minutes before serving.
Estimated nutrition per serving
- Calories
- 280
- Protein
- 8 g
- Carbohydrates
- 32 g
- Fat
- 14 g
- Fiber
- 2.5 g
- Sugar
- 12 g
- Sodium
- 350 mg
Next recipe
Slow Cooker Maple Beer Braised Ham
See the recipe → →This recipe is based on a short cooking video and is published under the pen name Clara Weller. It was checked before publication, but errors can slip through. Nutrition, when shown, is an estimate. Read more in our editorial policy and on our food safety page.
More recipes to try
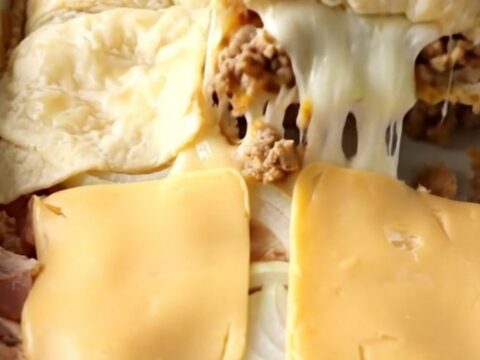
Easy Patty Melt Crescent Bake with Turkey and Swiss
Total time: 40 min
Slow Cooker White Cheddar Turkey Potato Chowder
Total time: 4 h 15 min
Slow Cooker Apricot Dijon Pork Loin for an Easy Weeknight Dinner
Total time: 4 h 20 min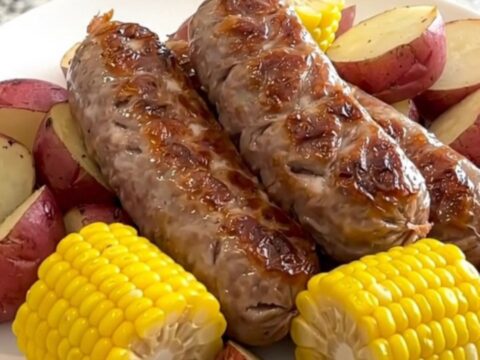
One-Pot Cajun Butter Brats with Corn and Potatoes
Total time: 4 h 15 min
Slow Cooker Chorizo Corn Chowder
Total time: 4 h 10 min