Appetizers · Part 3 of 3: Tips & recipe card
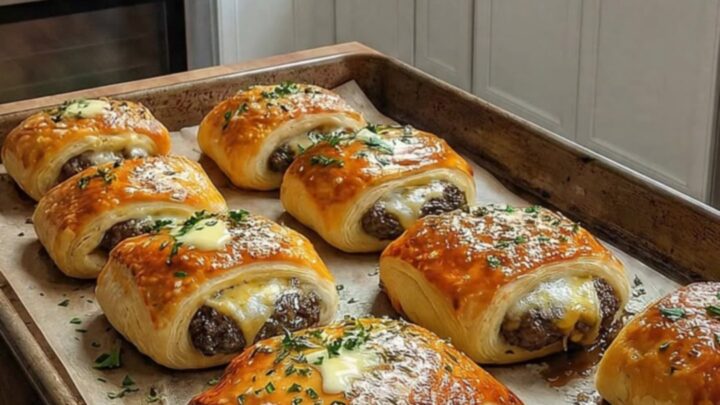
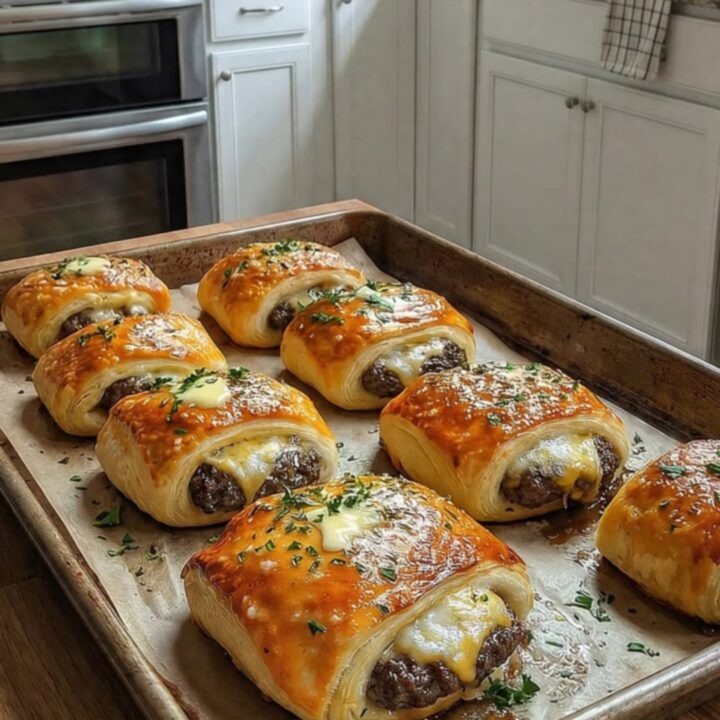
Garlic Parmesan Cheeseburger Bombs for an Easy Appetizer Tips, FAQ & printable recipe
- Prep
- Cook
- Total
- Serves
- 6
Tips for success
To achieve a more uniform golden color, brush the tops of the bombs with a light egg wash before placing them in the oven. This creates a professional sheen that complements the garlic butter finish applied after baking. If the pastry browns too quickly, tent the baking sheet loosely with foil for the remainder of the cooking time to ensure the centers are heated through.
Experimenting with different cheese varieties can drastically change the flavor profile of the bombs. A sharp cheddar provides a bold contrast to the beef, while a milder cheese like monterey jack or fontina offers a smoother, more subtle melt.
Ensure the cheese is cut into uniform cubes to guarantee that each bomb receives an equal amount, which helps in maintaining consistency across the entire batch.
Variations
- Spicy Jalapeno Bombs: Add finely diced fresh or pickled jalapenos to the beef mixture before filling to incorporate a spicy kick that balances the richness of the cheese.
- Bacon Cheddar Bombs: Mix finely chopped crispy bacon bits into the ground beef filling for an added layer of smoky flavor and texture that complements the cheddar perfectly.
Storage and make-ahead
- Fridge
- Store in an airtight container for up to 3 days. Cool to room temperature within 2 hours before refrigerating.
- Freezer
- Freeze fully baked bombs in a sealed bag for up to 1 month. Thaw in the refrigerator before reheating.
- Reheat
- Warm in a 350°F (175°C) oven for 10-12 minutes until heated through and the crust is crisp.
Store any leftover cheeseburger bombs in an airtight container in the refrigerator for up to three days. Leftovers must be cooled to room temperature within two hours before being placed in the refrigerator to maintain food safety. When ready to eat, they can be warmed in the oven or a toaster oven to restore some of the original crispness that may be lost during storage.
The beef filling can be prepared up to one day in advance and stored in the refrigerator, which saves significant time during the assembly process. The bombs can also be assembled and placed on a baking sheet, then covered and refrigerated for up to two hours before baking.
If assembling ahead, ensure the dough remains chilled and do not apply the garlic butter until immediately after the bombs are baked and removed from the oven.
Serving ideas
Serve the cheeseburger bombs warm, ideally within a few minutes of coming out of the oven. This ensures that the cheese center remains molten and the pastry crust stays at its peak crispness.
They are perfect as a standalone appetizer, but can also be accompanied by a simple side of dipping sauce, such as a tangy barbecue sauce or a creamy ranch dressing, to enhance the flavors.
When presenting the dish, arrange the bombs on a clean platter with a few fresh parsley sprigs for a professional touch. Because these are handheld, they work well for casual social settings where guests can easily pick them up.
Ensure napkins are readily available, as the cheesy center can be quite rich and warm when bitten into, providing a satisfying and indulgent experience for everyone.
Frequently asked questions
Can these be made ahead of time?
Why did the cheese leak out during baking?
Can this be frozen?
Garlic Parmesan Cheeseburger Bombs for an Easy Appetizer
Ingredients
- 2 cans pastry dough, store-bought or made ahead
- 1 lb ground beef, cooked and seasoned
- 12 cubes cheddar cheese
- 4 tbsp unsalted butter, melted
- 1 tsp garlic powder
- 1 tbsp fresh parsley, finely chopped
Instructions
- In a skillet over medium-high heat, brown the ground beef until fully cooked through. Ensure the internal temperature reaches 160°F (71°C) to ensure safety. Drain any excess fat and set the mixture aside to cool slightly before assembling the bombs.
- Flatten each piece of pastry dough into a circle. Place a spoonful of cooked beef and a cube of cheddar cheese in the center of each dough piece. Fold the edges of the dough over the filling and pinch tightly to seal completely into a ball. Arrange the balls on a baking sheet.
- Bake the pastry bombs in a preheated oven at 375°F (190°C) until they are golden brown and cooked through. While baking, mix the melted butter, garlic powder, and fresh parsley in a small bowl. Once the bombs come out of the oven, brush them immediately with the garlic butter mixture.
Estimated nutrition per serving
- Calories
- 280
- Protein
- 12 g
- Carbohydrates
- 22 g
- Fat
- 16 g
- Fiber
- 0.5 g
- Sugar
- 2 g
- Sodium
- 450 mg
Next recipe
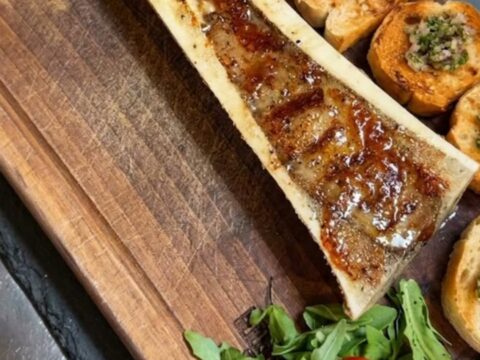
Roasted Beef Bone Marrow with Toasted Garlic Crostini
See the recipe → →This recipe is based on a short cooking video and is published under the pen name Clara Weller. It was checked before publication, but errors can slip through. Nutrition, when shown, is an estimate. Read more in our editorial policy and on our food safety page.
More recipes to try
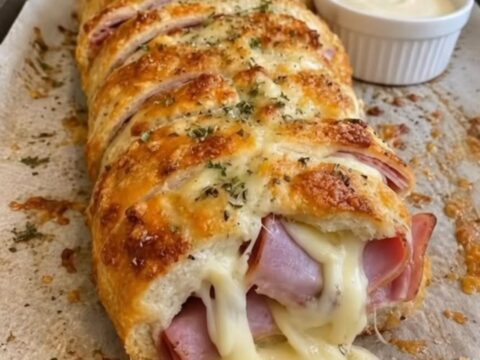
Cheesy Ham-Stuffed Pull-Apart Bread for Easy Sharing
Total time: 35 min
Creamy Garlic Butter Shrimp Bites for a Quick Appetizer
Total time: 18 min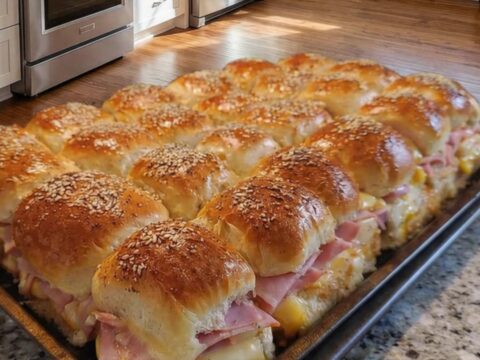
Easy Baked Ham and Cheese Sliders for Any Crowd
Total time: 35 min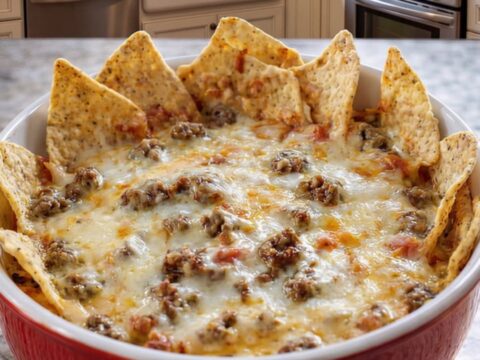
Creamy Hot Sausage Beer Cheese Dip
Total time: 40 min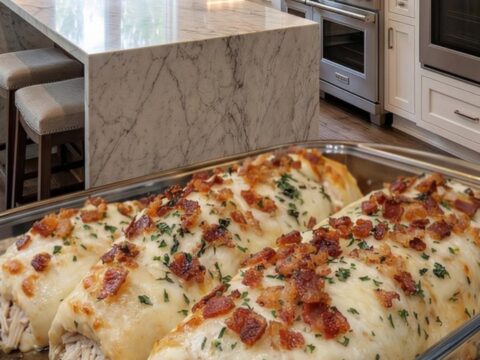
Creamy Bacon Chicken Alfredo Stuffed Breadstick Bombs
Total time: 40 min