Appetizers · Part 3 of 3: Tips & recipe card
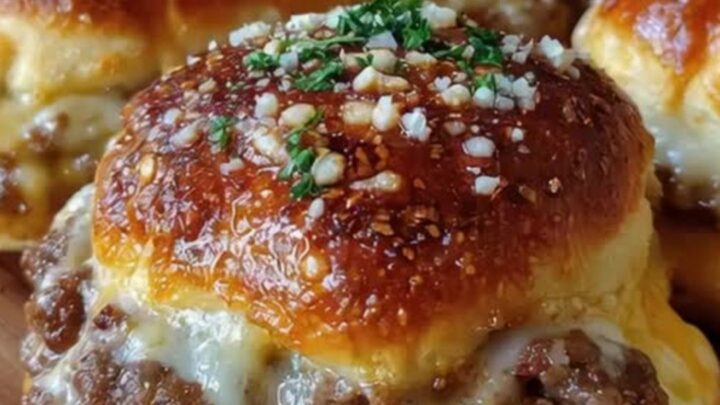
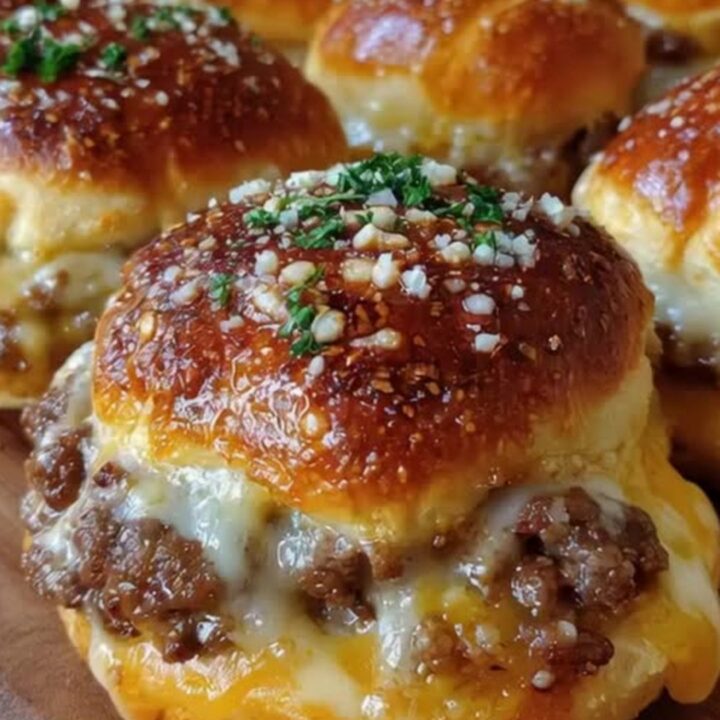
Garlic Parmesan Cheeseburger Bombs Tips, FAQ & printable recipe
- Prep
- Cook
- Total
- Serves
- 8
Tips for success
For an added layer of flavor, consider mixing fresh minced herbs into the glaze before applying it to the tops. This provides a fresh contrast to the rich, savory filling.
Additionally, serving a side of marinara or a spicy mustard dip can complement the flavors of the cheeseburger bombs, allowing guests to customize their eating experience according to their personal preferences.
If garlic powder tends to clump, whisk it thoroughly into the melted fat before adding the rest of the glaze seasonings. This creates a smoother consistency, ensuring an even distribution of flavor across every bomb.
If you prefer a sharper taste, adding a small amount of onion powder to the beef mixture can enhance the classic burger profile of this appetizer.
Variations
- Bacon Cheeseburger Bombs: Add finely chopped crispy bacon bits into the ground beef mixture before shaping. This adds a smoky, salty crunch that pairs perfectly with the melted cheddar and garlic glaze.
- Spicy Jalapeno Bombs: Incorporate finely diced fresh or pickled jalapenos into the beef filling for a spicy kick. This variation is ideal for those who enjoy heat in their appetizers.
Storage and make-ahead
- Fridge
- Keep in an airtight container for up to 3 days.
- Freezer
- Freeze in a freezer-safe bag for up to 1 month.
- Reheat
- Reheat in a 350°F (175°C) oven for 10 minutes until warmed through.
Cool leftovers at room temperature for no more than 2 hours before placing them in an airtight container. They can be kept in the refrigerator for up to three days. Ensure the container is sealed properly to prevent moisture loss, which helps maintain the desired texture and prevents the bombs from becoming dry or soggy.
These bombs can be assembled up to four hours in advance and kept in the refrigerator until you are ready to bake them. If preparing ahead, wait to apply the garlic glaze until just before placing the baking sheet into the oven.
This ensures that the buns remain fresh and the glaze maintains its aromatic quality without soaking excessively into the crumb.
Serving ideas
Serve the cheeseburger bombs warm, ideally within ten minutes of taking them out of the oven. Arrange them on a platter with a garnish of fresh parsley for a vibrant presentation.
Because they are designed as a handheld appetizer, they work best when placed in an accessible area where guests can easily pick them up, perhaps with small napkins provided nearby for convenience.
Pair these appetizers with a variety of dipping sauces such as barbecue sauce, honey mustard, or a simple ketchup-based sauce to cater to different tastes. The warmth of the cheese and the savory beef make them a substantial choice for a starter, so keep the rest of the meal relatively light to ensure guests have room for the main event.
Frequently asked questions
Can these be made in an air fryer?
Why is it important to let the beef rest?
What is the best way to prevent the buns from getting soggy?
Garlic Parmesan Cheeseburger Bombs
Ingredients
- 1 lb ground beef
- 8 oz cheddar cheese, cubed
- 8 buns (store-bought or made ahead)
- 3 tbsp garlic-herb glaze
Instructions
- In a mixing bowl, combine the ground beef with desired seasonings. Shape the beef into eight equal portions. Press a cube of cheddar cheese into the center of each beef portion and roll it into a tight ball, ensuring the cheese is fully enclosed to prevent leaking during the baking process.
- Take each of the buns and create an opening or flatten sufficiently to encase the filling. Place one prepared beef and cheese ball in the center. Fold and wrap the buns completely around the meat, pressing firmly to seal all edges. Place the stuffed bombs seam-side down on a parchment-lined baking sheet.
- Brush the garlic-herb glaze evenly over the tops and sides of the assembled buns. Bake at 375°F (190°C) until deep golden brown and the internal temperature of the beef reaches 160°F (71°C). Let the bombs rest for five minutes before serving so the hot juices settle.
Estimated nutrition per serving
- Calories
- 320
- Protein
- 18 g
- Carbohydrates
- 22 g
- Fat
- 17 g
- Fiber
- 1 g
- Sugar
- 2 g
- Sodium
- 450 mg
Next recipe

Crispy Carnivore Cheese Balls for a Simple Snack
See the recipe → →This recipe is based on a short cooking video and is published under the pen name Clara Weller. It was checked before publication, but errors can slip through. Nutrition, when shown, is an estimate. Read more in our editorial policy and on our food safety page.
More recipes to try
Cheesy Baked Shrimp and Crab Dip for Easy Entertaining
Total time: 40 min
Crispy Ham and Cheese Wraps
Total time: 15 min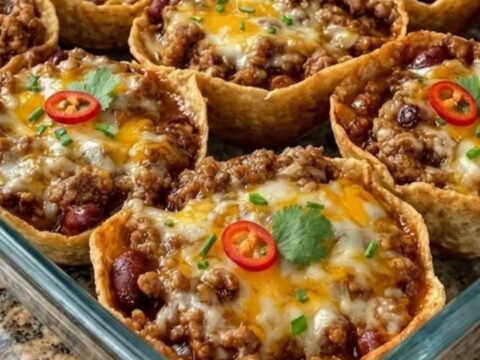
Crispy Cheesy Chili Tortilla Cups for a Quick Snack
Total time: 25 min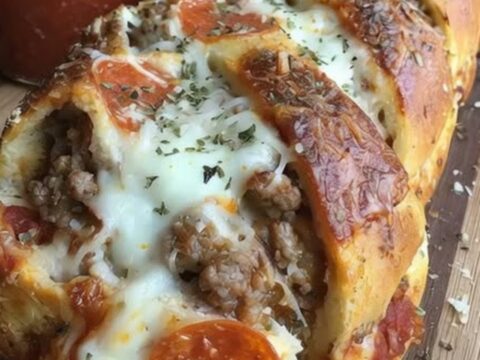
Cheesy Meat Lovers Pizza Bread
Total time: 50 min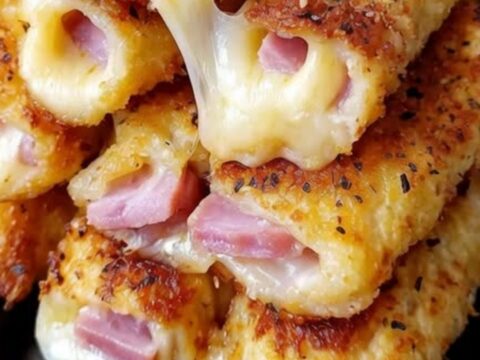
Crispy Baked Ham and Cheese Sticks
Total time: 30 min