Appetizers · Part 3 of 3: Tips & recipe card
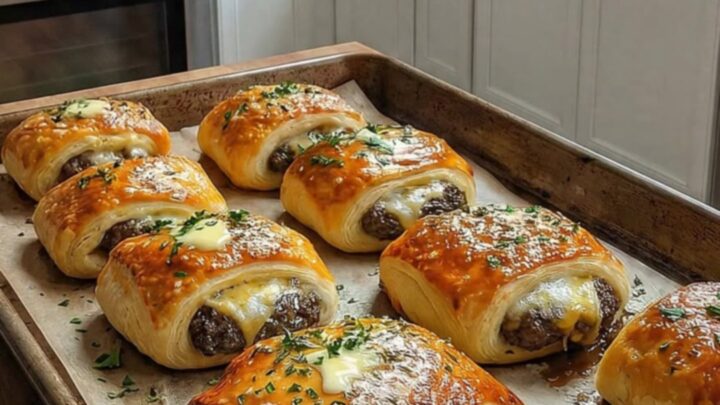
Garlic Parmesan Cheeseburger Bombs for a Quick Savory Treat Tips, FAQ & printable recipe
- Prep
- Cook
- Total
- Serves
- 8
Tips for success
For an extra layer of flavor, mix a small amount of onion powder or finely diced onions into the ground beef while it browns. This adds a subtle sweetness and depth that complements the sharp cheddar cheese. You can also experiment with different dried herbs in the garlic butter to suit your personal taste preferences or the occasion.
If you prefer a crispier bottom on your cheeseburger bombs, place them on a preheated baking stone or a heavy-duty baking sheet. This helps conduct heat more efficiently to the base of the pastry.
Always serve them warm, as the texture of the pastry and the consistency of the melted cheese are at their best immediately after the recommended resting period.
Variations
- Spicy Jalapeno Bombs: Add finely diced fresh or pickled jalapenos to the ground beef mixture before assembly. This adds a nice kick that cuts through the richness of the cheese and the buttery pastry, perfect for those who enjoy a bit of heat in their snacks.
- Bacon Cheeseburger Bombs: Incorporate crumbled, crispy bacon bits into the beef and cheese filling. The smokiness of the bacon adds a savory depth that pairs perfectly with the melted cheddar and the garlic herb topping, making for a truly indulgent appetizer.
Storage and make-ahead
- Fridge
- Keep in an airtight container for up to 3 days. Reheat before serving.
- Freezer
- Freeze fully baked bombs in a sealed bag for up to 1 month.
- Reheat
- Bake at 350°F (175°C) for 10 minutes until heated through.
Store any leftovers in an airtight container to maintain freshness. Because they contain meat and cheese, they must be refrigerated promptly.
When handling leftovers, ensure they have cooled completely to room temperature before placing them in the container, but do not leave them out on the counter for more than two hours to ensure food safety.
You can assemble the bombs up to 4 hours in advance and keep them on the baking sheet in the refrigerator, covered with plastic wrap. Brush them with the garlic butter just before placing them in the oven. This makes them perfect for parties or busy evenings when you want to minimize time spent in the kitchen right before serving.
Serving ideas
Serve these cheeseburger bombs warm as a standalone appetizer with a side of dipping sauce, such as ketchup, mustard, or a tangy barbecue sauce.
They also pair well with a crisp garden salad or roasted vegetables if you are serving them as part of a more substantial meal. Their handheld nature makes them ideal for casual dining and social gatherings.
For a more refined presentation, place the warm bombs on a wooden board or a decorative platter, garnished with a few sprigs of herbs.
Providing small napkins is recommended, as the pastry can be flaky and the filling may be juicy. These treats are best enjoyed while the cheese is still slightly molten and the pastry is fresh from the oven.
Frequently asked questions
Can these be made in an air fryer?
What is the best way to reheat leftovers?
Why did the cheese leak out of the bombs?
Garlic Parmesan Cheeseburger Bombs for a Quick Savory Treat
Ingredients
- 1 package pastry dough
- 1 lb ground beef, cooked and seasoned
- 8 cubes cheddar cheese
- 4 tbsp unsalted butter, melted
- 1 tsp garlic powder
- 2 tbsp grated parmesan cheese
- 1 tbsp dried herbs
Instructions
- In a skillet, brown the ground beef until fully cooked through and reaching an internal temperature of 160°F (71°C). Drain any excess fat. Allow the meat to cool slightly before assembling the bombs to ensure the dough does not become soggy or melt prematurely.
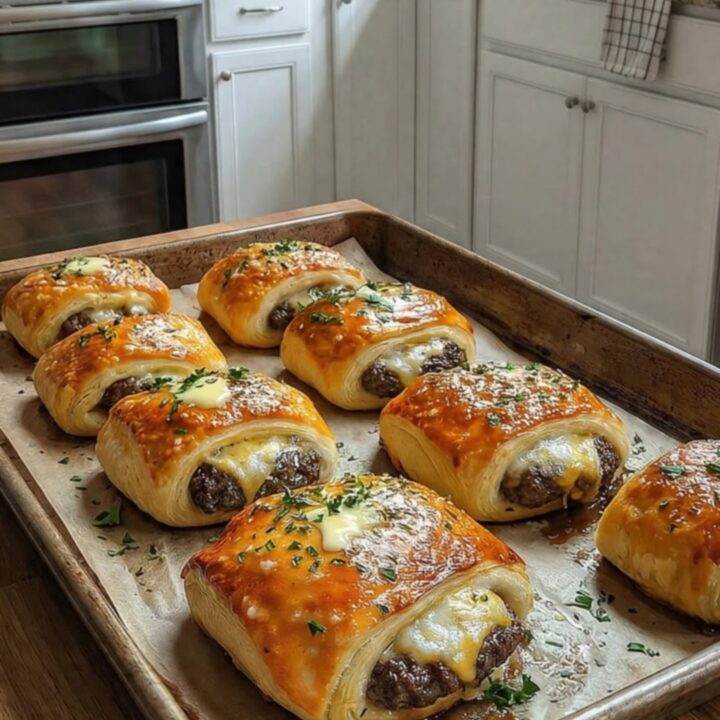
- Flatten each piece of pastry dough into a circle. Place a spoonful of the cooked ground beef and a cube of cheddar cheese in the center of each dough piece. Fold the edges of the dough up and over the filling, pinching the seams tightly to seal them shut.
- Arrange the prepared bombs on a baking sheet. In a small bowl, combine the melted butter, garlic powder, parmesan, and dried herbs. Brush the tops of the bombs generously with the garlic butter mixture. Bake at 375°F (190°C) for 15 to 20 minutes until golden brown and puffed. Let rest for 5 minutes before serving.
Estimated nutrition per serving
- Calories
- 320
- Protein
- 14.5 g
- Carbohydrates
- 22 g
- Fat
- 18.5 g
- Fiber
- 1 g
- Sugar
- 2 g
- Sodium
- 580 mg
Next recipe
Cheesy Baked Ham and Cheese Rolls for an Easy Snack
See the recipe → →This recipe is based on a short cooking video and is published under the pen name Clara Weller. It was checked before publication, but errors can slip through. Nutrition, when shown, is an estimate. Read more in our editorial policy and on our food safety page.
More recipes to try
Cheesy Bacon-Wrapped BBQ Onion Bombs for a Crispy Appetizer
Total time: 1 h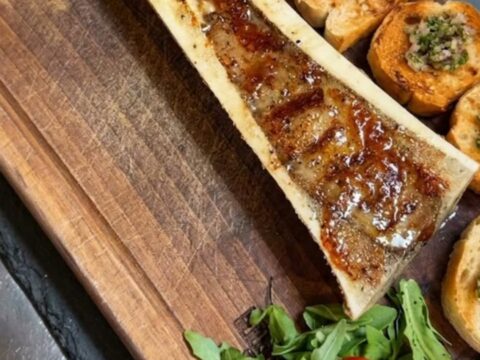
Buttery Roasted Beef Bone Marrow with Garlic Bread
Total time: 35 min
Cheesy Ham-Stuffed Pull-Apart Bread for Easy Sharing
Total time: 45 min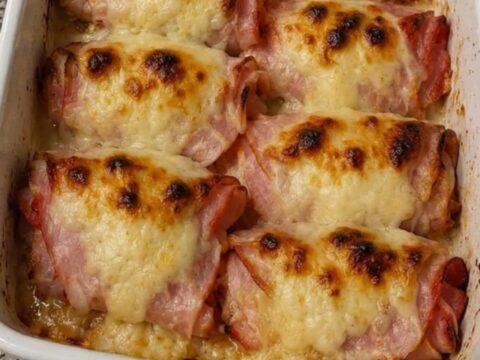
Cheesy Baked Ham and Cheese Rolls for an Easy Appetizer
Total time: 30 min
Creamy Garlic Butter Shrimp Bites for Quick Appetizers
Total time: 20 min