Appetizers · Part 3 of 3: Tips & recipe card
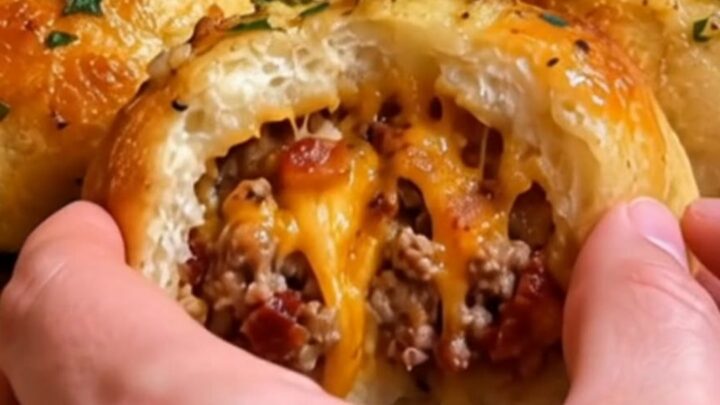
Garlic Parmesan Bacon Cheeseburger Bombs Tips, FAQ & printable recipe
- Prep
- Cook
- Total
- Serves
- 8
Tips for success
To achieve a more intense garlic flavor, consider adding a small amount of finely minced fresh garlic to the topping instead of relying solely on powder. However, be cautious, as fresh garlic can burn easily during the high-heat baking process.
If using fresh, ensure it is finely minced and well-coated to protect it from direct heat exposure. This adjustment adds a depth of flavor that is particularly appreciated by garlic enthusiasts, though the powder remains the most reliable option for consistent results.
For a slightly different texture, try brushing the tops with a beaten egg wash before applying the garlic parmesan topping. This creates a glossy, professional-looking shine that makes the bombs look as though they came from a bakery.
If the biscuits seem to be browning too quickly, simply tent the baking sheet loosely with a piece of aluminum foil for the final few minutes of baking. This ensures the insides finish cooking perfectly without the tops becoming overly dark or scorched, resulting in a beautiful, consistent finish.
Variations
- Spicy Jalapeno Bombs: Add finely diced fresh or pickled jalapenos into the beef and cheese filling for a kick of heat. This variation pairs exceptionally well with a side of cool ranch dressing to balance the spice levels.
- BBQ Bacon Bombs: Stir two tablespoons of your favorite barbecue sauce into the beef and bacon mixture before stuffing the biscuits. The sweetness of the sauce provides a delightful contrast to the salty bacon and savory beef.
Storage and make-ahead
- Fridge
- Store in an airtight container for up to 3 days.
- Freezer
- Freeze in a single layer on a baking sheet, then transfer to a freezer bag for up to 1 month.
- Reheat
- Reheat in a 350°F (175°C) oven for 8 to 10 minutes until warmed through and crisp.
Store any leftover cheeseburger bombs in an airtight container to maintain their freshness. While they are best enjoyed warm, they can be kept in the refrigerator for up to three days. Ensure they are completely cooled before placing them in the container to prevent condensation, which can make the biscuit dough soggy.
When ready to eat, they are easily revived in the oven or air fryer to regain their original crispness and warm, gooey center, making them a convenient option for quick snacks throughout the week.
These bombs can be assembled up to four hours before baking if kept in the refrigerator. Assemble them on the baking sheet, cover them loosely with plastic wrap, and store them in the fridge. When ready to bake, remove them from the refrigerator while the oven preheats. Note that chilled dough may require an extra minute or two of baking time. For best results, do not apply the garlic parmesan topping until immediately before placing them into the oven to ensure the best texture and flavor profile.
Serving ideas
Serve these bombs warm, ideally within ten minutes of taking them out of the oven. They are best accompanied by a simple dipping sauce, such as a tangy mustard or a creamy ranch, which helps to cut through the richness of the bacon and cheese. Because they are quite filling, three to four bombs usually constitute a satisfying portion when served alongside a light side dish like a crisp green salad or a medley of roasted vegetables to provide a balanced and enjoyable meal or snack for any occasion.
When presenting them to guests, arrange the bombs on a warm platter to help maintain their temperature for as long as possible. If serving at a party, consider placing them in a chafing dish or a heat-safe basket lined with a cloth napkin to retain warmth.
The goal is to keep the cheese in that perfect, molten state that makes the dish so appealing. Remind guests to handle them carefully, as the cheese filling retains heat significantly longer than the biscuit exterior, ensuring a safe and delightful eating experience.
Frequently asked questions
Can these be made ahead of time?
What is the best way to keep the cheese from leaking?
Can these be frozen after baking?
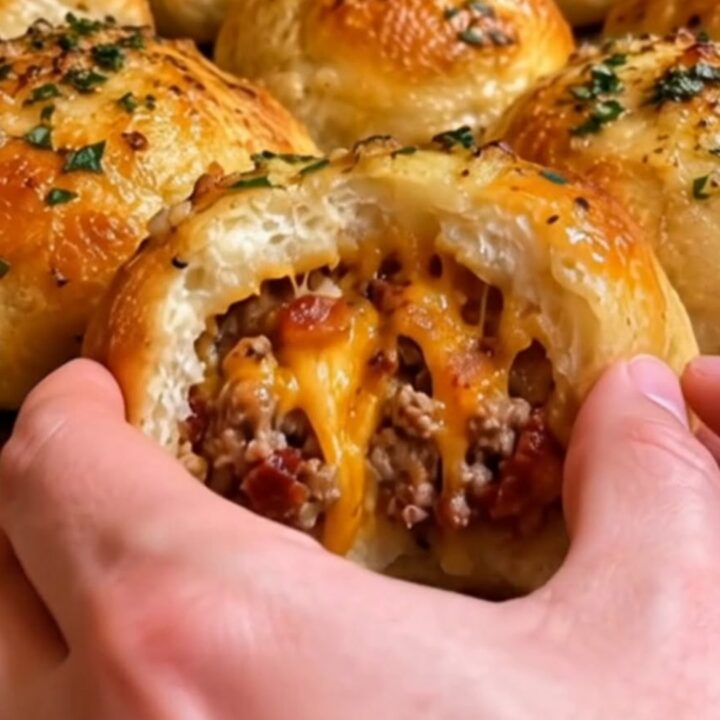
Garlic Parmesan Bacon Cheeseburger Bombs
Ingredients
- 1 can refrigerated biscuit dough
- 1/2 lb ground beef
- 4 slices bacon, cooked and crumbled
- 1 cup shredded cheddar cheese
- garlic parmesan topping, to taste
Instructions
- In a skillet over medium-high heat, brown the ground beef until fully cooked through. Ensure the meat reaches an internal temperature of 160°F (71°C). Drain any excess grease, then stir in the crumbled bacon and shredded cheddar cheese. Remove from heat and set aside to cool slightly before assembling.
- Preheat the oven to 375°F (190°C). Flatten each biscuit dough round slightly with your hands. Place a generous spoonful of the beef, bacon, and cheese mixture into the center of each dough round. Carefully pull the edges of the dough up and over the filling, pinching the seams tightly to seal the bombs completely.
- Place the assembled bombs seam-side down on a baking sheet. Apply the garlic parmesan topping over the tops of the biscuit bombs. Bake for 12 to 15 minutes or until the tops are golden brown. Let them rest for 5 minutes before serving.
Estimated nutrition per serving
- Calories
- 320
- Protein
- 12 g
- Carbohydrates
- 24 g
- Fat
- 19 g
Next recipe

Crispy Golden Ham and Cheese Puff Pastry Pockets
See the recipe → →This recipe is based on a short cooking video and is published under the pen name Clara Weller. It was checked before publication, but errors can slip through. Nutrition, when shown, is an estimate. Read more in our editorial policy and on our food safety page.
More recipes to try
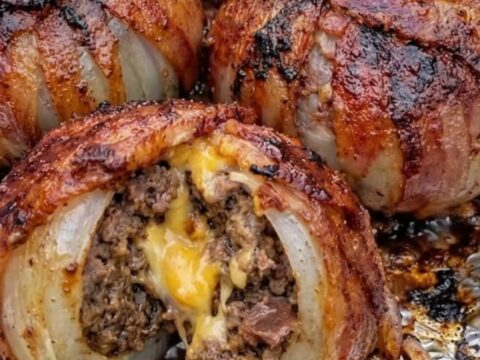
Bacon-Wrapped BBQ Onion Bombs for a Savory Treat
Total time: 1 h 5 min
Garlic Parmesan Cheeseburger Bombs for an Easy Appetizer
Total time: 40 min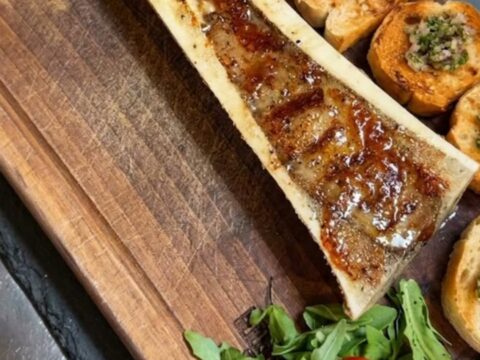
Roasted Beef Bone Marrow with Toasted Garlic Crostini
Total time: 35 min
Cheesy Ham-Stuffed Pull-Apart Bread for Easy Sharing
Total time: 35 min
Creamy Garlic Butter Shrimp Bites for a Quick Appetizer
Total time: 18 min