Dinner · Part 1 of 3: Ingredients
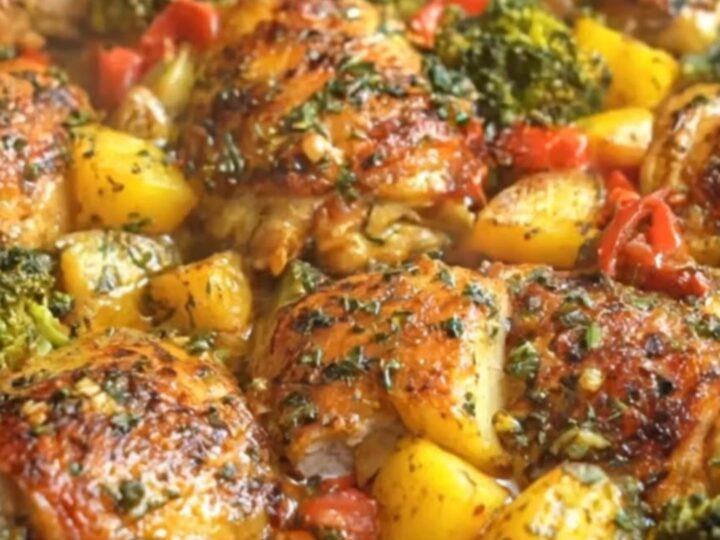
Garlic Herb Roasted Chicken with Potatoes and Broccoli
- Prep
- Cook
- Total
- Serves
- 4
Transform humble ingredients into a restaurant-quality meal with this one-pan garlic herb roasted chicken. Designed for busy home cooks who crave maximum flavor with minimal effort, this recipe brings together succulent poultry and perfectly roasted vegetables in one dish. It is the ultimate solution for a wholesome and satisfying dinner that fills the kitchen with an irresistible aroma, promising a delicious outcome every single time you turn on the oven.
Roasted chicken remains a timeless staple for good reason. By roasting chicken thighs alongside hearty potatoes and fresh broccoli, you create a complete meal that balances texture and taste. The garlic herb seasoning infuses the chicken with deep, savory notes while creating a beautiful golden crust.
Whether preparing for a small family gathering or a simple midweek dinner, this recipe simplifies the process without sacrificing quality. The result is consistently tender, flavorful chicken paired with vegetables that have absorbed all the savory pan drippings.
Ingredients
Main
- 4 pieces chicken thighs, bone-in and skin-on
- 1 lb potatoes, cut into bite-sized chunks
- 1 head broccoli, cut into florets
Seasoning
- 4 cloves garlic, minced
- 1 tbsp mixed dried herbs (thyme, rosemary, oregano)
Why this recipe works
The one-pan method is highly effective because it allows the chicken juices to naturally season the potatoes and broccoli as they roast. As the chicken releases its rendered fat, it coats the vegetables, ensuring they become golden and crisp rather than dry.
This shared cooking environment creates a cohesive dish where every bite is infused with the garlic and herb profile, minimizing the need for complex sauces or additional seasoning steps during the final plating.
Using bone-in, skin-on chicken thighs provides superior results compared to other cuts. The bone helps maintain the internal temperature, ensuring the meat stays incredibly juicy throughout the extended roasting time.
Meanwhile, the skin acts as a protective barrier, keeping the meat succulent while turning crispy in the high heat of the oven. This combination of fat and bone produces a deeply flavorful result that is forgiving for the cook, making it an ideal choice for reliable, stress-free roasting.
Notes and substitutions
Choose fresh, firm broccoli heads for the best results, as they hold up well to the heat. If fresh herbs are unavailable, dried versions work perfectly well, but remember that they are more potent, so use them sparingly.
For the potatoes, Yukon Golds or baby red potatoes are excellent choices because they develop a creamy texture inside while becoming perfectly crisp on the outside. Always ensure the chicken is completely dry before applying the seasoning to achieve the best possible browning.
A large glass baking dish is ideal for this recipe because it distributes heat evenly and is easy to clean. If you prefer a more pronounced char on your vegetables, ensure they are spread out in a single layer rather than piled on top of each other. If the chicken skin is not browning to your preference, you can finish it under the broiler for two to three minutes, but watch it closely to prevent the herbs from burning.
- chicken thighs: chicken drumsticks or boneless chicken breasts
- potatoes: sweet potatoes or diced butternut squash
Equipment
- Large glass baking dish
- Chef knife
- Cutting board
- Mixing bowl
- Tongs
- Meat thermometer
Up next · Part 2 of 3
3 steps · 45 min of cooking · what to look for at each stage
Step-by-step instructions (Part 2)