Dinner · Part 2 of 3: Instructions
Garlic Butter Steak for a Tender Medium-Rare Finish Step-by-step instructions
- Prep
- Cook
- Total
- Serves
- 2
Before you start
Before beginning, ensure the steaks are removed from the refrigerator at least twenty minutes before cooking to reach a more even temperature. Pat the steaks thoroughly dry with paper towels to ensure they sear properly.
Prepare the garlic herb butter while the pan is heating to save time. Have your tongs and a sharp carving knife ready, as you will need to act quickly once the steak is ready to be sliced.
Ingredients at a glance (4)
- 2 pieces ribeye steak, thick cut
- 3 tbsp butter, softened
- 2 cloves garlic, minced
- 1 tbsp fresh herbs, finely chopped
Instructions
Flavor Preparation
- Prepare the Garlic ButterCombine the softened butter, minced garlic, and chopped fresh herbs in a small bowl. Mix thoroughly until the garlic and herbs are evenly distributed throughout the butter. Set this aside at room temperature so it is ready to melt immediately upon contact with the hot steak.Look for The mixture should look uniform and creamy.Tip Use high-quality unsalted butter for the best flavor profile.
The compound butter should be smooth, aromatic, and ready to melt. The garlic should be finely minced to ensure it blends seamlessly into the butter without leaving large, pungent chunks. Check that the herbs are dry before chopping to avoid a watery consistency in the butter mixture.
High-Heat Searing
- Sear the SteakHeat a heavy-duty skillet over high heat until it is smoking hot. Place the seasoned steaks into the pan. Sear the steaks for approximately 4 to 5 minutes per side. Cook until the internal temperature reaches 145°F (63°C). Once cooked, remove the steak from the pan and let it rest at least 3 minutes before slicing.Look for The steak should have a deep brown crust and sizzle loudly when placed in the pan.Safe temperature 145°F (63°C) internal temperature (steaks, chops and roasts)Tip Do not crowd the skillet to ensure the meat sears rather than steams.
The steak is ready when the exterior is mahogany brown and crispy. Listen for a consistent, loud sizzle when the meat touches the pan. If the pan stops sizzling, the temperature has dropped too low; increase the heat immediately. The edges should appear browned and firm to the touch.
Resting and Finishing
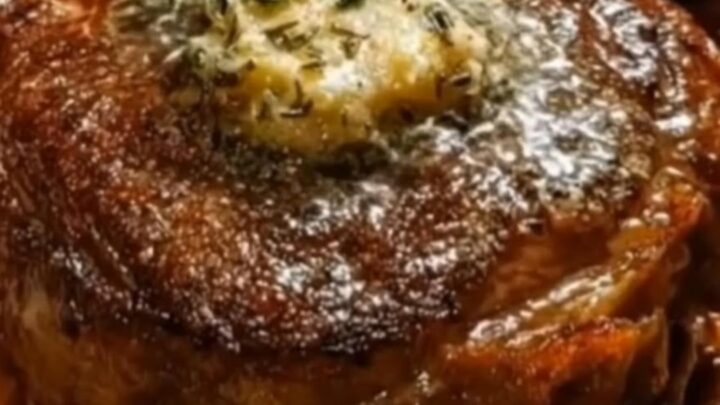
- Rest and ServePlace the rested steaks on a warm plate or cutting board. Immediately top each steak with a generous portion of the prepared garlic herb butter. The butter will melt into the crevices of the steak, creating a glossy sauce. Slice against the grain to maximize tenderness.Look for The butter will melt into the crevices of the steak, creating a glossy sauce.Tip Slice against the grain to maximize tenderness.
The steak must rest on a warm surface for at least five minutes. During this time, the garlic butter should melt into a glossy, fragrant sauce that coats the surface of the meat.
The meat should be firm but yielding when pressed gently with a finger, indicating a perfect medium-rare internal texture.
Common mistakes
A common mistake is overcrowding the pan, which lowers the temperature and causes the steak to steam instead of sear. Another error is failing to let the meat rest, which results in a loss of moisture and a less tender texture.
Additionally, using a pan that is not hot enough will prevent the development of a flavorful crust, leading to a grey and unappealing surface on the meat.
How to tell it’s done
To determine doneness, use an instant-read meat thermometer inserted into the thickest part of the steak. For a medium-rare finish, the internal temperature should reach 145°F (63°C).
A steak cooked to this temperature will be warm and pink in the center. Avoid overcooking, as the residual heat during the resting period will continue to raise the internal temperature slightly after the meat is removed from the pan.
- Steaks, chops and roasts: 145°F (63°C) in the thickest part, then a 3-minute rest
Up next · Part 3 of 3
2 variations · storage & make-ahead · 3 answers · printable card
Tips, FAQ & printable recipe (Part 3)← Back to the ingredients (Part 1)