Dinner · Part 1 of 3: Ingredients
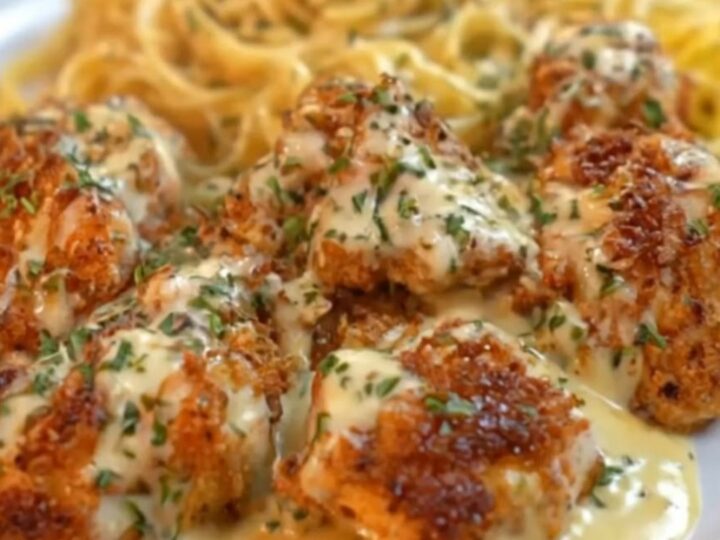
Garlic Butter Chicken Bites with Creamy Parmesan Fettuccine
- Prep
- Cook
- Total
- Serves
- 4
Craving a restaurant-quality meal that comes together in under thirty minutes? These garlic butter chicken bites with creamy parmesan fettuccine deliver ultimate comfort in every single bite. Golden, crispy chicken meets velvety, garlic-infused cream sauce and perfectly tender pasta. It is the perfect cozy weeknight dinner that feels like a weekend luxury, bringing rich flavors straight to the table.
Nothing beats the classic combination of garlic, butter, and parmesan when it comes to satisfying comfort food. This recipe streamlines the process by cooking tender chicken breast pieces quickly in a hot pan, ensuring they remain juicy on the inside while developing a beautiful golden crust on the outside.
Paired with a rich, velvety cream sauce and steaming fettuccine pasta, this dish offers a wonderful balance of textures and bold savory flavors. It is an approachable yet elegant dinner that will quickly earn a spot in the regular meal rotation.
Ingredients
- 1 1/2 lb boneless skinless chicken breasts, cut into 1-inch pieces
- 4 tbsp unsalted butter, divided
- 4 cloves garlic, minced
- 12 oz fettuccine pasta
- 1 1/2 cups heavy cream
- 1 cup freshly grated parmesan cheese
Why this recipe works
The success of this recipe lies in the high-heat searing technique used for the chicken bites. Cutting the chicken into small, uniform pieces increases the surface area, allowing for rapid browning and caramelization without drying out the meat.
Searing the chicken directly in hot butter creates a delicate, flavorful crust that locks in natural juices. This quick-cooking method ensures the chicken stays incredibly tender and flavorful.
Additionally, utilizing the same pan to build the garlic butter cream sauce captures all the browned bits, or fond, left behind by the chicken. This technique infuses the heavy cream and parmesan cheese with deep, caramelized chicken and garlic flavors.
As the starch from the pasta water emulsifies with the butter and cheese, it creates an incredibly smooth, velvety sauce that clings perfectly to the fettuccine strands.
Notes and substitutions
For the best results, choose high-quality boneless, skinless chicken breasts or thighs and cut them into even one-inch cubes. If chicken breasts are used, be careful not to overcook them, as small pieces cook very quickly.
Freshly grated Parmigiano-Reggiano or high-quality parmesan cheese is highly recommended over pre-packaged pre-shredded varieties, as pre-shredded cheese contains anti-caking agents that prevent it from melting smoothly into the cream sauce.
Standard dry fettuccine pasta works beautifully for this recipe, but fresh fettuccine can also be used for an even more luxurious texture. Be sure to cook the pasta just until al dente, as it will continue to cook slightly when tossed with the hot sauce. Keep a cup of the starchy pasta cooking water on hand before draining; this liquid is a secret weapon for adjusting the consistency of the cream sauce.
- heavy cream: half-and-half mixed with one tablespoon of cornstarch, though the sauce will be slightly less rich
- fettuccine pasta: linguine or tagliatelle pasta
Equipment
- large pot
- colander
- large skillet
- digital meat thermometer
- whisk
- tongs
Up next · Part 2 of 3
6 steps · 15 min of cooking · what to look for at each stage
Step-by-step instructions (Part 2)