Dinner · Part 3 of 3: Tips & recipe card
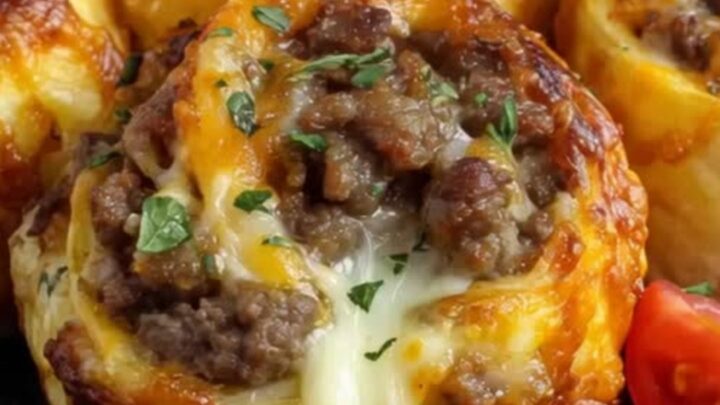
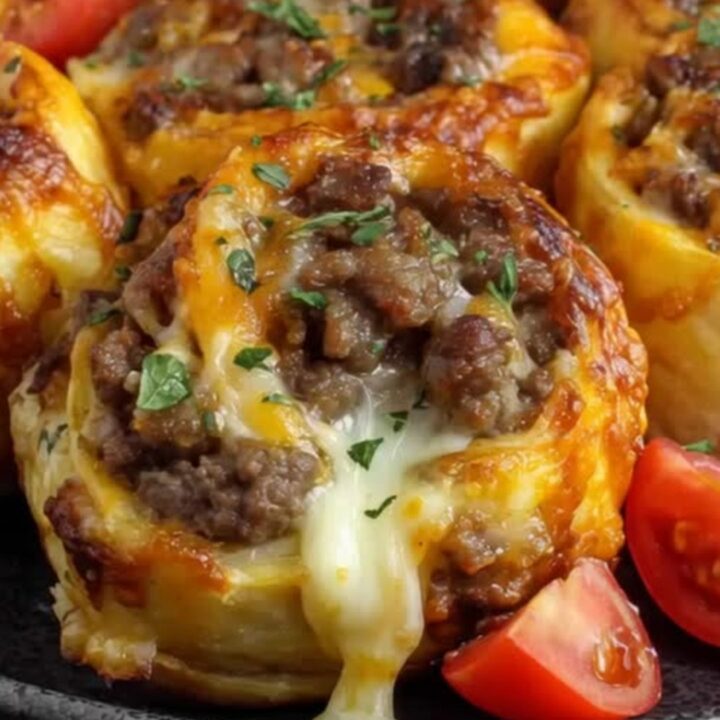
Garlic Butter Cheeseburger Rollups: Quick, Cheesy Dinner Tips, FAQ & printable recipe
- Prep
- Cook
- Total
- Serves
- 4
Tips for success
For an extra-golden crust, brush the rollups with garlic butter twice: once before baking and once immediately after they come out of the oven. This layering of flavor and color makes them look like they came from a bakery.
You can also sprinkle a pinch of flaky sea salt on top after the final brush for a savory crunch. If you have fresh herbs, a little extra parsley or chives adds a pop of color and freshness.
To make these ahead, prepare the rollups up to the point of baking, then cover and refrigerate for up to 24 hours. When ready to bake, add 5-10 minutes to the baking time since they start cold.
Alternatively, you can freeze the unbaked rollups on a baking sheet until solid, then transfer to a zip-top bag. Bake from frozen at 375°F (190°C) for 30-35 minutes. These are best enjoyed warm, so reheat leftovers in a toaster oven or air fryer to restore crispness.
Variations
- Bacon Cheeseburger: Add 4 slices of cooked, crumbled bacon to the beef filling along with the cheese. The smoky flavor complements the beef beautifully. Reduce the salt slightly since bacon is salty.
- Spicy Jalapeño: Stir 2 tablespoons of chopped pickled jalapeños into the beef mixture. For extra heat, add a pinch of cayenne to the garlic butter. Serve with a cooling ranch dip.
- Mushroom Swiss: Sauté 8 oz sliced mushrooms with the beef until browned. Replace the cheddar with Swiss cheese. The earthy mushrooms add depth, and Swiss melts beautifully.
- BBQ Cheddar: Mix 2 tablespoons of barbecue sauce into the cooked beef before adding the cheese. Use smoked cheddar or gouda for a smoky twist. Brush the rollups with a little extra BBQ sauce in the last 5 minutes of baking.
Storage and make-ahead
- Fridge
- Store in an airtight container in the refrigerator for up to 4 days. Reheat in the oven or toaster oven to restore crispness.
- Freezer
- Freeze unbaked rollups on a baking sheet, then transfer to a bag. Bake from frozen at 375°F for 30-35 minutes.
- Reheat
- Reheat in a 350°F oven for 10-12 minutes, or in an air fryer at 350°F for 5-7 minutes. Avoid microwave for best texture.
Store leftover rollups in an airtight container in the refrigerator for up to 4 days. Reheat in a 350°F (175°C) oven for 10 minutes, or in the microwave for 30-60 seconds. For best texture, avoid reheating in the microwave as it can make the dough soggy. If you have a toaster oven, that's ideal.
The beef filling can be cooked and seasoned up to 2 days in advance; store it in the refrigerator and bring to room temperature before assembling. The garlic butter can be mixed and refrigerated for up to a week—just re-melt gently.
You can also assemble the rollups fully, cover tightly, and refrigerate for up to 24 hours before baking. Add a few extra minutes to the baking time if baking straight from the fridge.
Serving ideas
Serve these rollups warm, straight from the oven, when the cheese is at its most stretchy. They're fantastic on their own, but a side of ketchup, mustard, or a simple dipping sauce like ranch or barbecue sauce takes them over the top. For a complete meal, pair them with a crisp green salad or roasted vegetables. They also make great party appetizers—just cut them in half if you want smaller bites.
When serving a crowd, arrange the rollups on a large platter with toothpicks for easy grabbing. They hold their shape well and can be served at room temperature, though they're best within an hour of baking.
If you have leftovers, they're delicious cold, like a cheeseburger-inspired snack. For a fun dinner, serve with pickles, sliced tomatoes, and lettuce on the side so everyone can build their own 'burger' experience.
Frequently asked questions
Can these rollups be made with ground turkey instead of beef?
Why did the cheese leak out during baking?
Can these be assembled the night before and baked the next day?
What dipping sauces go well with these rollups?
Can the rollups be frozen after baking?
Garlic Butter Cheeseburger Rollups: Quick, Cheesy Dinner
Ingredients
- 1 lb ground beef (80/20)
- 1 tsp garlic powder
- 1 tsp onion powder
- 1/2 tsp salt
- 1/4 tsp black pepper
- 1 cup shredded cheddar cheese
- 1 lb pizza dough, at room temperature
- 3 tbsp unsalted butter, melted
- 2 cloves garlic, minced
- 1 tbsp fresh parsley, chopped
Instructions
- Heat a large skillet over medium-high heat. Add the ground beef and cook, breaking it up with a spoon, until browned and cooked through, about 6-8 minutes. Drain any excess fat. Season with garlic powder, onion powder, salt, and black pepper. Remove from heat and let cool slightly.
- Transfer the cooked beef to a bowl and stir in the shredded cheddar cheese until well combined. The residual heat will start to melt the cheese slightly, helping the filling hold together.
- On a lightly floured surface, roll the pizza dough into a large rectangle, about 12 by 10 inches and 1/4-inch thick. Trim the edges for a neat rectangle if desired.
- Spread the beef and cheese mixture evenly over the dough, leaving a 1-inch border along one long edge. Starting from the opposite long edge, roll the dough tightly into a log. Pinch the seam to seal.
- Using a sharp knife, slice the log into 8 even pieces, about 1 1/2 inches thick. Place the rollups cut-side up on a parchment-lined baking sheet, spacing them about 1 inch apart.
- In a small bowl, stir together the melted butter, minced garlic, and chopped parsley.
- Brush the tops and sides of each rollup generously with the garlic butter mixture.
- Bake the rollups in a preheated 375°F (190°C) oven for 20-25 minutes, until the dough is golden brown and cooked through. If desired, brush with the remaining garlic butter immediately after baking.
Estimated nutrition per serving
- Calories
- 480
- Protein
- 24 g
- Carbohydrates
- 35 g
- Fat
- 27 g
Next recipe
Classic Greek Pastitsio with Creamy Béchamel
See the recipe → →This recipe is based on a short cooking video and is published under the pen name Clara Weller. It was checked before publication, but errors can slip through. Nutrition, when shown, is an estimate. Read more in our editorial policy and on our food safety page.
More recipes to try
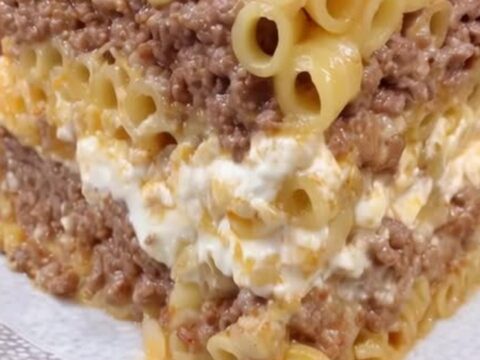
Classic Greek Pastitsio with Rich Béchamel Sauce
Total time: 1 h 45 min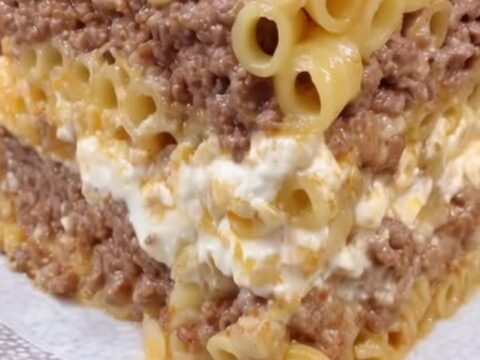
Authentic Greek Pastitsio with Creamy Béchamel
Total time: 1 h 45 min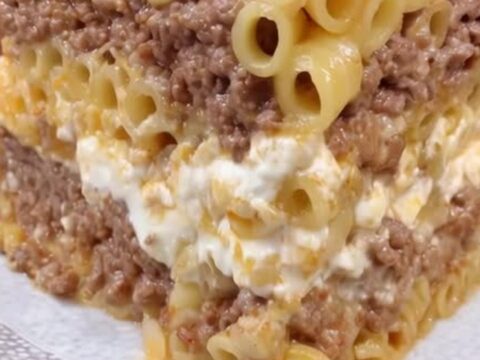
Classic Pastitsio with Creamy Béchamel Layers
Total time: 1 h 50 min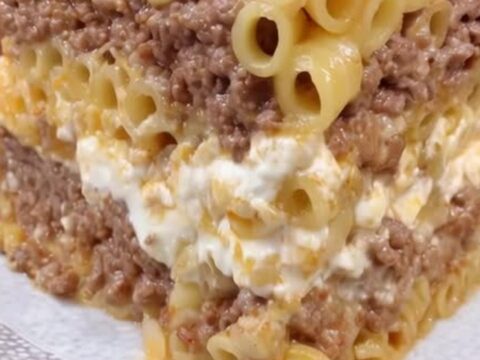
Authentic Greek Pastitsio with Creamy Layers
Total time: 1 h 45 min
Creamy and Easy Queso Chicken Enchiladas
Total time: 45 min