Dinner · Part 1 of 3: Ingredients
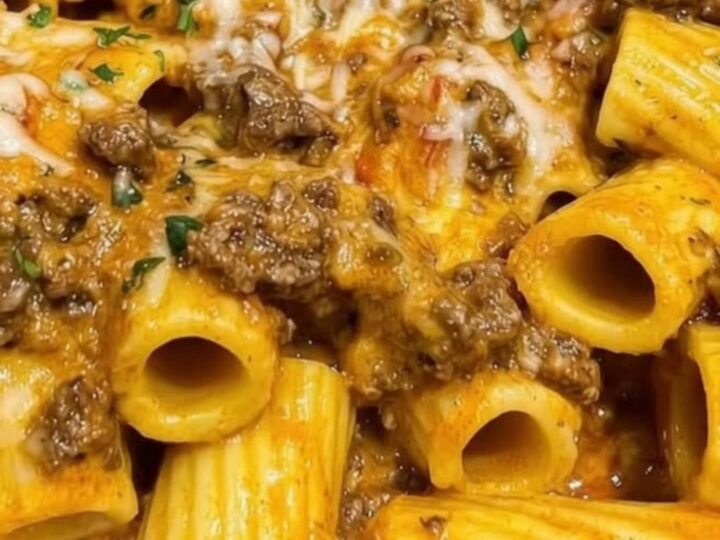
Garlic Butter Beef Rigatoni in Creamy Tomato Sauce
- Prep
- Cook
- Total
- Serves
- 4
This garlic butter beef rigatoni brings ultimate comfort food straight to the dinner table. Thick, ridged rigatoni pasta is tossed in a velvety, orange-hued tomato cream sauce loaded with savory browned ground beef, rich garlic butter, and plenty of melted parmesan cheese. It is a hearty, crowd-pleasing meal that comes together quickly, making it perfect for busy weeknights or cozy weekend dinners.
When craving a rich, satisfying pasta dish, this garlic butter beef rigatoni delivers on every level. The combination of savory ground beef sizzled in rich garlic butter forms a deeply flavorful base. Swirling in heavy cream and acidic tomato sauce creates a beautifully balanced, velvety sauce that clings perfectly to every ridge of the rigatoni.
Completed with a generous dusting of freshly grated parmesan cheese and fresh parsley, this dish offers restaurant-quality flavors from the comfort of home. Every single bite is packed with savory, comforting goodness.
Ingredients
- 12 oz rigatoni pasta
- 2 tbsp butter
- 3 cloves garlic, minced
- 1 lb ground beef
- 15 oz tomato sauce
- 1/2 cup heavy cream
- 1/2 cup parmesan cheese, grated
- 2 tbsp fresh parsley, chopped
Why this recipe works
The secret to the incredible depth of flavor in this pasta lies in the initial browning of the ground beef in rich garlic butter. Instead of just browning the meat in its own fat, cooking it in butter infuses the beef with a luxurious richness, while the garlic caramelizes gently to create a fragrant foundation.
This technique ensures that the beef itself is highly seasoned and flavorful, rather than tasting boiled or bland. The butter also emulsifies beautifully with the tomato sauce later on, yielding an ultra-smooth texture.
Using rigatoni is a deliberate choice that elevates the entire eating experience. The large, hollow tubes and outer ridges are perfectly designed to trap the thick, creamy tomato parmesan sauce and catch bits of savory ground beef.
When the cooked pasta is tossed vigorously with the hot sauce, the starch from the pasta combines with the fats in the cheese and cream, creating a glossy, cohesive coating that clings to every noodle rather than pooling at the bottom of the bowl.
Notes and substitutions
For the best results, select high-quality ground beef, preferably a 80/20 or 85/15 blend, which provides enough fat to keep the meat tender and flavorful during browning. If using a leaner blend, you may need to add a touch more butter to the pan.
Freshly grated parmesan cheese is highly recommended over pre-packaged options, as pre-grated cheese often contains anti-caking agents that prevent it from melting smoothly into the sauce, which can result in a grainy texture.
If rigatoni is unavailable, other sturdy, ridged pasta shapes like penne rigate, tortiglioni, or medium shells make excellent substitutes. When boiling the pasta, ensure the water is generously salted, resembling seawater, to season the noodles from the inside out. Always cook the pasta until just al dente, as it will continue to cook slightly when tossed in the hot cream sauce, preventing the noodles from becoming mushy or overcooked before serving.
- rigatoni pasta: Penne rigate or medium shells can be used as a direct substitute.
- heavy cream: Half-and-half can be used, though the sauce will be slightly less thick and rich.
Equipment
- large pot
- large skillet
- wooden spoon
- colander
- cheese grater
Up next · Part 2 of 3
4 steps · 20 min of cooking · what to look for at each stage
Step-by-step instructions (Part 2)