Dinner · Part 1 of 3: Ingredients
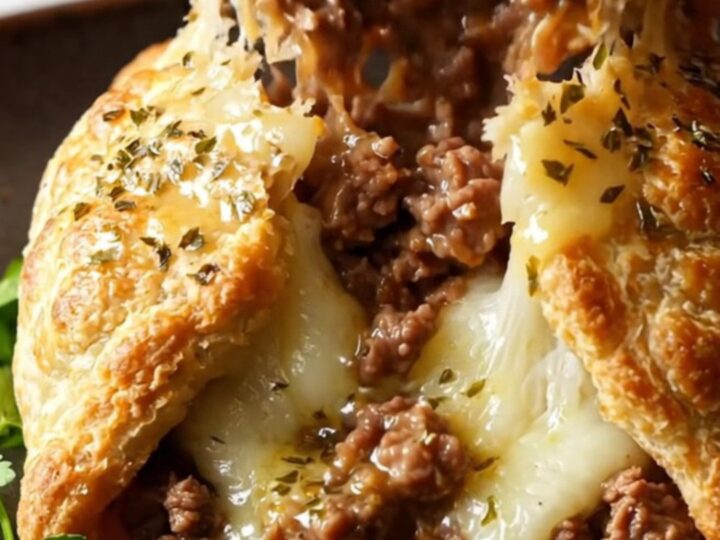
Garlic Butter Beef Pockets: Cheesy, Juicy, and Easy
- Prep
- Cook
- Total
- Serves
- 4
These garlic butter beef pockets are the ultimate weeknight dinner: golden, buttery tortillas wrapped around a savory, spiced beef filling and plenty of melted mozzarella. The contrast of crisp exterior and gooey, juicy interior makes every bite irresistible. Ready in about 35 minutes, they're a fun, handheld meal that the whole family will love.
Imagine biting into a warm, golden tortilla that crackles as you break through, revealing a rich, aromatic beef filling laced with melted cheese. That's exactly what you get with these garlic butter beef pockets.
The filling is built on browned ground beef with onion, sweet bell peppers, and a kick of serrano, all bound together with tomato paste and warm spices. Brushed with garlic herb butter and baked until crusty, these pockets are a delicious twist on a classic comfort food.
Ingredients
- 1 lb 80/20 ground beef
- 1 medium yellow onion, diced
- 1 cup sweet bell peppers, chopped
- 3 cloves garlic, minced
- 1 serrano pepper, diced
- 3 tbsp tomato paste
- 1 tsp ground cumin
- 1 tsp smoked paprika
- 1/2 tsp salt
- 1/4 tsp black pepper
- 4 large flour tortillas (10-inch)
- 1 1/2 cups shredded mozzarella cheese, divided
- 3 tbsp garlic herb butter, melted
- 2 tbsp fresh parsley, chopped
Why this recipe works
The method here is all about building layers of flavor. Browning the ground beef first develops a deep, savory base, while the tomato paste and spices add complexity.
The garlic herb butter brushed on top not only flavors the tortilla but also helps it turn golden and crisp in the oven, creating a satisfying crunch that contrasts with the molten cheese inside.
Folding the tortillas into sealed parcels ensures that every bite contains a balanced mix of beef, cheese, and tortilla. Baking instead of frying keeps the process simple and hands-off, while still delivering a crispy, golden exterior.
The result is a self-contained meal that's both practical and indulgent, perfect for a busy weeknight or a casual gathering.
Notes and substitutions
Choose 80/20 ground beef for the best flavor and juiciness; the fat renders and keeps the filling moist. For the peppers, any sweet bell pepper works—red, orange, or yellow.
The serrano adds a bright heat; adjust the amount to your preference. Use freshly shredded mozzarella for the best melt, as pre-shredded varieties often contain anti-caking agents that affect texture.
Flour tortillas are essential for folding; corn tortillas are too brittle. Look for large (10-inch) ones. Garlic herb butter is easy to make by mixing softened butter with minced garlic and dried herbs; or use store-bought to save time. If you don't have garlic herb butter, plain melted butter with a pinch of garlic powder works fine.
- 80/20 ground beef: Ground turkey or chicken (cook to 165°F) for a leaner option, or use ground pork for extra richness.
- serrano pepper: Jalapeño or 1/4 teaspoon red pepper flakes for a milder heat.
- flour tortillas: Corn tortillas (smaller, use 8) for a gluten-free option, but note they may crack when folded.
- garlic herb butter: Melted butter mixed with 1/2 teaspoon garlic powder and 1 teaspoon dried herbs (such as oregano or thyme).
Equipment
- Large skillet
- Wooden spoon or spatula
- Cutting board and knife
- Baking dish (9x13-inch)
- Pastry brush
- Measuring cups and spoons
Up next · Part 2 of 3
5 steps · 23 min of cooking · what to look for at each stage
Step-by-step instructions (Part 2)