Dinner · Part 1 of 3: Ingredients
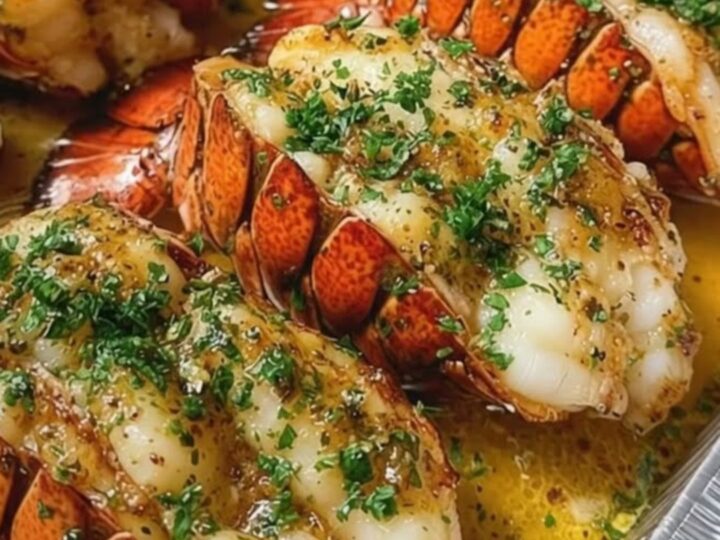
Garlic Butter Baked Lobster Tails for an Elegant Dinner
- Prep
- Cook
- Total
- Serves
- 4
Elevate your next dinner with these restaurant-style garlic herb baked lobster tails that bring a touch of luxury to your kitchen. With just a few simple ingredients, you can transform fresh seafood into an impressive, succulent masterpiece that tastes as good as it looks. Perfect for special celebrations or a quiet night in, this recipe captures the essence of fine dining in a remarkably straightforward format that anyone can master with ease.
Lobster tails are a classic choice for an elegant seafood dinner, known for their sweet, tender meat and rich texture. This preparation focuses on keeping the meat juicy by baking it with a flavorful garlic and herb butter infusion.
By splitting the shell and lifting the meat, the heat penetrates the protein evenly while allowing the aromatic garlic butter to soak into every fiber. This method ensures that the lobster remains moist, tender, and intensely flavorful from the first bite to the very last, providing a culinary experience that rivals any upscale seafood restaurant.
Ingredients
- 4 lobster tails, shells split open
- 1/2 cup unsalted butter, melted
- 4 cloves garlic, minced
- 1 tbsp fresh parsley, chopped
Why this recipe works
The primary benefit of this baking method is the controlled heat environment, which prevents the delicate lobster protein from overcooking. By keeping the meat exposed on top of the shell, it cooks evenly and avoids the rubbery texture that often results from boiling or over-browning. The shell acts as a natural vessel that holds the flavorful butter close to the meat throughout the entire cooking process, creating a self-basting effect that locks in natural juices and moisture.
Additionally, the combination of melted butter and fresh garlic creates a classic flavor profile that complements the natural sweetness of the lobster without overpowering it. Using an aluminum pan helps to distribute heat consistently around the tails, ensuring a uniform cook across all four servings.
This streamlined approach minimizes the need for complex techniques, allowing the quality of the seafood to take center stage while providing a reliable process that guarantees consistent and delicious results for every cook.
Notes and substitutions
When selecting lobster tails, look for fresh, firm specimens with a vibrant color and a fresh, clean scent. If purchasing frozen tails, ensure they are fully thawed in the refrigerator before preparing them to guarantee even cooking.
The quality of the butter makes a significant difference in this dish, so use high-quality unsalted butter to maintain control over the salt levels. If using salted butter, reduce any additional salt added to the mixture to ensure the final result remains balanced.
The choice of aluminum pan is recommended for its excellent heat conductivity, which helps the lobster cook thoroughly and efficiently. If an aluminum pan is not available, a standard glass or ceramic baking dish may be used, though the cooking time may need to be adjusted slightly as these materials heat differently.
Always use fresh parsley for the garnish, as its bright, herbal notes provide the necessary contrast to the richness of the butter, elevating the overall presentation and flavor profile of the dish.
- fresh garlic: 1/2 teaspoon garlic powder if fresh cloves are unavailable
- fresh parsley: 1 tablespoon dried parsley flakes
Equipment
- aluminum baking pan
- kitchen shears
- small mixing bowl
- spoon
- baking sheet
Up next · Part 2 of 3
3 steps · 12 min of cooking · what to look for at each stage
Step-by-step instructions (Part 2)