Desserts · Part 1 of 3: Ingredients
Fudgy Brownie Muffins with a Molten Center
- Prep
- Cook
- Total
- Serves
- 12
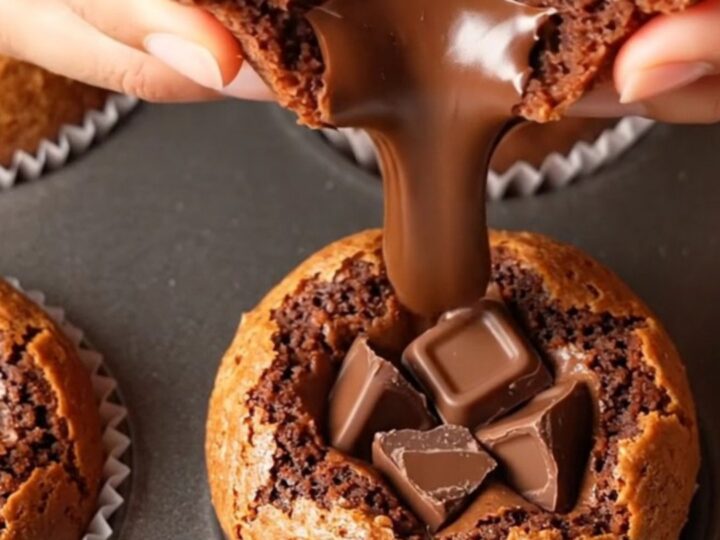
These fudgy brownie muffins are the ultimate chocolate indulgence. With a crackly top, a tender crumb, and a molten chocolate center that oozes when you break them open, they're everything you love about brownies and muffins in one.
Made with melted dark and milk chocolate, they bake up rich and fudgy in just 20 minutes. Perfect for a quick dessert, a weekend treat, or a bake sale favorite, these muffins are sure to become a go-to recipe in your kitchen.
Imagine the best parts of a brownie and a muffin combined: the crackly, shiny top of a brownie, the tender, moist crumb of a muffin, and a gooey chocolate center that melts in your mouth. That's exactly what these fudgy brownie muffins deliver.
The recipe is straightforward, using melted chocolate and butter for deep flavor, eggs and sugar whipped to ribbons for structure, and a short bake that keeps the centers soft and fudgy. Whether you're a seasoned baker or new to the kitchen, these muffins come together easily and are sure to impress.
Ingredients
- 200 g dark chocolate, chopped
- 50 g milk chocolate, chopped
- 100 g unsalted butter, cut into pieces
- 2 large eggs
- 3/4 cup granulated sugar
- 1/4 cup vegetable oil
- 1/2 cup all-purpose flour
- 2 tbsp unsweetened cocoa powder
- 1/4 tsp salt
- 1/2 cup dark chocolate chunks
Why this recipe works
The method starts by melting dark and milk chocolate with butter, creating a rich, smooth base that gives these muffins their intense chocolate flavor.
Whisking the eggs and sugar until pale and ribbony incorporates air, which helps the muffin tops rise and form that beautiful crackly crust. The combination of melted chocolate and whipped eggs ensures a fudgy, moist texture that stays soft even after cooling.
Folding the dry ingredients gently and adding chocolate chunks before baking creates pockets of molten chocolate in the center.
The high ratio of chocolate to flour keeps the batter thick and fudgy, while the short baking time at 350°F (175°C) allows the tops to set without overcooking the centers. The result is a muffin that's crisp on the outside, tender on the inside, and full of gooey chocolate in every bite.
Notes and substitutions
Use good-quality dark and milk chocolate for the best flavor. The dark chocolate provides depth, while the milk chocolate adds creaminess. If you prefer a more intense chocolate taste, use all dark chocolate. The butter should be unsalted to control the salt level. For the chocolate chunks, dark chocolate chunks work well, but you can also use a chopped chocolate bar or chocolate chips.
The eggs and sugar need to be whisked until thick and pale, which takes about 2-3 minutes with an electric whisk. This step is crucial for the crackly top. When folding the dry ingredients, be careful not to overmix, as that can make the muffins tough. The batter will be thick and glossy, similar to a brownie batter. Use paper liners for easy removal and to keep the muffins moist.
- dark chocolate: semi-sweet chocolate chips (use 1 1/2 cups total)
- milk chocolate: more dark chocolate
- vegetable oil: melted coconut oil or canola oil
- all-purpose flour: gluten-free all-purpose flour blend
Equipment
- Muffin tin
- Paper muffin liners
- Mixing bowls
- Whisk
- Silicone spatula
- Heatproof bowl
- Saucepan
- Electric whisk (optional)
Up next · Part 2 of 3
8 steps · 20 min of cooking · what to look for at each stage
Step-by-step instructions (Part 2)