Breakfast · Part 1 of 3: Ingredients
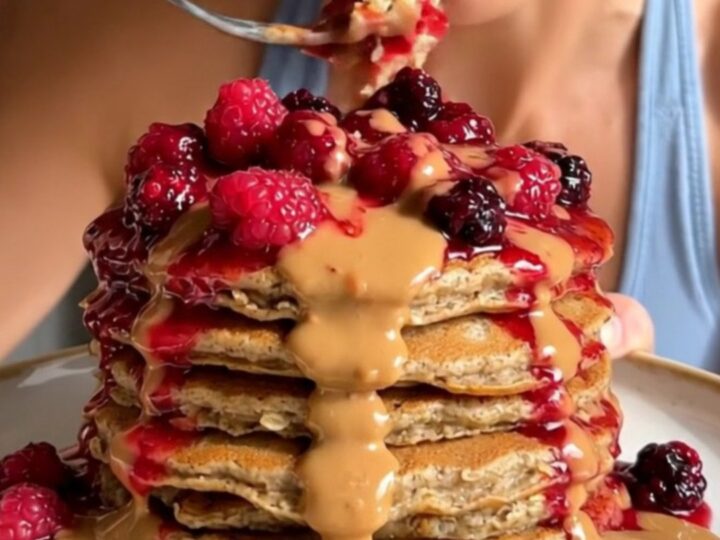
Fluffy Blender Oat Pancakes
- Prep
- Cook
- Total
- Serves
- 2
Transform simple pantry staples into a breakfast masterpiece with this blender pancake recipe. By using cottage cheese and oats instead of traditional flour, you create a pancake that is incredibly fluffy, satisfying, and easy to prepare. Whether you are looking for a quick morning meal or a weekend treat, this method delivers consistently delicious results that pair perfectly with seasonal berries and nutty drizzles.
This recipe reimagines the classic pancake by leveraging the texture of blended rolled oats and the creamy, dense profile of cottage cheese. The process is remarkably straightforward, requiring only a high-speed blender and a hot griddle.
By combining the liquid and dry ingredients in one step, the batter achieves a perfect consistency that yields tender, golden pancakes every time. This approach simplifies breakfast preparation, allowing for a pleasant start to the day without the need for complex ingredients or long prep times.
Ingredients
Pancake Batter
- 120 grams rolled oats
- 150 grams full-fat cottage cheese
- 3 whole eggs
- 5 milliliters vanilla extract
- 6 grams baking powder
Cooking
- coconut oil for serving
Topping
- berry compote for serving
- almond butter for serving
Why this recipe works
The method of blending the ingredients works by breaking down the structure of the rolled oats into a fine flour, which creates a cohesive batter that mimics the texture of traditional wheat-based pancakes.
The cottage cheese acts as both a moisture agent and a binder, ensuring the pancakes remain soft and tender throughout the cooking process. This technique eliminates the need for extra dry flours or leavening agents beyond the baking powder, resulting in a streamlined and efficient cooking experience.
Cooking the pancakes on a preheated griddle at a steady temperature allows for the rapid development of a golden-brown crust while ensuring the interior remains light and airy.
The eggs and cottage cheese create a stable structure that holds the pancakes together, making them easy to flip without breakage. This balance of heat and chemistry is essential for achieving the perfect springy texture that defines a high-quality pancake, providing a reliable result for any home cook.
Notes and substitutions
When selecting ingredients, use rolled oats for the best texture; quick oats can also be used, but rolled oats provide a heartier bite. Full-fat cottage cheese is recommended for its richness, which contributes to the overall flavor and mouthfeel of the pancakes. Ensure the baking powder is fresh to guarantee the necessary lift during the cooking phase, as this is the primary leavening agent responsible for the light, fluffy texture of the final product.
The equipment used is minimal: a high-speed blender is essential to achieve the required smoothness for the batter. A non-stick griddle or a well-seasoned cast-iron skillet is ideal for even heat distribution and preventing sticking.
If a griddle is unavailable, a high-quality non-stick frying pan will work perfectly. Always maintain a consistent temperature when cooking to ensure the pancakes brown uniformly without burning, as the natural sugars in the oats and cottage cheese can brown quite quickly.
- coconut oil: butter or ghee
- almond butter: peanut butter or any seed butter
Equipment
- high-speed blender
- griddle or non-stick skillet
- spatula
- measuring scale
Up next · Part 2 of 3
3 steps · 5 min of cooking · what to look for at each stage
Step-by-step instructions (Part 2)