Dinner · Part 1 of 3: Ingredients
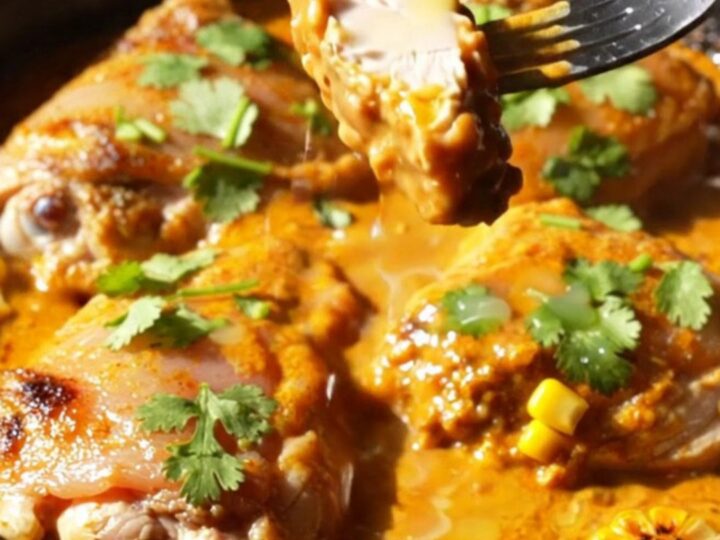
Peri-Peri Coconut Chicken Skillet with Charred Corn
- Prep
- Cook
- Total
- Serves
- 4
This peri-peri coconut chicken skillet is a fiery flavor bomb that comes together in one pan. Bone-in chicken thighs get a smoky paprika rub, then sear until the skin blisters and crisps. A velvety sauce of peri-peri chili and full-fat coconut milk simmers with charred sweet corn for a rich, spicy, and creamy dish that's ready in under 30 minutes.
Inspired by the bold flavors of Portuguese and South African cooking, this one-pan dinner delivers serious heat and cool coconut creaminess in every bite. The chicken thighs are seasoned simply, then seared to develop a crackling skin, while the sauce—made from just two ingredients—turns into a luscious, spicy coconut reduction.
Charred corn adds a sweet, smoky counterpoint. This is the kind of meal that feels both comforting and exciting, perfect for a weeknight when you want something fast but unforgettable.
Ingredients
- 4 bone-in, skin-on chicken thighs
- 1 tbsp smoked paprika
- 3 cloves garlic, minced
- 1 tsp kosher salt
- 1/2 tsp black pepper
- 1/2 cup peri-peri chili sauce
- 1 can (13.5 oz) full-fat coconut milk
- 2 ears fresh sweet corn, kernels cut off
- 1 lime, cut into wedges
Why this recipe works
Searing the chicken thighs at high heat in a cast-iron skillet creates a deeply browned, blistered skin that stays crisp even after simmering in the sauce.
The rendered fat also flavors the corn and sauce, adding a savory richness that builds the dish's foundation. Starting with bone-in, skin-on thighs ensures juicy, flavorful meat that can stand up to the bold peri-peri sauce.
The sauce is a simple emulsion of peri-peri chili sauce and full-fat coconut milk. The coconut milk provides a sweet, creamy base that balances the fiery heat of the chili, while simmering thickens it into a glossy, clingy sauce.
Charring the corn before adding the liquid caramelizes its natural sugars, giving the dish a subtle smokiness that pairs beautifully with the spicy coconut.
Notes and substitutions
Peri-peri sauce (also called piri-piri) is available in most supermarkets, often in the international aisle. It ranges in heat level, so taste yours first.
If you prefer a milder version, use less sauce or mix in a bit of tomato paste to mellow the heat. For a truly authentic kick, look for a sauce that lists African bird's eye chilies as the first ingredient.
A cast-iron skillet is ideal for this recipe because it holds heat well and gives the chicken a gorgeous sear. If you don't have one, use a heavy stainless steel or nonstick skillet—just be aware that the sear may be less intense. Fresh corn is best for charring, but frozen corn (thawed and patted dry) works in a pinch.
- Peri-peri chili sauce: Use a store-bought peri-peri sauce or substitute with a blend of hot sauce, smoked paprika, and a pinch of cayenne to mimic the heat.
- Bone-in, skin-on chicken thighs: Boneless, skinless thighs work, but reduce searing time by about 3 minutes and check for doneness early.
- Full-fat coconut milk: Light coconut milk can be used, but the sauce will be thinner and less rich.
- Fresh sweet corn: Frozen corn kernels (thawed) can be substituted; char them in the skillet as directed.
Equipment
- Large cast-iron skillet
- Mixing bowl
- Chef's knife
- Cutting board
- Measuring cups and spoons
- Tongs
- Blender or food processor (for sauce, if making from scratch)
Up next · Part 2 of 3
6 steps · 18 min of cooking · what to look for at each stage
Step-by-step instructions (Part 2)