Desserts · Part 1 of 3: Ingredients
Espresso Bean Toffee Blonde Chocolate Crunch Bars
- Prep
- Cook
- Total
- Serves
- 12
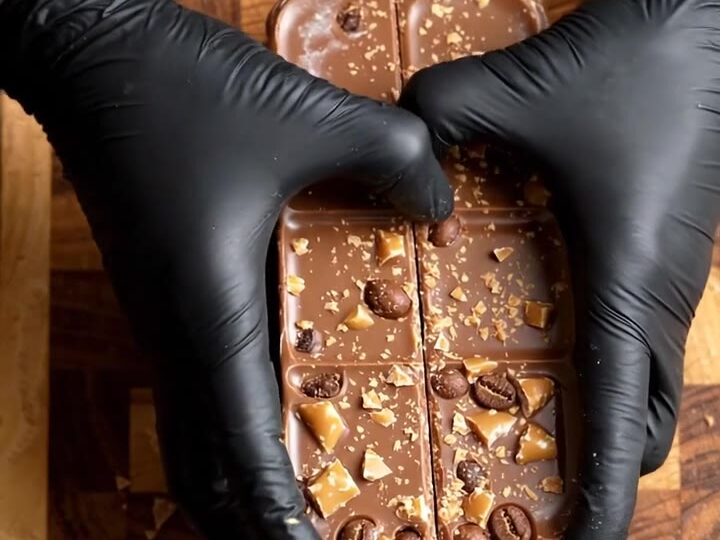
These espresso bean toffee blonde chocolate crunch bars start with a base of caramelized blonde chocolate, swirled with dark espresso fudge and studded with chopped dark chocolate covered espresso beans, roasted hazelnuts, and amber butter toffee shards.
The result is a sophisticated candy bar with a rich, fudgy coffee center and a nutty, buttery crunch in every bite. No oven required, just a bit of chopping and swirling, and you have a stunning homemade treat that looks as impressive as it tastes.
Blonde chocolate, with its deep caramel notes, pairs beautifully with the bold roast of espresso and the salty-sweet crunch of toffee and hazelnuts. This recipe takes those flavors and layers them into a bar that is both elegant and satisfying.
The process is simple: melt, swirl, scatter, and set. The hardest part is waiting for the chocolate to firm up before breaking it into pieces. Whether you are making a gift for a coffee lover or simply treating yourself, these bars deliver a professional-looking result with minimal effort.
Ingredients
- 12 oz caramelized blonde chocolate, chopped
- 1/2 cup espresso fudge sauce
- 1/2 cup amber butter toffee shards, chopped
- 1/4 cup dark chocolate covered espresso beans, chopped
- 1/2 cup roasted hazelnuts, chopped
Why this recipe works
The method works because it relies on the contrast between smooth, melted blonde chocolate and a variety of crunchy, textured mix-ins. Grating the chocolate ensures it melts evenly and quickly, preventing scorching and giving you a silky base.
Swirling in espresso fudge creates ribbons of intense coffee flavor that cut through the sweetness of the blonde chocolate, while the chopped espresso beans add a pleasant bitterness and a satisfying pop of crunch.
The toffee shards and roasted hazelnuts provide a buttery, nutty counterpoint that makes each bite interesting. By chopping everything to a similar size, you ensure that every piece of the bar has a balanced distribution of toppings.
Letting the chocolate set completely before breaking guarantees clean, crisp edges and a satisfying snap. The result is a bar that is at once rich, crunchy, and deeply flavored.
Notes and substitutions
Caramelized blonde chocolate, sometimes labeled as 'blonde chocolate' or 'dulcey,' has a distinct caramel flavor that is essential here. If you cannot find it, white chocolate can be substituted, but the final bars will be sweeter and less complex. Dark chocolate covered espresso beans add a coffee kick; if you prefer a milder flavor, use regular roasted coffee beans or reduce the amount.
Amber butter toffee shards are available at specialty candy shops or online. English toffee bits or crushed Heath bars work well as substitutes. Roasted hazelnuts can be swapped for almonds or pecans. Use a metal tray lined with parchment for easy removal, and a box grater with large holes for fluffy chocolate curls. A chef's knife is ideal for chopping the mix-ins to a consistent size.
- caramelized blonde chocolate: white chocolate (if blonde is unavailable, but note it will be sweeter and less caramel-flavored)
- dark chocolate covered espresso beans: coffee beans tossed in melted dark chocolate and chilled, or just chopped roasted coffee beans for extra crunch
- amber butter toffee shards: store-bought toffee bits or chopped English toffee candy
- roasted hazelnuts: roasted almonds or pecans for a different nutty crunch
Equipment
- Box grater
- Chef's knife
- Parchment-lined metal tray
- Mixing bowl
- Spatula