Desserts · Part 1 of 3: Ingredients
Espresso Bean Toffee Blonde Chocolate Crunch Bars
- Prep
- Cook
- Total
- Serves
- 16
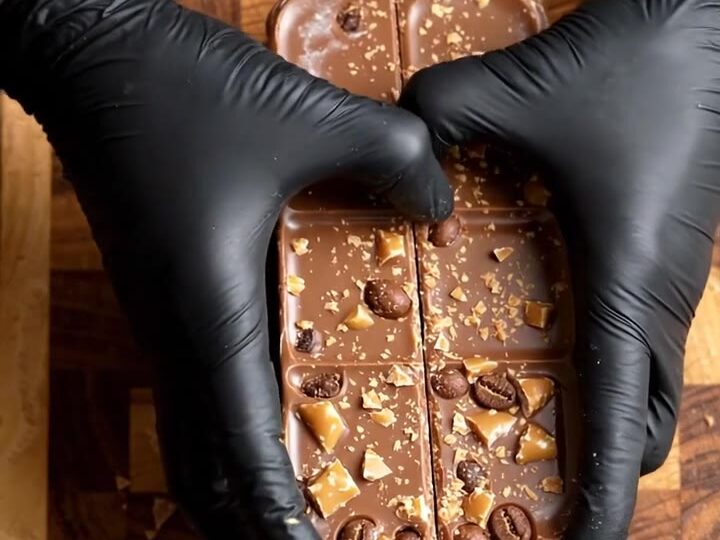
These espresso bean toffee blonde chocolate crunch bars are a study in texture: a smooth, creamy golden blonde chocolate base laced with dark espresso fudge, topped with a riot of crunchy roasted hazelnuts, bittersweet espresso beans, and buttery toffee shards.
The result is a sophisticated candy bar that’s both elegant and utterly snackable. No oven required, just a little chopping, grating, and swirling. Perfect for gifting, holiday trays, or a special treat to keep in the fridge for late-night cravings.
Blonde chocolate, with its deep caramel notes from caramelized milk solids, pairs beautifully with the bitter edge of espresso and the salty-sweet crunch of toffee. This recipe builds layers: a glossy melted base, a dramatic fudge swirl, and a generous scattering of chopped goodies on top.
The contrast of creamy and crunchy is what makes these bars irresistible. They come together in about 20 minutes of hands-on work, then set quietly while you do something else. Break them into rustic shards or cut them into tidy squares—either way, they’re a showstopper.
Ingredients
- 16 oz golden blonde chocolate, chopped
- 1/2 cup espresso fudge sauce
Topping
- 1/2 cup dark chocolate covered espresso beans
- 1/2 cup roasted hazelnuts
- 1/2 cup amber butter toffee shards
Why this recipe works
The method here is all about contrast. Melting the blonde chocolate creates a smooth, velvety base that firms up into a snappy, clean-breaking bar. Swirling in espresso fudge adds pockets of intense, bitter-sweet flavor that cut through the sweetness of the chocolate. The fudge also creates a marbled visual that makes each piece look artisanal.
The topping is where the texture magic happens. Chopping the espresso beans, hazelnuts, and toffee into coarse pieces ensures every bite has a mix of crunch, nuttiness, and buttery caramel. Grating the blonde chocolate into curls adds a delicate, airy element that melts on the tongue, providing a counterpoint to the denser chunks. The combination is engineered for maximum satisfaction.
Notes and substitutions
Golden blonde chocolate is a key ingredient—it’s caramelized white chocolate, available at specialty grocery stores or online. If you can’t find it, you can use high-quality white chocolate and toast it lightly in the oven, but the flavor won’t be exactly the same.
Espresso fudge sauce can be store-bought or homemade; if using store-bought, choose a thick, rich one that won’t sink into the chocolate too much.
For the topping, use roasted hazelnuts (skins removed for a cleaner taste) and good-quality dark chocolate covered espresso beans. Amber butter toffee shards, sometimes called toffee bits, are sold in baking aisles or can be made by crushing hard toffee candy.
Chop everything to a uniform size so it distributes evenly. If the chocolate is too thick to swirl easily, warm it slightly before adding the fudge.
- golden blonde chocolate: White chocolate or caramelized white chocolate (if blonde chocolate is unavailable)
- espresso fudge sauce: Store-bought chocolate fudge sauce mixed with 1 teaspoon instant espresso powder
- dark chocolate covered espresso beans: Regular dark chocolate chips plus 1 teaspoon instant espresso powder
- amber butter toffee shards: Crushed English toffee candy or Skor bars
Equipment
- Box grater
- Chef's knife
- Cutting board
- Parchment paper
- Metal tray (8x8-inch)
- Mixing bowls
- Spatula