Desserts · Part 1 of 3: Ingredients
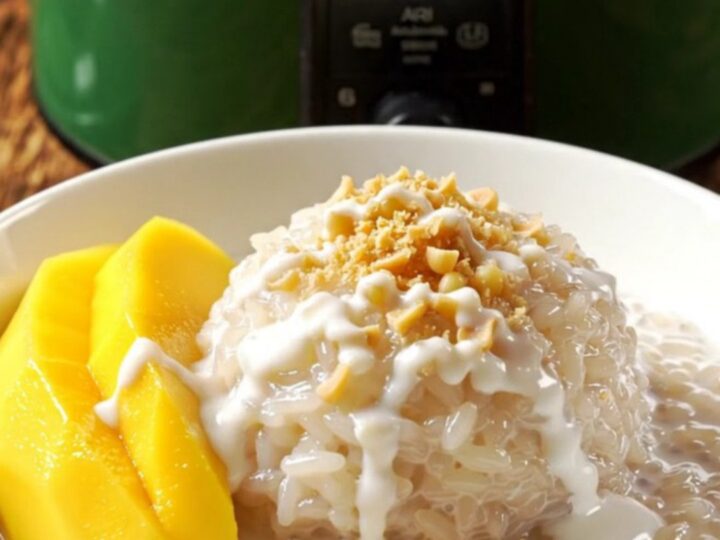
Effortless Crockpot Thai Mango Sticky Rice Pudding
- Prep
- Cook
- Total
- Serves
- 6
Unlock the secrets of a classic Thai delicacy using the convenience of your slow cooker. This recipe strips away the complexity of traditional steaming, allowing you to create a restaurant-quality mango sticky rice pudding with minimal effort.
It is the perfect dessert for those who appreciate authentic flavors and want a hands-off approach to hosting. Whether for a dinner party or a quiet evening at home, this dish brings a touch of tropical elegance to the table with very little preparation required.
Thai mango sticky rice is a beloved dessert known for its comforting texture and balance of sweet and salty notes. Traditionally, this dish requires soaking and steaming the glutinous rice, but this slow cooker version simplifies the process significantly.
By combining the rice, coconut milk, and aromatic palm sugar in a Crockpot, the grains absorb the rich, creamy liquid slowly, resulting in a perfectly sticky and glossy pudding. The addition of fresh, ripe champagne mango provides a bright, refreshing contrast, making every bite a harmonious experience of warmth and sweetness.
Ingredients
- 2 cups glutinous sweet rice
- 28 oz full-fat coconut milk (two 14-ounce cans)
- 1/2 cup palm sugar
- 1 piece pandan leaf
- 1/2 tsp sea salt
For serving
- 2 cups ripe champagne mango slices, for serving
- 1/4 cup coconut cream, for serving
- 2 tbsp toasted mung beans, for serving
Why this recipe works
The slow cooker method provides a consistent, low-heat environment that allows the glutinous rice to hydrate evenly. Unlike traditional steaming, which requires constant monitoring and specific equipment, the Crockpot allows for a dump-and-go approach that ensures the rice softens without becoming mushy.
The prolonged exposure to the coconut milk and palm sugar creates a deep, infused flavor profile that develops gradually over the two-hour cook time.
Cooking in a sealed environment traps the steam, which is essential for achieving the characteristic chewy and translucent texture of perfectly cooked sticky rice. This method ensures that the coconut cream thickens into a velvety sauce that coats every grain. The gentle heat prevents the sugars from burning or caramelizing too quickly, resulting in a clean, balanced sweetness that perfectly complements the fresh fruit served alongside.
Notes and substitutions
For the best results, use high-quality glutinous sweet rice, often labeled as 'sticky rice' or 'sweet rice' at specialty markets. This specific type of rice contains different starches than standard long-grain white rice, which is crucial for achieving the desired sticky texture.
If you cannot find palm sugar, light brown sugar is a suitable alternative that provides a similar depth of flavor, though the end result will have a slightly different sweetness profile.
Ensure you use full-fat coconut milk rather than 'lite' or 'reduced-fat' versions. The fat content is essential for the creamy, rich mouthfeel that defines this dish. The pandan leaf, while optional, adds a subtle, floral aroma that is characteristic of traditional Thai desserts. If your slow cooker has a tendency to run hot, keep an eye on the rice during the last thirty minutes to ensure the liquid has not reduced too much.
- palm sugar: light brown sugar can be used as a direct replacement if palm sugar is unavailable.
- pandan leaf: omit if unavailable, as it is primarily for aromatic purposes.
Equipment
- 6-quart Crockpot
- Measuring cups
- Measuring spoons
- Stirring spoon
- Serving bowls
Up next · Part 2 of 3
3 steps · 2 h of cooking · what to look for at each stage
Step-by-step instructions (Part 2)