Dinner · Part 1 of 3: Ingredients
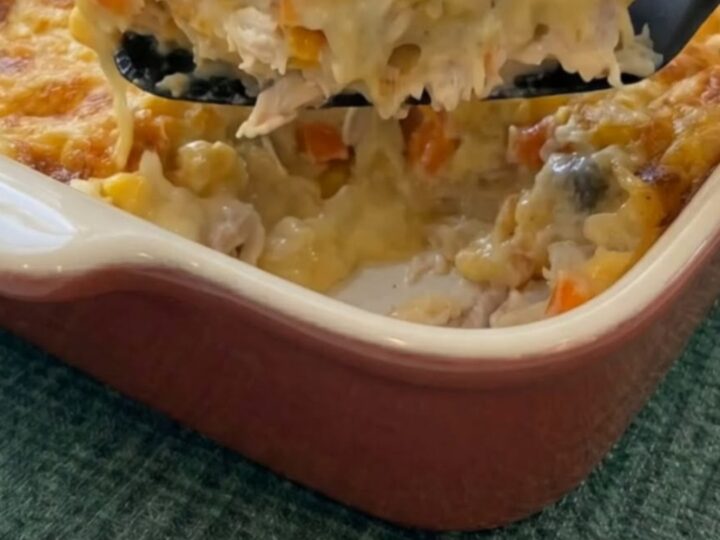
Easy Viral Chicken Cobbler with a Cheesy Biscuit Crust
- Prep
- Cook
- Total
- Serves
- 8
Craving a cozy, effortless dinner that tastes like it took hours to make? This viral chicken cobbler is the ultimate comfort food solution. Layering savory rotisserie chicken, sweet peas, and carrots beneath a rich, bubbling biscuit crust, this dish delivers all the satisfaction of a classic chicken pot pie with only a fraction of the work.
Few recipes capture the internet's attention quite like this viral chicken cobbler, and for good reason. It transforms simple, everyday ingredients into a luxurious, warm casserole that feeds a crowd.
By using pre-cooked rotisserie chicken and a clever layering technique, you bypass the tedious process of making a traditional pie crust or simmering a filling on the stovetop. The result is an incredibly rich, savory dinner that emerges from the oven with a golden, cheesy topping and a luscious, velvety sauce beneath.
Ingredients
- 4 cups shredded rotisserie chicken
- 2 cups frozen peas and carrots
- 2 cups biscuit mix
- 3 cups creamy broth
- 1 cup shredded cheddar cheese
Why this recipe works
The magic of this recipe lies in its unique, no-stir layering method. By placing the seasoned chicken, biscuit mix, and creamy broth in distinct layers, you create a dynamic cooking environment.
As the cobbler bakes, the biscuit mix rises through the broth, absorbing the savory flavors while forming a fluffy, tender crust on top. Meanwhile, the creamy broth sinks to the bottom, combining with the chicken juices to create a thick, velvety gravy that coats every single bite.
This cooking process ensures that the chicken remains incredibly moist and tender, rather than drying out during the baking cycle. Because you do not stir the dish before it goes into the oven, the starch from the biscuit mix helps thicken the surrounding liquid naturally.
This prevents the filling from becoming watery or greasy, giving you a perfectly cohesive casserole with distinct textures: a soft, pillowy biscuit layer, a rich and savory gravy, and a beautifully melted cheese topping.
Notes and substitutions
For the best results, select a high-quality pre-cooked rotisserie chicken and shred it into bite-sized pieces, discarding the skin and bones. If you prefer, you can use leftover baked or poached chicken breasts or thighs. When choosing a biscuit mix, look for a standard all-purpose biscuit baking mix, which works beautifully to create a fluffy, golden crust that absorbs the savory flavors of the broth.
The frozen peas and carrots can be used directly from the freezer without thawing, which helps them retain their bright color and pleasant texture during the long bake.
For the creamy broth layer, a rich and savory canned broth or a homemade mixture provides the ideal thick base. Be sure to use a deep 9x13-inch baking dish to prevent any of the delicious ingredients from bubbling over the sides during baking.
- biscuit mix: A homemade mixture of two cups of all-purpose flour, one tablespoon of baking powder, and half a teaspoon of salt.
- creamy broth: A combination of two cups of chicken broth and one cup of heavy cream or half-and-half whisked together.
Equipment
- 9x13-inch baking dish
- Medium mixing bowl
- Whisk
- Spatula
- Measuring cups and spoons
Up next · Part 2 of 3
4 steps · 55 min of cooking · what to look for at each stage
Step-by-step instructions (Part 2)