Desserts · Part 2 of 3: Instructions
Easy Strawberry Pretzel Broomsticks Step-by-step instructions
- Prep
- Cook
- Total
- Serves
- 4
Before you start
Before you begin, ensure you have all your ingredients measured and ready. Wash and hull the strawberries, then lay them out on a clean paper towel to dry completely.
Have your parchment paper already laid out on your baking sheet so that the assembly process can move seamlessly from dipping to placing.
If you are melting the chocolate in the microwave, use a microwave-safe bowl and heat it in short, thirty-second intervals, stirring in between to prevent scorching and ensure a smooth, glossy consistency.
Ingredients at a glance (3)
- 12 fresh strawberries, hulled
- 1/2 cup dark chocolate chips, melted
- 12 pretzel sticks
Instructions
Preparation
- Prepare the strawberriesArrange the hulled strawberries in rows on a parchment-lined baking sheet. Ensure the berries are clean and completely dry before beginning to ensure the chocolate adheres properly to the surface.Look for strawberries are lined upTip Dry the berries thoroughly with paper towels to prevent the chocolate from seizing.
The strawberries are hulled, clean, and completely dry. They are arranged in orderly rows on your parchment-lined baking sheet, ready for the dipping process. Your workspace is clear, and the chocolate is melted to a smooth, pourable consistency.
Assembly
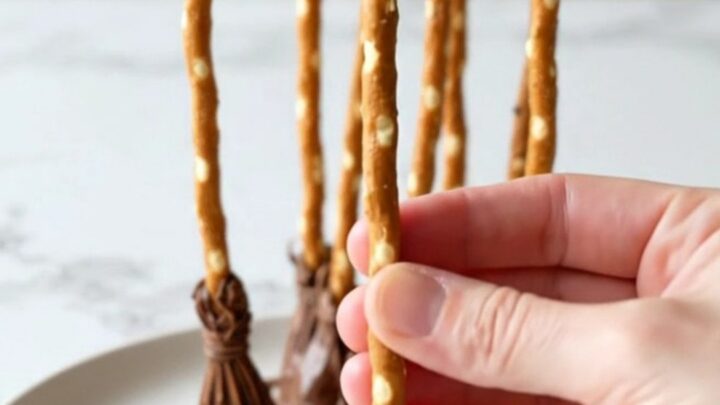
- Dip and assembleDip the tip of each strawberry into the melted dark chocolate, coating it evenly. Immediately insert a pretzel stick into the center of the hulled top of the strawberry to form the broom handle.Look for strawberries are coated and handles are insertedTip Work quickly so the chocolate remains fluid for easier dipping and assembly.
Each strawberry is dipped into the chocolate and has a pretzel stick inserted into the stem end. The broomsticks are placed back on the baking sheet, with enough space between them to prevent sticking while the chocolate begins to firm up.
Setting
- Set the broomsticksPlace the assembled broomsticks back onto the parchment-lined baking sheet. Allow them to rest in a cool place until the chocolate has completely hardened and the pretzel sticks are securely set in the fruit.Look for chocolate is firm to the touchTip Placing the tray in the refrigerator for ten minutes will accelerate the setting process.
The chocolate has transitioned from a liquid to a solid, matte finish. The broomsticks are stable, the pretzels are secure, and the entire assembly is ready to be transferred to a serving plate for guests to enjoy.
Common mistakes
A common mistake is failing to dry the strawberries thoroughly before dipping. Any water on the fruit will cause the chocolate to seize, resulting in a clumpy, uneven coating that does not set correctly.
Another error is using chocolate that is too hot; let it cool for a few minutes after melting so it thickens slightly, which helps it coat the berry more effectively. Finally, avoid using overly soft or bruised berries, as they will not support the weight of the pretzel stick.
How to tell it’s done
The broomsticks are done when the dark chocolate coating has fully solidified and no longer feels tacky to the touch. The pretzel handle should be firmly anchored in the top of the strawberry, showing no signs of wobbling when picked up.
If the chocolate still looks glossy or soft, give the tray more time in a cool area to ensure the best texture and stability for serving.
Up next · Part 3 of 3
2 variations · storage & make-ahead · 3 answers · printable card
Tips, FAQ & printable recipe (Part 3)← Back to the ingredients (Part 1)