Dinner · Part 1 of 3: Ingredients
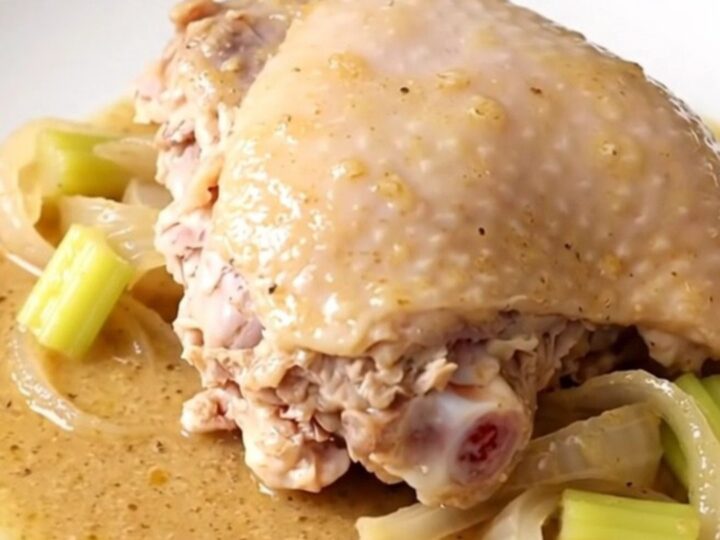
Easy Slow Cooker Turkey Thighs and Gravy
- Prep
- Cook
- Total
- Serves
- 4
Discover how simple it is to prepare a restaurant-quality meal at home with this slow cooker turkey thighs and gravy recipe. Designed for convenience, this dish requires minimal prep work, making it an ideal choice for busy weeknights when flavor and comfort are essential.
By utilizing the slow cooker, you allow the turkey to braise gently, ensuring the meat remains succulent and tender while the vegetables and gravy meld together into a savory masterpiece that satisfies every palate at the dinner table.
This dump-and-go recipe is a masterclass in efficiency and flavor. By combining bone-in turkey thighs with fresh aromatics and a rich, creamy sauce, you create a complete meal in one pot. The bone-in nature of the turkey ensures a deep, savory profile as it braises, while the creamy gravy provides a luxurious finish that coats the vegetables perfectly.
Whether hosting a small dinner or looking for a reliable weeknight staple, this recipe delivers consistent results with very little effort or active cooking time required from the home cook.
Ingredients
Main
- 4 bone-in skinless turkey thighs
Vegetables
- 1 medium onion, sliced
- 2 stalks celery, chopped
Seasoning
- 1 tbsp poultry seasoning
Sauce
- 2 cups creamy gravy
Why this recipe works
The slow cooking method is ideal for turkey thighs because it breaks down the connective tissues gradually. This process ensures that the meat becomes incredibly tender and flavorful, avoiding the dryness often associated with lean cuts. The low and slow environment allows the aromatics like onions and celery to soften completely, releasing their natural sweetness into the surrounding gravy, which deepens the overall flavor profile of the dish.
By placing the vegetables at the bottom, they act as a natural rack that keeps the turkey thighs slightly elevated. This allows the heat to circulate more evenly around the meat while preventing it from sticking to the base of the slow cooker. The combination of the turkey juices and the pre-made creamy gravy creates a thick, velvety sauce that is both comforting and delicious, requiring no additional thickening agents or complex culinary techniques.
Notes and substitutions
When selecting turkey thighs, look for bone-in, skinless varieties to ensure the best balance of moisture and flavor. The bone provides essential structure and richness to the gravy during the long cooking process.
If you cannot find skinless thighs, you can easily remove the skin yourself before placing them in the slow cooker. Poultry seasoning typically contains a blend of sage, thyme, and marjoram, which complements the turkey perfectly, but you can adjust this if you prefer a different herb profile.
The choice of slow cooker is straightforward, but ensure your insert is clean and dry before adding your ingredients. If you find the gravy is too thick after cooking, you can stir in a splash of chicken broth or water to reach your desired consistency.
While the recipe uses a pre-made creamy gravy, feel free to use a homemade version if you have one available. The key to this dish is patience; allow the slow cooker to do the work without lifting the lid too often.
- creamy gravy: a mix of chicken broth and cream of mushroom soup
- poultry seasoning: a blend of dried sage, thyme, and rosemary
Equipment
- slow cooker
- measuring cups
- measuring spoons
- knife
- cutting board
Up next · Part 2 of 3
3 steps · 4 h of cooking · what to look for at each stage
Step-by-step instructions (Part 2)