Dinner · Part 2 of 3: Instructions
Easy Slow Cooker Pork Birria Tacos Step-by-step instructions
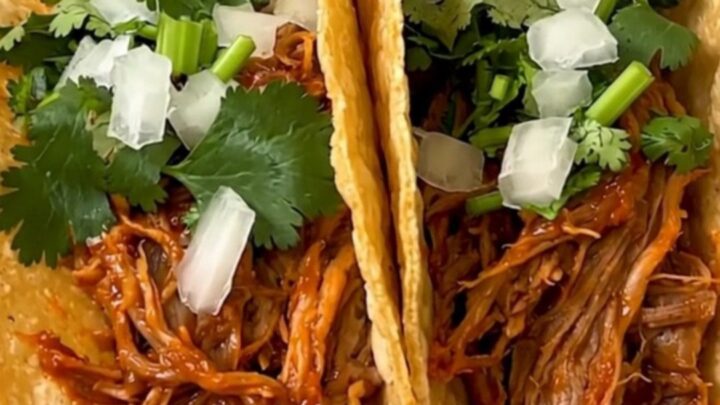
- Prep
- Cook
- Total
- Serves
- 6
Before you start
Before you begin, ensure your slow cooker is clean and placed on a stable, heat-resistant surface. Have your pork shoulder cut into consistent chunks to ensure even cooking. Clear enough space on your kitchen counter to accommodate the slow cooker and your prep tools.
Having your ingredients measured and ready to add will make the assembly process seamless and quick, allowing you to get the slow cooker running in just a few minutes of active work.
Ingredients at a glance (4)
- 3 lb pork shoulder, cut into large chunks
- 2 large yellow onion, quartered
- 1 packet birria seasoning packet
- 2 cups beef broth
Instructions
Assembly and Seasoning
- Assemble the IngredientsPlace the pork shoulder chunks into the base of the slow cooker. Scatter the quartered yellow onion pieces evenly over the meat, then sprinkle the entire contents of the birria seasoning packet over the pork and onions.Look for The pork should be arranged in a single layer at the bottom of the slow cooker for even cooking.Tip Ensure the pork chunks are relatively uniform in size to promote consistent cooking throughout the process.
The pork should be evenly distributed in the cooker, and the seasoning should be well-dispersed over the meat and onions. There is no need to stir at this point, as the broth will naturally distribute the flavors as it heats and bubbles during the long, slow cooking cycle.
Slow Braising Process
- Slow Cook the MeatPour the beef broth over the seasoned pork and onions. Cover the slow cooker with its lid and cook on low heat for 8 hours. Once the pork reaches an internal temperature of 145°F (63°C), remove it from the cooker and let the meat rest for at least 3 minutes before shredding.Look for The liquid should partially cover the meat, and the kitchen will smell deeply savory and aromatic.Safe temperature 145°F (63°C) internal temperature (steaks, chops and roasts)Tip Avoid lifting the lid during the cooking process to maintain a consistent temperature and moisture level inside the cooker.
The meat is braising in the broth, and the onions are softening into the sauce. You will notice a savory, aromatic scent filling the kitchen.
Ensure the lid remains tightly sealed throughout this phase to keep the internal environment moist and to maintain a consistent temperature for the meat.
Shredding and Finishing
- Shred and ServeOnce the meat has rested, shred it using two forks, discarding any large pieces of fat. Return the shredded meat to the cooking juices to moisten, and serve warm in tortillas.Look for The meat should pull apart effortlessly with minimal pressure from the forks.Tip If the sauce is too thin, you can simmer it in a pan on the stove for a few minutes to reduce it to your desired consistency.
The pork should be incredibly tender and look dark and well-seasoned. After shredding, the meat should be moist and coated in the reduced braising liquid. Check that the meat has reached the safe internal temperature and that the texture is uniform before plating for your meal.
Common mistakes
A common mistake is overcrowding the slow cooker, which can lead to uneven cooking and excess liquid. Ensure there is enough space for the heat to circulate around the pork chunks.
Another error is checking the meat too frequently; opening the lid releases steam and heat, which significantly increases the cooking time. Trust the process and allow the slow cooker to maintain its steady, low temperature for the full duration.
How to tell it’s done
The pork is done when it reaches an internal temperature of at least 145°F (63°C) and the meat pulls apart easily with two forks. If the meat offers resistance, it needs more time in the slow cooker.
Always let the meat rest for at least 3 minutes before serving to ensure the juices redistribute properly, resulting in the most tender and flavorful bite possible.
- Steaks, chops and roasts: 145°F (63°C) in the thickest part, then a 3-minute rest
Up next · Part 3 of 3
2 variations · storage & make-ahead · 3 answers · printable card
Tips, FAQ & printable recipe (Part 3)← Back to the ingredients (Part 1)